In the ever-evolving world of home networking, understanding how to set up a router as a bridge can be crucial for enhancing your internet coverage and network performance. In this article, we will guide you through the process to ensure your wireless network extends its reach efficiently. Whether you’re using one of the best routers or your ISP-supplied router, the goal is to create a seamless internet experience across your space.
Key Takeaways_
- Connecting two routers together wirelessly is known as bridging, and this wireless bridge mode increases the range of your wireless network and the efficiency of your Internet connection.
- Activate a wireless bridge mode by accessing the settings on both your primary wireless router and a secondary router.
- Make sure your secondary router supports bridging or network mode to get wireless bridge mode to work.
What is Bridge Mode?
If you are wondering what to do with an old router, consider repurposing it as a bridge to extend your network.
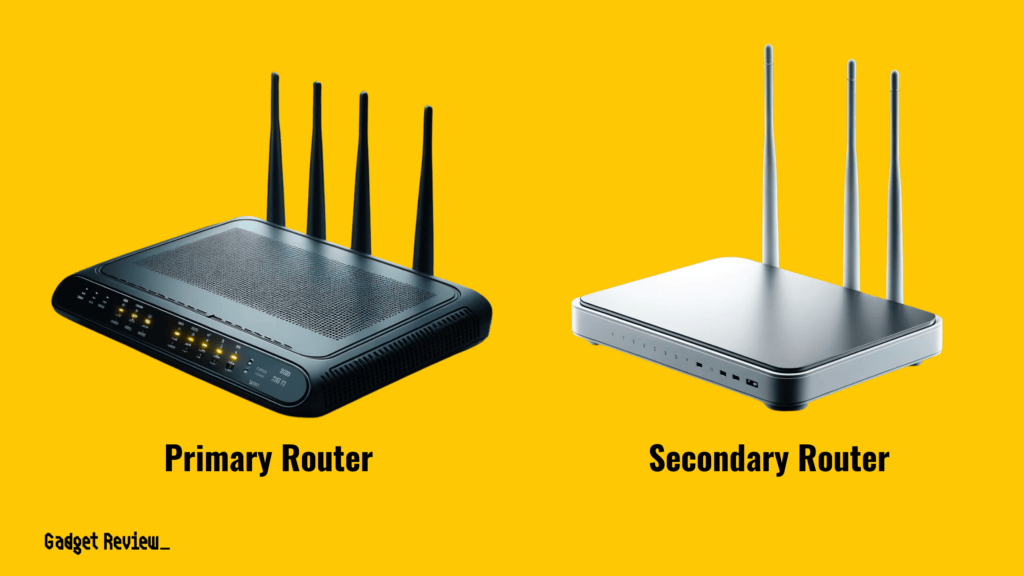
Bridge mode is a feature in networking that allows you to connect two routers (primary and secondary) to extend your wireless network.
In bridge mode, the secondary router fills the gap between the primary router and areas of your home with weak Wi-Fi coverage.
This turns the secondary router into a gateway that relays network traffic to the primary router, maintaining a single network across your space.
How to Bridge WiFi Routers
Before you set up bridge mode, ensure you have two working routers, Ethernet cables, and access to their admin panels.
Additionally, check the firmware of both routers to ensure compatibility and note the IP address, admin username, and password for each router.
If you’re looking into how to set up a router for gaming, ensure that one of these routers has features optimized for gaming, such as QoS settings.
STAT: Many newer routers include WDS or Wireless Distributed Services to create multiple Access Points on a single network with a single name. (source)
This preparation is key to a smooth setup process.
STEP 1 Note Primary Router Settings
- Connect to your primary router and note its network and Wi-Fi security mode.
STEP 2 Connect the Secondary Router to the Computer
- Connect the secondary router to your computer using an Ethernet cable.
STEP 3 Access Secondary Router Admin Panel
- Access the secondary router’s admin panel by entering its IP address in the address bar.
STEP 4 Select Bridge Mode in Settings
- In the Advanced Setup, choose the bridge mode or wireless bridge feature.
STEP 5 Match Network Modes
- Set the secondary router to the same network mode as the primary router.
STEP 6 Disable DHCP on Secondary Router
- Turn off DHCP on the secondary router to avoid address conflicts.
STEP 7 Connect Routers via Ethernet
- Connect the secondary router to the primary router using an Ethernet cable.
Troubleshooting Common Issues
Some common issues include IP address conflicts and performance issues.
Ensure each router has a unique IP address, and if you experience slow network speeds, check the position of the routers and the Wi-Fi coverage area.
Additionally, for those using one of the best modem router combos, ensure it’s compatible with bridge mode to avoid connectivity issues.
Why Bridge Together Two Routers?
In large homes or offices, using a router in bridge mode can help to improve your Wi-Fi coverage.
It’s also useful in scenarios where wired networks are preferable for faster and more secure internet connectivity, like connecting gaming consoles or PCs.
insider tip
Other options to increase your wireless range include using a mesh router or a wireless range extender.
You should also consider potential security risks. Always use strong passwords for both routers’ admin panels and Wi-Fi access.
Additionally, regularly update the router firmware to patch any security vulnerabilities.
By following the steps we outlined above, you can enjoy a robust and seamless internet connection throughout your home or office.

