When you begin using a gaming headset, you may want to know how do I make your gaming headset microphone louder. The answer remains relatively simple for each gaming console and computer as long as you are familiar with the software and Bluetooth or cable connectivity for quality microphone volume.
Key Takeaways_
- To adjust the volume of your microphone on a PC or Mac, you need to go into your computer’s settings and sound settings icon.
- If you use a PlayStation console, you need to find the settings option and then audio devices.
- For Xbox, select “Profile & System,” followed by Settings.
The best gaming headset also provides an adjustable microphone that should be close to your mouth, though you may need to adjust it or the mode being used. To understand how gaming headsets work, check out our other article.
How to Make Gaming Headset Microphone Louder
When figuring out how to increase your microphone’s volume on different software, you should first understand how to access the settings menu for sound settings. Then, you will have to select your input device before adjusting the microphone level in the levels tab for noise software. Also, read our article on how to configure a 7.1 headset for gaming to ensure you get the most out of your headset.
Enhancing Your Gaming Headset Microphone
To improve the performance of your gaming headset microphone, consider upgrading to the best mic for PC gaming for clearer audio. Proper maintenance is crucial, so learn how to take good care of a gaming headset to extend its lifespan. Setting up your headset for streaming on OBS? Follow our guide on how to set up your gaming headset for OBS to optimize your broadcasting experience. Additionally, adjusting settings to make any gaming headset surround sound on PC can enhance your gaming immersion.
If you forget to switch to your headset’s microphone, you may only adjust the volume of the device’s built-in model. To learn more about gaming headsets, read “how do you make a gaming headset?”
PC Gaming Method
STEP 1 Navigate to sound settings
- Enter your Start menu (Windows logo)
- Go to Settings
- Go to System and select the Sound options
- You should see options for gaming headsets, computer speakers, and microphones. You may need to allow your applications to access the microphone on newer models.
STEP 2 Select your headset
- Look for Choose a device for speaking or recording under Input
- Select your headset.
STEP 3 Adjust your headset settings
- Test your microphone by using the Start recording option.
- Make sure you talk. You can see the bar moving with your voice above the Volume bar.
- Increase your volume to make your microphone louder, or you can decrease it if you need to.
- Repeat this step until the volume fits your preferences. Additionally, if you would rather just use a set of headphones, you can also get one of these top-rated mics for PC gaming.
Mac Gaming Method
STEP 1 Navigate to sound settings
- Click the Apple logo in the upper right corner of the screen and select System Preferences
- Select Sound and go to the Input tab.
STEP 2 Select your headset
- You should see an option for your gaming headset if your headset has one and for the computer’s microphone.
- You can see the Input volume and Input level in this tab.
STEP 3 Adjust your headset settings
- If you talk or type, you may note that the input level adjusts as you do so, but the volume level stays the same.
- You may also see an option to reduce ambient noise for your headphones with cables.
- Adjust your microphone’s Input volume level to suit your needs.
Playstation Gaming Method
STEP 1 Navigate to sound settings
- Go to the Settings menu.
- On PS4, simply press and release the PlayStation button before scrolling to the second option from the right.
- For PS5, press and hold the PlayStation button and move up before scrolling over to Settings
- This menu can be accessed from the Games or Media tabs. For both PS4 and PS5, the rest of the process should be the same from here.
- Scroll down to Audio Devices
STEP 2 Adjust the microphone level
- Select Adjust Microphone Level
- If this option remains dark, you do not have a connected microphone.
- Speak into the microphone and adjust the noise level until you are comfortable with the sound.
- If you are playing with others, you can ask whether you are the right volume for them. They most likely will answer honestly since they want to hear you as well as the quality game noise and each other.
warning
Be cautious when troubleshooting microphone issues with your gaming headset. If both the speaker and microphone aren’t working simultaneously, our tips on gaming headset speaker and microphone both don’t work at the same time can help diagnose and resolve the problem.
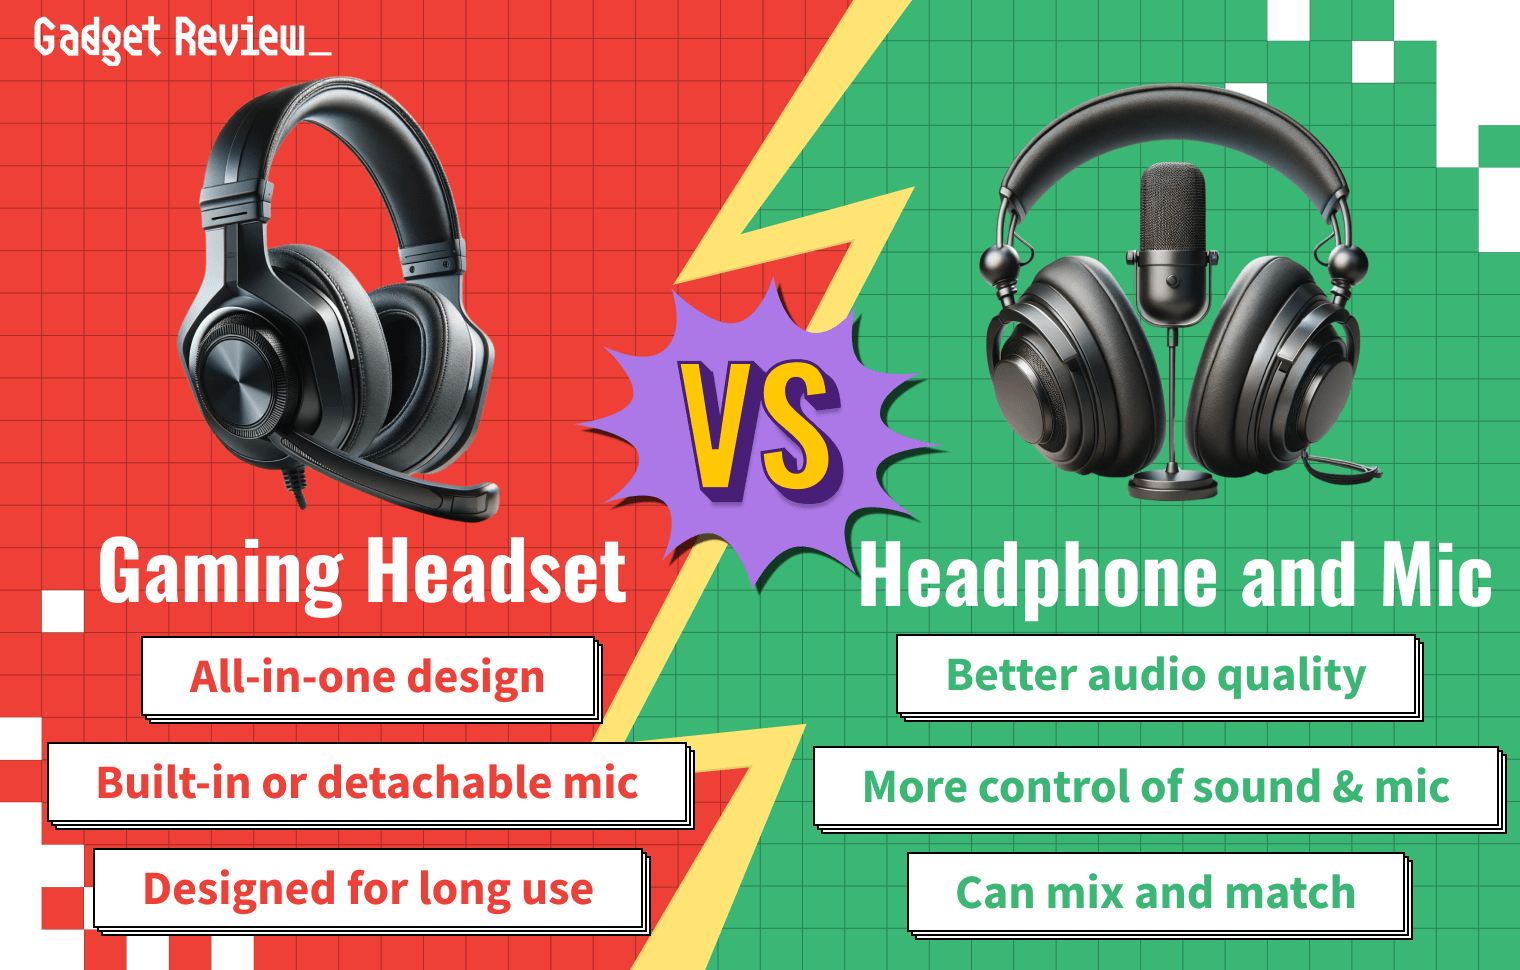
For issues related to the headset versus speakers debate, understanding headset vs speakers for gaming can guide you in choosing the right audio setup. Regularly inspecting and replacing ear pads, as explained in when to replace ear pads on a gaming headset, ensures comfort and audio quality during long gaming sessions.
Xbox Gaming Method
STEP 1 Navigate to sound settings
- Press the Xbox button to pull up the main menu.
- Scroll to Profile & system and select Settings.
STEP 2 Adjust the microphone level
- Select Devices & Accessories, and then your headset; you should see your gaming headset noise information here.
- Adjust the volume of the microphone while talking into it.
- Make sure you accept the noise settings before leaving the menu.

