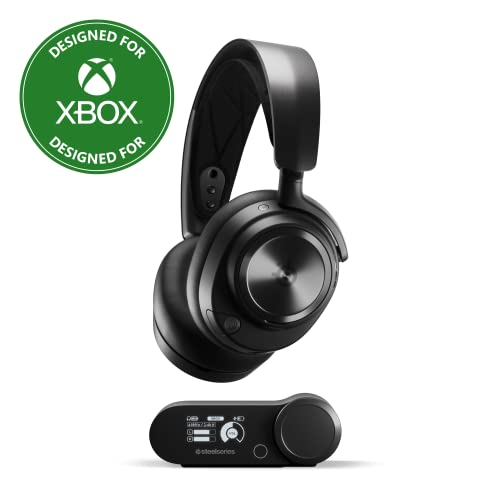
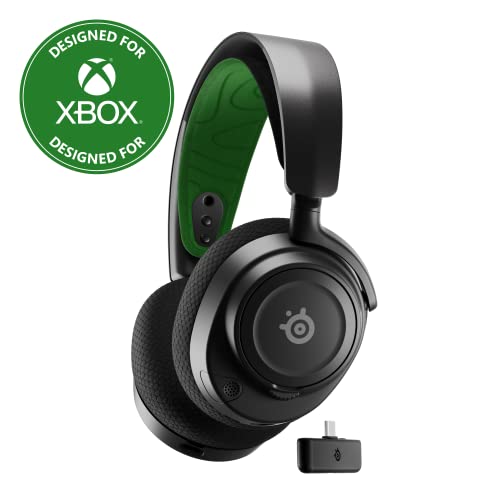
You might not realize how much dirt gets on your wired or wireless headset during each use. Additionally, if you take your best gaming headset with you using a bag, you’ll get dirt from these places and the bag itself. Since you use your device regularly for long periods of time, you should know how to clean your gaming headset. However, if you are in the market for a new pair, you can read our top-rated SteelSeries gaming headsets guide.
Key Takeaways_
- According to several brands, you should use a mix of 70% Isopropyl alcohol and 30% water to clean your preferred gaming headset.
- Cleaning your headset removes dirt from over-ear headphones and dirt and ear wax from in-ear headsets.
- When you clean your headset, you need microfiber cloths, cotton swabs, a toothbrush, a towel, and soapy water.
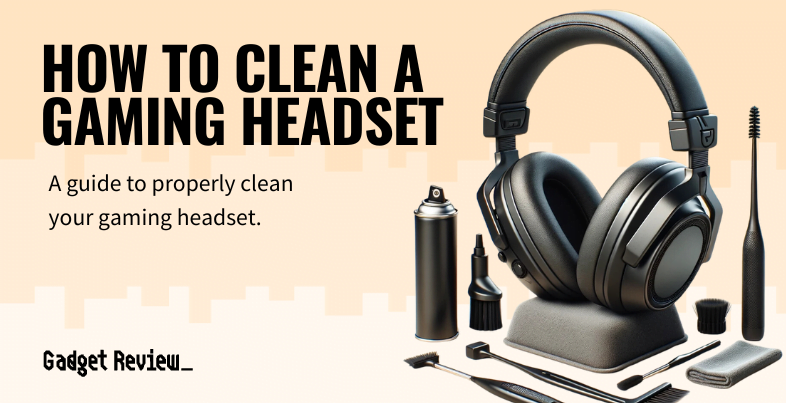
You need several household items to clean your gaming headset, including microfiber cloths, cotton swabs like Q-tips, a toothbrush or small device brush, a washcloth or towel, and soapy water. If you’re having trouble with your battery life, you should also learn how to change batteries in a gaming headset.
How to Wash a Headset or Headphones
You probably need to set aside enough time to clean the gaming headset and its earcups and let them dry. Ensure the earcups have dried completely before placing them back on the headset. You may also be interested in how to configure a 7.1 headset for gaming. Additionally, you can learn how to make a gaming headset louder. Or, if you are having comfort issues, read about how to make a gaming headset more comfortable.
Enhancing Your Gaming Headset Experience
When cleaning your gaming headset, it’s also beneficial to optimize your overall gaming experience. Understanding the differences between audiophile headphones and gaming headsets as well as gaming headphones vs. normal headphones can help you make informed choices. Proper setup is key, so learn how to set up your gaming headset for OBS to get the best performance during streaming sessions. If you encounter any unwanted noise, knowing how to get rid of background noise on a gaming headset can be incredibly useful. Additionally, if you wear glasses, discover how to wear a gaming headset with glasses for enhanced comfort.
Do not purchase a higher ratio of alcohol to water because it can strip the color from your headset and your ear pads. Ensure you do not use any thinners, solvents, or benzene when cleaning the device. Also, check the material on your earpads to determine what cleaning method to use for that particular material, such as mesh, leather, or velour. You can put some of these earpads in the washing machine.
Steps
STEP 1 Prepare the headset for cleaning
- Remove your earpads and unplug your cable if possible. Remove the mic if it is detachable.
- You might not be able to remove your earpads, so do not continue trying if they don’t come off easily.
- Some headsets do not have removable cables. If yours doesn’t, do not yank on the cable, as it can cause the headset to malfunction.
STEP 2 Clear any dirt
- Clear the dirt and grime from the ear cup’s surface with a damp towel or washcloth.
- Remove as much water as possible before wiping your earcups off.
- Set the earcups aside to air dry.
- Do not reassemble the headset yet because you still need to wipe it down again to remove the grime and disinfect it thoroughly.
STEP 3 Clean the ear cups and headband
- Soak a washcloth for a few minutes with a disinfectant or warm water solution mixed with dish soap or detergent. By doing so, you ensure the soap solution fully saturates the washcloth.
STAT: Use a ratio of 70% Isopropyl alcohol to 30% water, as found in common cleaning solutions. (source)
- While the cloth is soaking, use a cotton swab to remove dirt around the dials and buttons on the headset.
- Squeeze as much water as possible out of the damp cloth before using it. You do not want any liquid getting into the ear of your headset because it contains circuitry for the microphone and audio.
- Some headset manufacturers recommend using a moist microfiber cloth and moving in circles.
- Wipe down the earcup’s surface again, making sure to get any possible dirt. You can use a clean Q-tip again if you see dirt in and around the buttons. Again, try to avoid getting water inside the ear and speaker.
- Pull your headphones so that they are fully extended, allowing you to wipe each surface with the cleaning solution and soft cloth.
warning
While cleaning your gaming headset, be mindful of potential issues that can arise. If you notice that the gaming headset speaker and microphone both don’t work at the same time, it could indicate a more serious problem. Learning how to repair a short in a wired gaming headset can save you from unnecessary replacements. Additionally, be cautious with wireless headsets by knowing how to fix the charging port for a gaming headset. Proper cable management is also crucial; discover how to keep the gaming headset cord out of the way to prevent damage and ensure longevity.
- Make sure these areas dry before retracting them.
- Some Arctis headphones have a removable headband, which can be washed by hand or thrown in the washer.
STEP 4 Clean the mic
- Completely wipe down the microphone boom as well. Remove the pop filter if it uses one to clean the microphone.
STEP 5 Clean the ear pads
- Clean the ear pads as detailed in your manual. Different materials require unique treatment methods, so this process depends mainly on the headset model. You may have mesh, leather, velour, foam material, or other materials in your earpads.
STEP 6 Reassemble the headset
- Air-dry all components before reassembling the headset product.
- Enjoy your newly sanitized headset.
Maximizing Headset Performance
Maintaining your gaming headset goes beyond just cleaning. Learning how to take good care of your gaming headset is crucial for its longevity. Simple tasks like changing the batteries in your gaming headset can prevent unexpected power issues. For a flexible setup, explore how to use a Bluetooth headset for PC gaming. If you’re deciding between different audio setups, understanding the pros and cons of headset vs. speakers for gaming can help you choose the best option for your gaming environment. Lastly, if you’re considering a DIY approach, check out our guide on how to make a gaming headset to get started.

