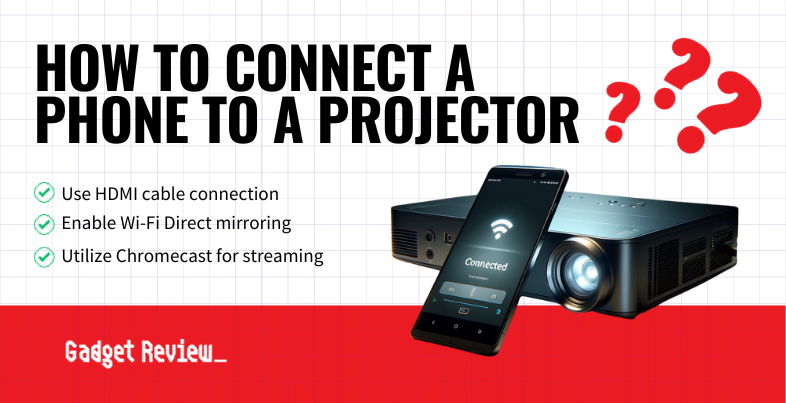
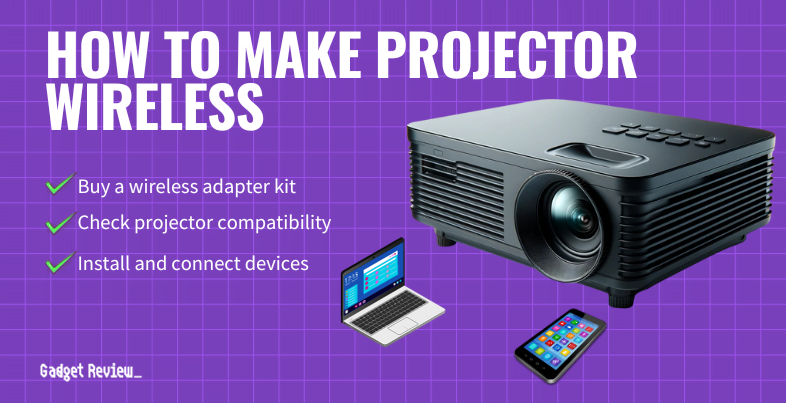
Ever wondered how to take your small phone screen and project it onto a big screen for everyone to enjoy? You’re in the right place.
Wired Connection Methods
Method 1 HDMI (Including MHL)
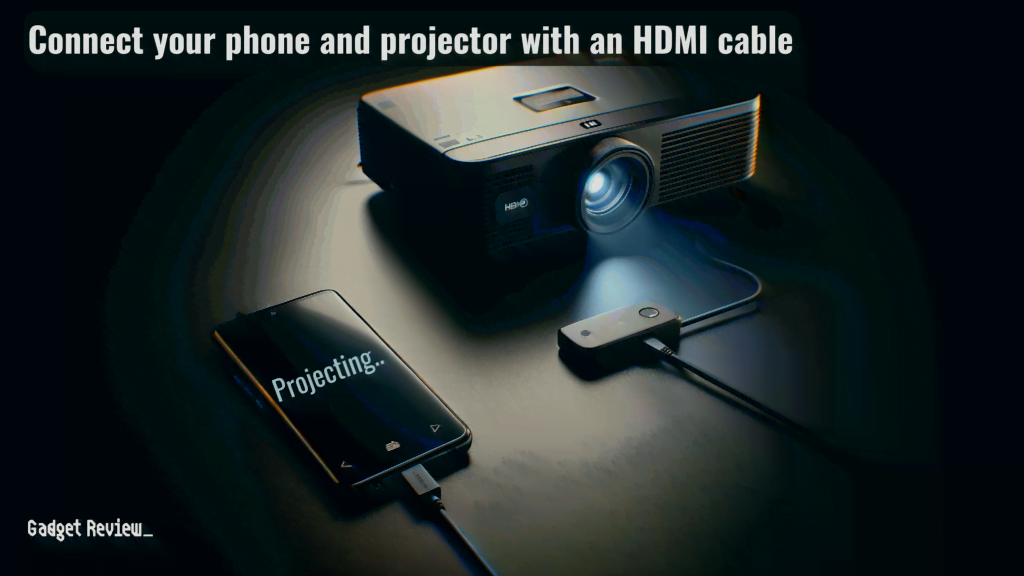
HDMI hookup is the most common, straightforward way to connect your Android or iPhone to a projector. This wired method has seen widespread adoption due to its ability to deliver high-definition video and audio from your phone to any HDMI-compatible projector.
- Plug an appropriate HDMI cable into your smartphone.
- Plug the HDMI cable’s other end into the projector’s HDMI port.
- Switch the projector to the corresponding input, and boom! Your content will be up on the screen.
For Android devices sporting micro USB ports, you’ll need to procure a special cable, commonly known as an MHL (Mobile High-Definition Link) cable. This power-packed cable not only enables screen mirroring but also charges your device simultaneously.
Remember, not all Android phones support MHL so it’s advisable to check your device compatibility before you go down this route.
Method 2 Lightning to HDMI Adapter
One of the preferred methods to hook up your iPhone to a projector is using a Lightning to HDMI adapter. Apple’s proprietary Lightning port makes this connection possible.
- Connect the Lightning to HDMI adapter to your HDMI cable.
- Plug the adapter-side of the cable into your smartphone.
- Plug the HDMI cable’s other end into the projector’s HDMI port.
- Switch the projector to the corresponding input, and you should be able to start enjoying your content.
insider tip
If you choose to use Apple products, make sure that you stick with the brand for all technology to enjoy the streamlined experience this brand provides fully.
Apple’s eye for detail ensures that their products integrate well with various technologies, so you can expect a smooth streaming experience.
Method 3 USB-C to USB-C / USB-C to VGA
Next in is the USB-C to USB-C method. Modern phones, predominantly Android, are now equipped with USB-C ports. This power-efficient, compact, and versatile port do away with the confusion surrounding the correct side of the plug when inserting it. It’s as simple as getting a USB-C to USB-C cable and connecting your phone to the projector – no need to fiddle with settings or menus!
- Similar process, plug one end of the USB-C cable into your smartphone.
- Plug the USB-C cable’s other end into the projector’s USB-C port.
- Switch the projector to the corresponding input of your phone.
Android devices also offer screen mirroring via USB-C, enabling movies, presentations, and applications to come alive on a much larger canvas.
warning
A lack of power can severely limit your ability to give a full presentation, so regularly check to ensure that your power cord is in good condition.
Or did you dust off an old projector from the attic that only has a VGA port? You can still enjoy your favorite movies and digital content on the big screen by leveraging a USB-C to VGA adapter along with a VGA to VGA cable.
- Attach the USB-C VGA adapter to one end of your VGA to VGA cable.
- Plug the adapter side into your phone.
- Plug the other VGA end into the VGA port of your projector.
- Switch the input of your projector to the correct one that is connected to your phone.
A key point to note here is to ensure that your phone supports video output via USB-C, otherwise these methods won’t work.
Wireless Connection Methods
Thanks to advanced technologies, there’s no longer a need to clutter your space with cables when connecting your phone to a projector.
Method 1 Wi-Fi Direct and Miracast
Your Android devices may support Wi-Fi Direct or Miracast, two power-efficient methods for wireless connectivity. This eliminates the need for any physical cables. In Wi-Fi Direct, you can stream content directly within Android’s menus if your projector has built-in support for it.
- Make sure both your phone and projector are connected to the same Wi-Fi network.
- On your phone, go to your Settings and then select Display or however your phone names that type of sub-setting related to your phone’s display.
- Select the name of your projector from the list of available devices.
- Your phone’s screen should now appear on the projector’s projected image.
However, the best practice using Miracast is to utilize a third-party app like Castto to establish the connection. As Miracast’s official support isn’t promised for modern Android devices, you might need to rely on Chromecast, a wired connection, or continue attempting with Wi-Fi Direct if initial steps fail.
Miracast works similarly to Wi-Fi Direct:
- Make sure both your phone and projector are connected to the same Wi-Fi network.
- From your projector settings, switch to ‘Screen Mirroring’ or ‘Device Mirroring’ mode to start.
- And, obviously, your projector needs to support Wi-Fi Direct to mirror your screen via this method.
Method 2 AirPlay
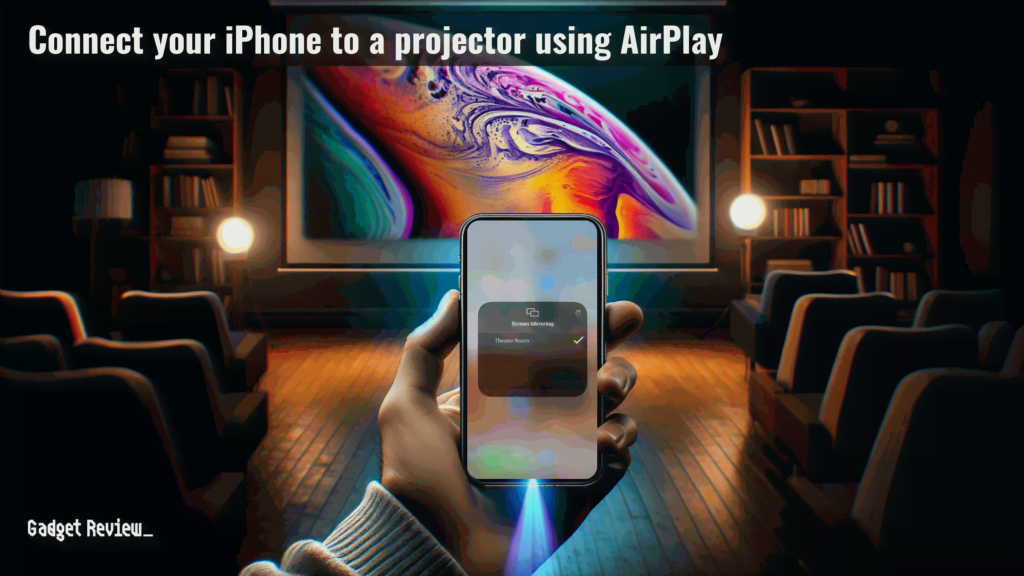
If handling cables isn’t on your agenda, then opt for the wireless path. Apple’s built-in AirPlay feature can smoothly achieve the screen mirroring you need. The technological marvel that AirPlay is gives you the freedom to control your screen content effortlessly.
If your projector is AirPlay-compatible:
- Connect both the projector and phone to the same Wi-Fi network.
- Go to the control center of your iPhone.
- Click on the icon for screen mirroring.
- Select the compatible projector available.
- Shift your mirroring slide to green.
- Hit “Done” and you should see your content mirrored onto the projected image.
For moments when your projector isn’t AirPlay-enabled, you can turn to third-party apps like Project Quick Connection or iProjection. They’ll cover for the lack of native support. You can also use Apple TV.
- Connect your Apple TV to the HDMI port on your projector.
- Connect the Apple TV and your iPhone to the WiFi network.
- Go to settings on your iOS device and find the control center.
- Select screen mirroring.
- Choose Apple TV from the list of available devices.
- Connect to your Apple TV and you should be able to start projecting your content.
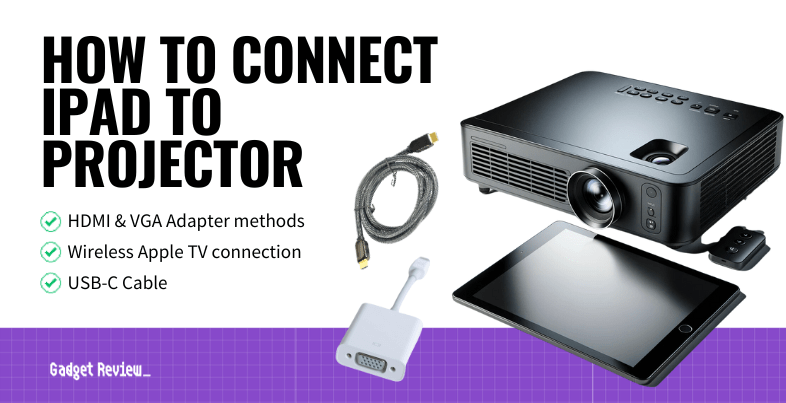
Connecting your iPhone to a projector enables larger-screen experience for work presentations, classroom projects, or impromptu movie nights at home. So, whether you’re a student, a professional or a movie enthusiast, these simple methods ensure the power of big screen is at your fingertips, anytime, anywhere. Without the need for a bulky laptop or complicated cable setups, your iPhone turns into a portable, all-powerful projector. All of this is similar to the ways of connecting a projector to an iPad.
Method 3 Chromecast
Chromecast offers another efficient method of connecting your phone to your projector wirelessly. This product is compatible with all Android smartphones and many projectors come with built-in Chromecast support.
- Connect your phone and projector to the same WiFi network.
- On your phone, launch Chromecast using the Google Home app.
- Click on the Chromecast built-in icon
- Select your projector via your phone’s settings. Then, you can project files, videos, or applications from your phone to the projector.
If your projector lacks this feature, you need to purchase a Chromecast adapter.
Remember, Chromecast adapters use HDMI input, making it compatible with most projectors supporting HDMI input. For projectors not supporting HDMI, you’ll require an additional adapter. Essentially, connecting to Chromecast is much like connecting your smartphone to a TV.
This revolution in connectivity is quickly rendering cables obsolete, making screen sharing a breeze regardless of whether you’re presenting at a business meeting or watching your favorite show on the big screen. Without the need for a physical connection, you’re free to move around at will, adding another level of convenience to your device usage. This is the beauty of how a smart projector works.

