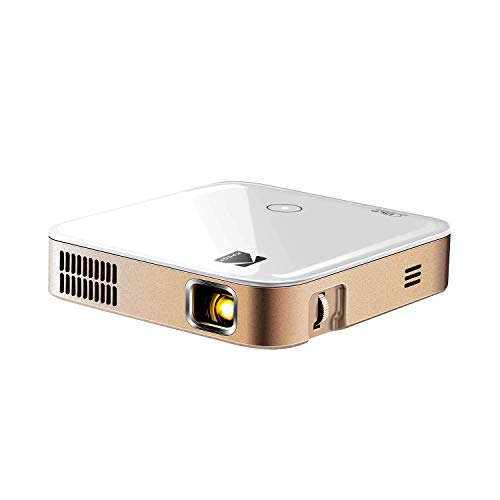
Connecting your laptop to a top projector via USB can be your ticket to a larger, more immersive display. It’s a simple and effective method that’s particularly handy for business presentations, classroom lectures, and movie nights.
STEP 1 Select the Right Cables and Adapters
This can be tricky considering different models of laptops have different video outputs requiring distinct types of adapters. Here, let’s see how you can identify your laptop’s video output ports and match them with the projector’s input options.
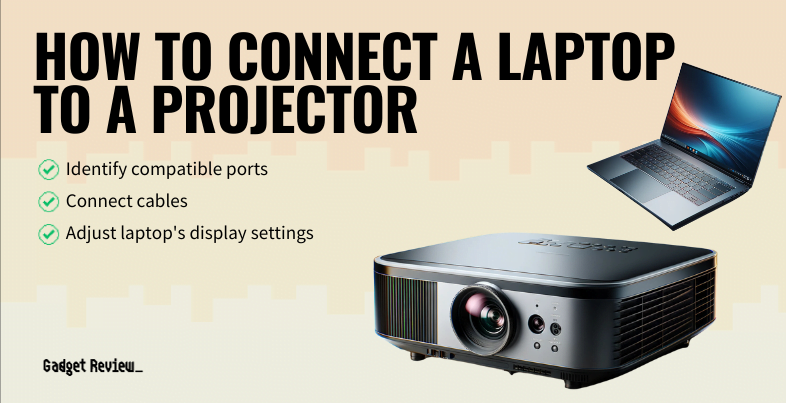
Most laptops have various types of video output ports such as HDMI, VGA, DVI, or DisplayPort.
- It might be a VGA port or a full-size HDMI port if it’s an older laptop model.
- A standard HDMI-to-HDMI cable is commonly utilized for linking laptops and projectors, providing high quality video and audio transmission.
- To connect using VGA, you’ll need a VGA cable for video transmission and a separate audio cable for sound. Additionally, if you’re looking to enhance your viewing experience, consider exploring the best iPhone projector options.
- More modern versions might have a mini DisplayPort or a USB-C Thunderbolt video output.
- If your laptop features USB-C ports, they too support video output. This’ll need a USB-C to HDMI adapter or a USB-C hub with an HDMI port.
STEP 2 Connect Laptop to Projector Using VGA Cables
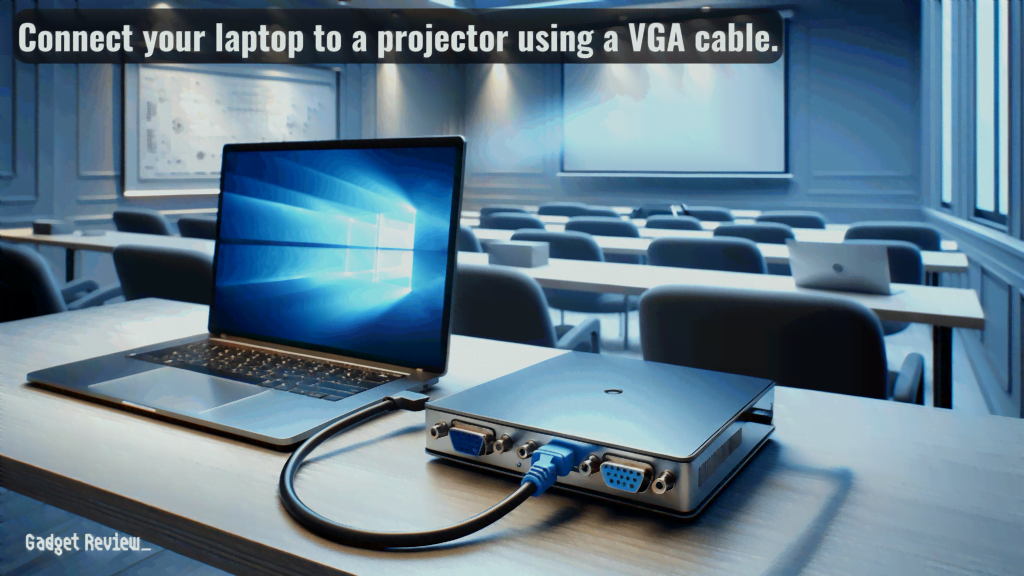
VGA, an acronym for Video Graphics Array, is a cable standard used for video transmission.
- First, locate the VGA port on your laptop, which can be found on the side or at the back.
- Connect one end of the VGA cable into the laptop’s VGA port and the other end into the VGA port of the projector.
- Turn on both your laptop and projector. You will then need to adjust your laptop’s display settings to either extend or duplicate your laptop screen to the projector.
Keep in mind, VGA cables only transmit video, so you’re going to need a separate cable for sound.
STEP 3 Connect Laptop to Projector Using HDMI
High Definition Multimedia Interface, better known as HDMI, is the most common method of connecting laptops to projectors.
- Check if your laptop and projector have an HDMI port that match in shape and size.
- Unplug both devices from power sources and plug one end of the HDMI cable into your laptop’s HDMI port and the other into the projector’s HDMI port.
- Power on both your laptop and projector and adjust the display settings, as necessary.
Unlike VGA, HDMI cables transmit both video and audio data, making them a preferred choice for many users. For those looking to maximize their projector experience on a budget, consider exploring how to make a projector with big results on a budget.
STEP 4 Connect Laptop to Projector Using USB
USB connections are typically used when HDMI or VGA ports aren’t available.
- Plugin one end of the USB cable into the laptop’s USB port and the other end into the projector’s USB port.
- Once the connection is secure, turn on both your laptop and projector.
- Depending on the projector’s software, you may need to install drivers on your laptop to ensure the projector displays correctly.
Remember, the visual quality with USB connections may not be as high as with HDMI or VGA.
STEP 5 Connect Projector to Laptop Wirelessly
For those who want to avoid cables, some projectors offer wireless connectivity options.
- If your projector supports wireless connections, ensure it’s turned on and in discovery mode.
- Open the projection app or software on your laptop and follow the instructions to connect wirelessly.
Wireless Connections offer the advantage of mobility and unrestricted movement, especially useful in larger conference rooms or classrooms.
Remember, the quality of signal depends on the strength and reliability of your wireless network. Consider each of these options carefully and choose the best one to suit your projection needs.
STEP 6 Configure Display Settings
In this section of the article, we’ll configuring display settings once your laptop is connected to a projector, enhancing both your experience and the contents you’re presenting. Whether it’s for meetings, entertainment, or educational purposes, the right setup can make a significant difference.
- Configuring the Display Screens
- Once connected, navigate to the Control Panel on your laptop. Here, you’ll find settings to configure your display screens.
- You have the option to duplicate your laptop screen on the projector, extend it as a separate display, or use only the projector screen.
- For presentations and meetings, mirroring your display might be most effective, while separate displays can enhance the entertainment experience.
- Adjusting Resolution and Orientation
- In the display settings, also adjust the screen resolution and orientation to match the projector screens. This ensures that your contents are displayed correctly, without any distortion or misalignment.
- Audio Configuration
- If your presentation includes audio, ensure that your laptop is configured to send the sound to the appropriate output.
- While some HDMI cables carry audio to the projector speakers, others might require a separate audio connection.
- Check your projector’s audio settings and test beforehand to ensure everything works seamlessly.
- Saving Your Settings
- Finally, once you have configured your display settings, save them in a list or profile within your Control Panel.
- This allows for easy setup in future use, especially if you frequently connect your laptop to different projector screens.
The right configuration of your laptop’s display settings can greatly enhance your overall presentation experience. By following these steps, you ensure that both the visual and audio contents are delivered effectively, making your meetings, classes, or entertainment sessions more engaging and impactful.

