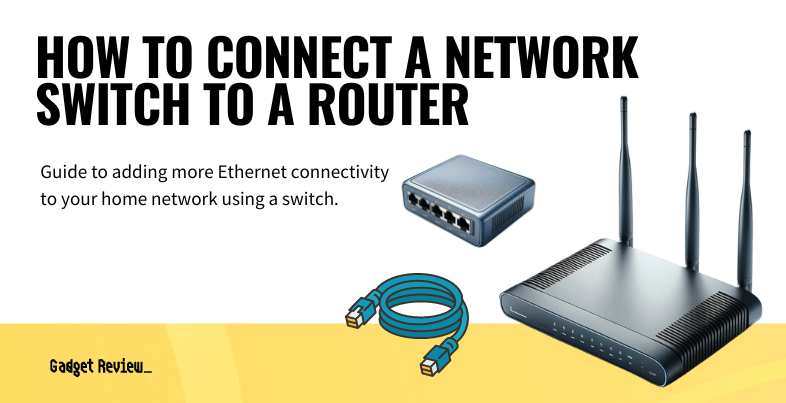
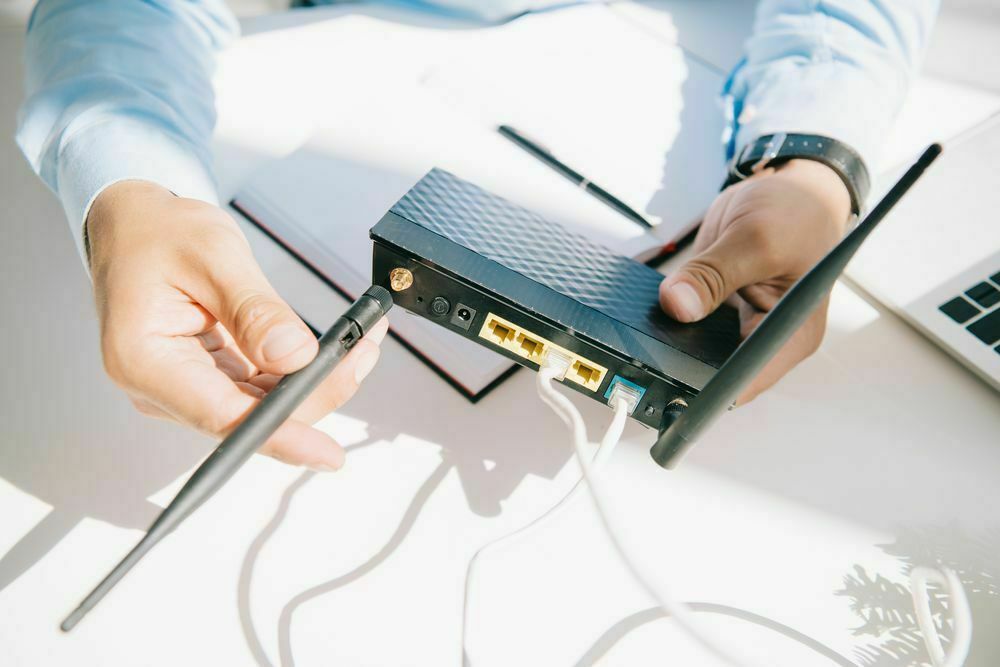
If you’re shopping for the best router or the best wired router, you may want to connect multiple network devices to your cable modem. While a wireless router is fine for most users, a network switch provides additional ethernet ports for wired devices. Even if you’ve never tinkered with a networking device before, network switches are easy to set up; you just need to plug in an Ethernet cable to connect it to your router. For more guidance on expanding your wired network, continue reading this guide.
Before you dive in, if you have any other issues with your routers or switches, you might like our other helpful guides like how to connect a cable modem to a wireless router, how to check connected devices on a WiFi router.
Key Takeaways_
- A network switch gives you additional ethernet connections for your wired internet devices.
- You can connect your router to a network switch with a single ethernet connection.
- Do not connect your network switch directly to the modem because most modems do not have enough security to keep your devices safe on the internet.
How to Connect a Gigabit Switch to a Router
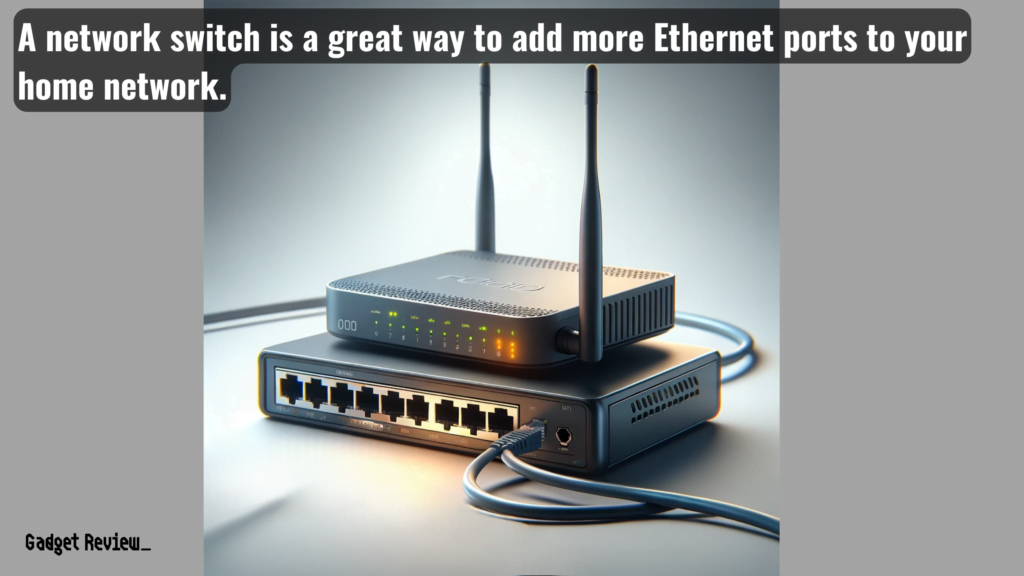
Even if you’re unsure what cable to connect a router to a switch, you can still set up an ethernet switch for your local network.
In addition, most setups don’t need any device configuration outside of telling your gaming console or computer to use an ethernet cable instead of the wireless network.
For those who prefer a wired Internet connection, using Ethernet ensures more stability and faster speeds compared to Wi-Fi networks.
insider tip
Pay attention to the physical interface on your network switch if it isn’t working correctly. Some models have a power button or mode switch.
However, if your current router does not support gigabit speed, you might want to upgrade to fully utilize the capabilities of your gigabit switch.
By connecting a gigabit switch to your router, you can provide high-speed internet access to multiple ethernet devices, helping to enhance your network’s efficiency and capacity.
STEP 1 Remove Your Current Setup from Power
- Remove all power supplies from the outlet to reset your modem and router to start the process.
- Then, unplug all ethernet cables from the modem and router.
- This might also fix minor bugs, like if your router keeps restarting on its own.
STEP 2 Ensure Your Modem is Connected
- Next, make sure the coaxial cable is snugly screwed into the wall and the modem. Before setting your modem down, take a paper towel and wipe any dirt or dust away from the unit.
STEP 3 Plug the Ethernet Cable into Your Router’s WAN
- Take an ethernet cable and plug it into your modem. Take the other end of the cord and plug it into your router’s WAN port.
STEP 4 Connect Your Network Switch to the Router
- Get another ethernet cable and connect one side to your router’s LAN port. Plug the other side into a network switch port.
- Unmanaged switches are often preferred for simple home setups when choosing the type of switch.
STAT: According to a 2018 survey from the US Census Bureau, 53% of US households are “high-connectivity” homes. Families with a high connectivity rating have a desktop or laptop, smartphone, tablet, and broadband internet connection.
STEP 5 Connect all Devices to a Power Outlet
- Connect your devices to your power system. Your internet should be back online within a few minutes.
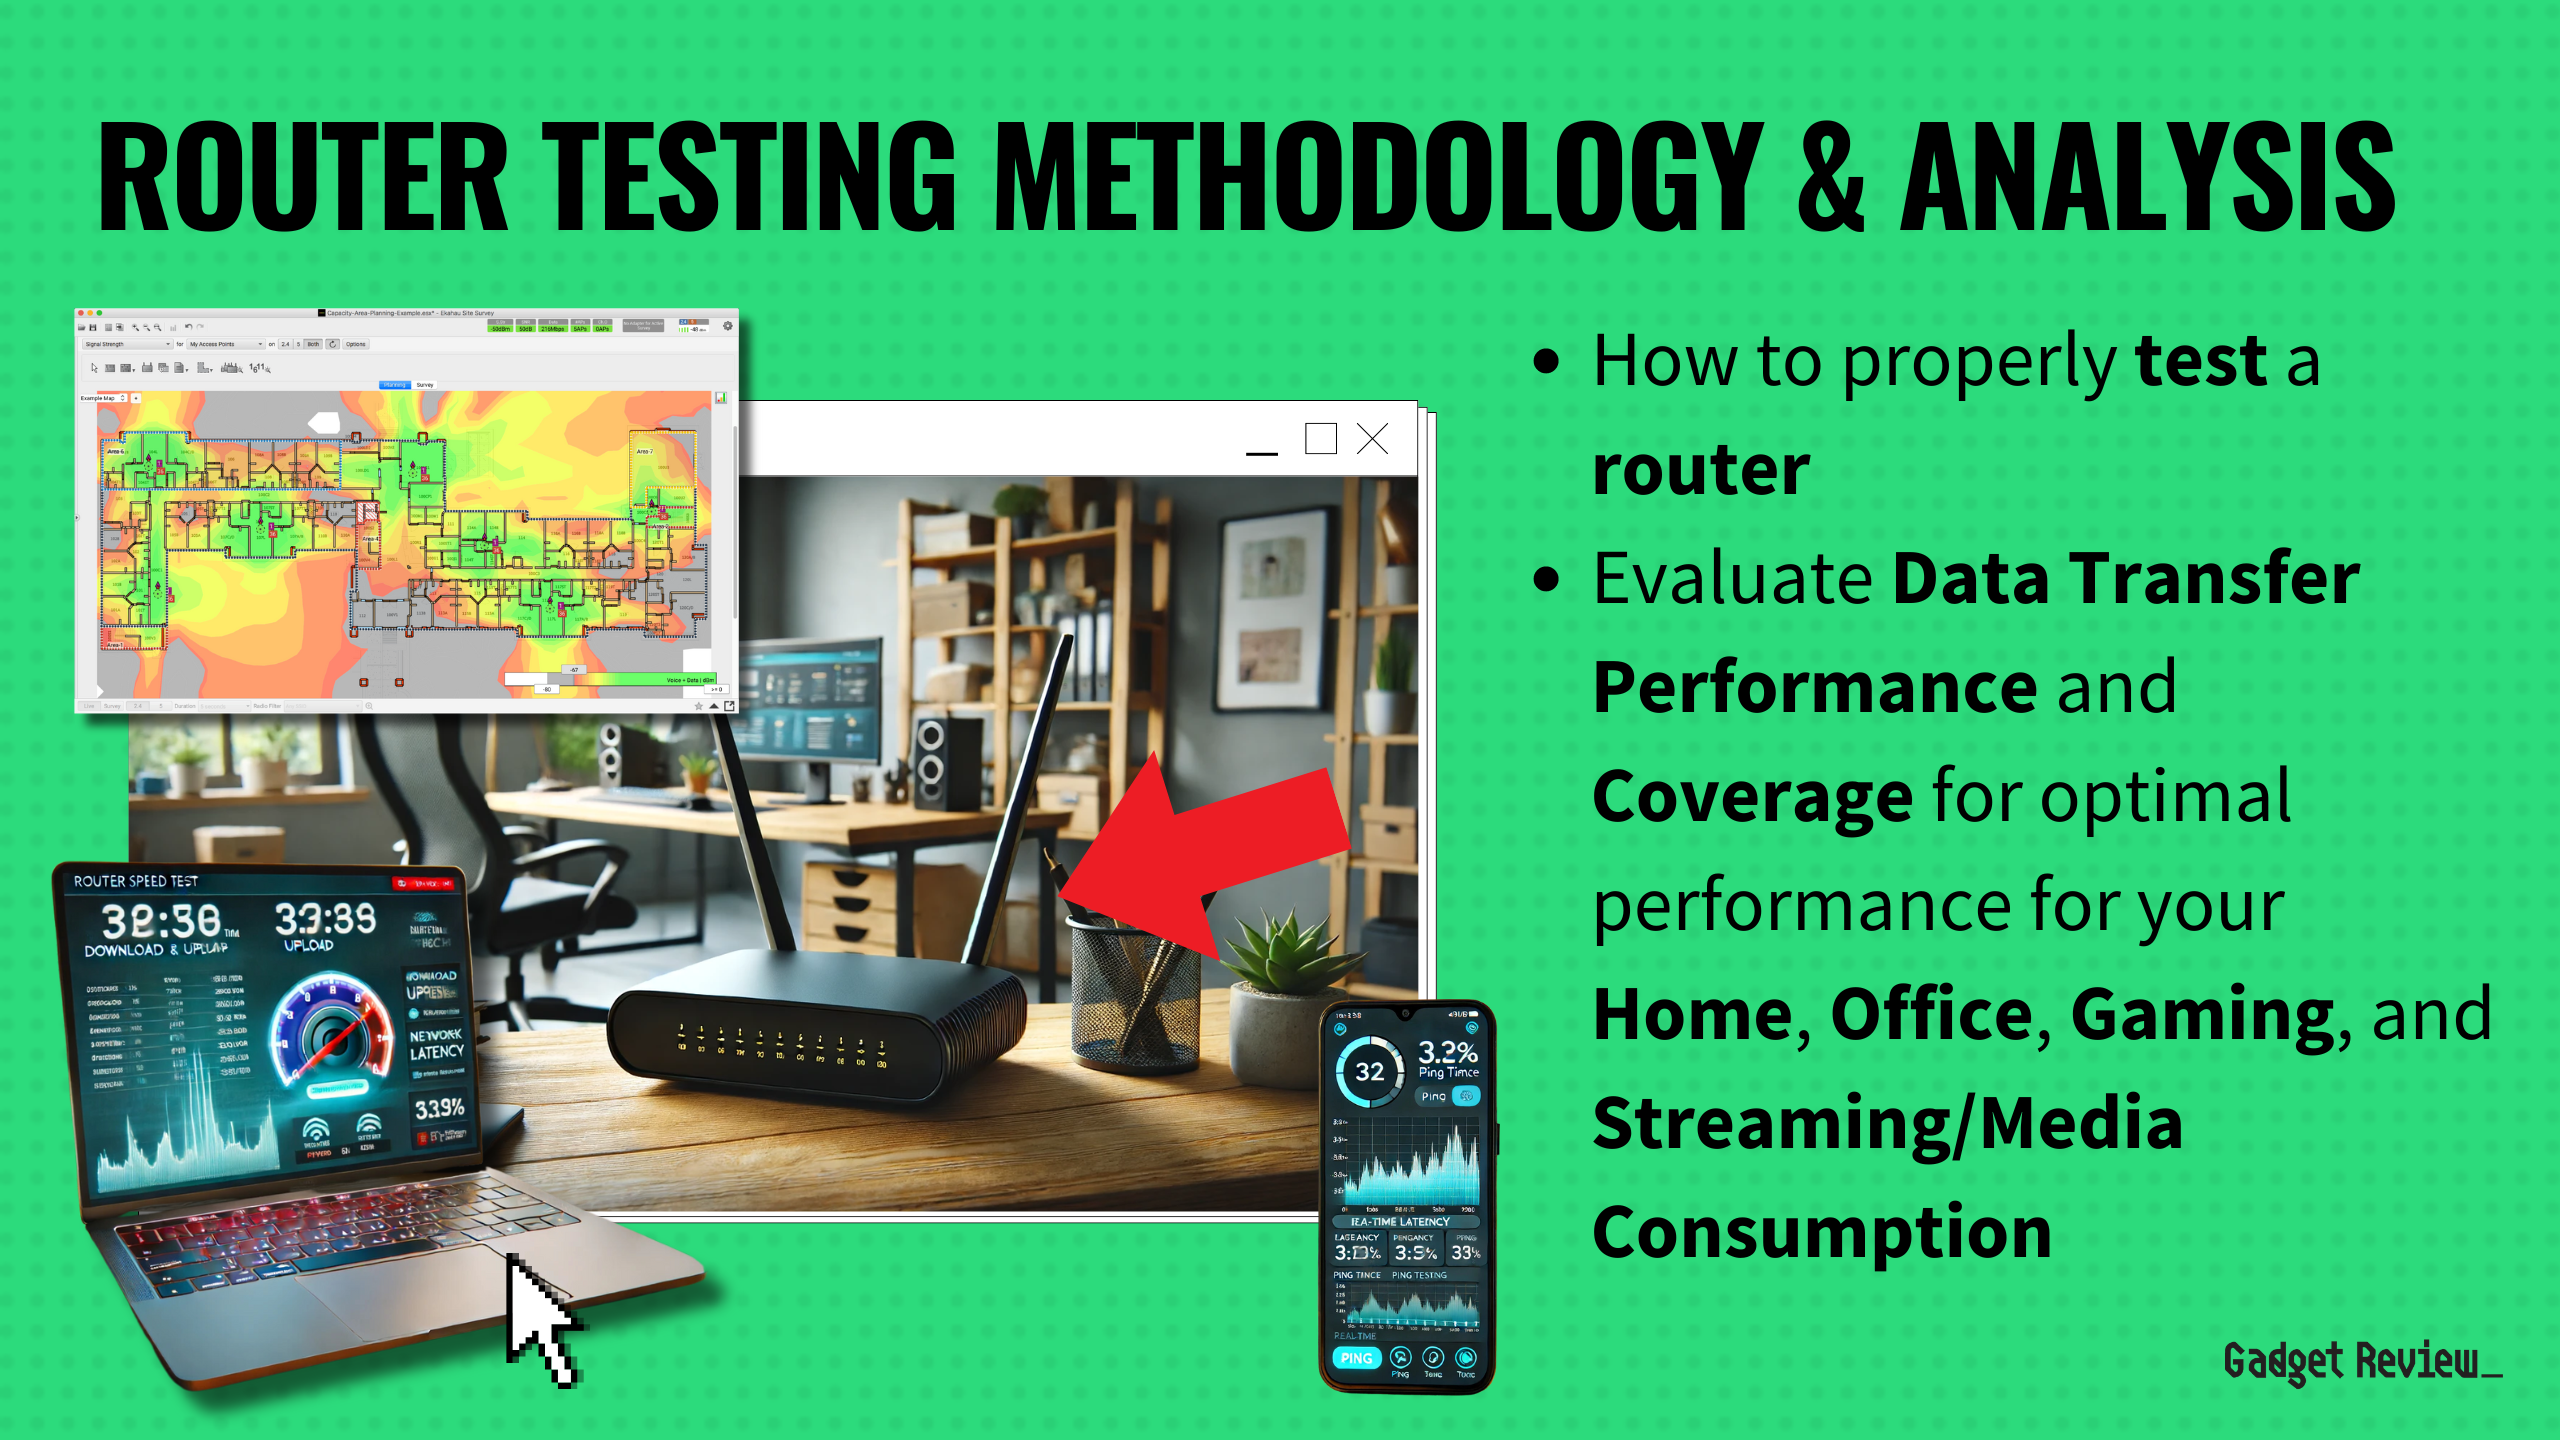
- You can ping your router to ensure you are getting a signal.
warning
Be careful about whom you give administrative access to on your local network. Administrators can change device settings and alter your router IP address.
Using a switch allows you to connect additional devices that require a wired connection, expanding your network’s reach and capabilities.
Once everything is connected, your ethernet devices should now enjoy enhanced ethernet speeds, ensuring a more reliable and faster network experience.
For those looking to extend their wired networks, learning how to use a laptop as a router can be an economical and efficient solution.

