One of the most desired qualities in a printer is internet connectivity. Today, most of the best printers will have wireless connections, but setting them up can be a hassle if you aren’t sure what to do. For a simple rundown, you’ll want to connect the printer to a Wi-Fi network and then connect the computer to the same Wi-Fi network. After that, enter your device settings and then add the wireless printer. Finally, run a test job on the printer.
Key Takeaways_
- Connect the printer and computer to the same wireless router before attempting to print anything.
- After connecting to Wi-Fi, set up the printer as the computer’s default print device.
- Both Android and Apple devices offer printing through compatible apps.
Consequently, there are also similar struggles when learning how to print from a phone to a wireless printer.
Our connectivity coverage for the best-all-in-one printers has other articles you can read as well, like what port your printer should be on or how to repair the wireless connection on your printer.
However, we have articles that reach beyond just connectivity issues as well. For example, we have helpful pieces on how to disassemble a printer or how to dispose of an old printer.
insider tip
Some printers must first be connected to a computer via a USB cable to install the proper printer driver software.
Wireless Printer Network Connections
Connecting your printer to a Wi-Fi network is easy once you understand the basics.
However, the process is slightly different depending on your device’s operating system and your printer’s functions. But generally, the below guides should point you in the right direction to getting your printer hooked up.
Connect the Printer to a Windows Computer
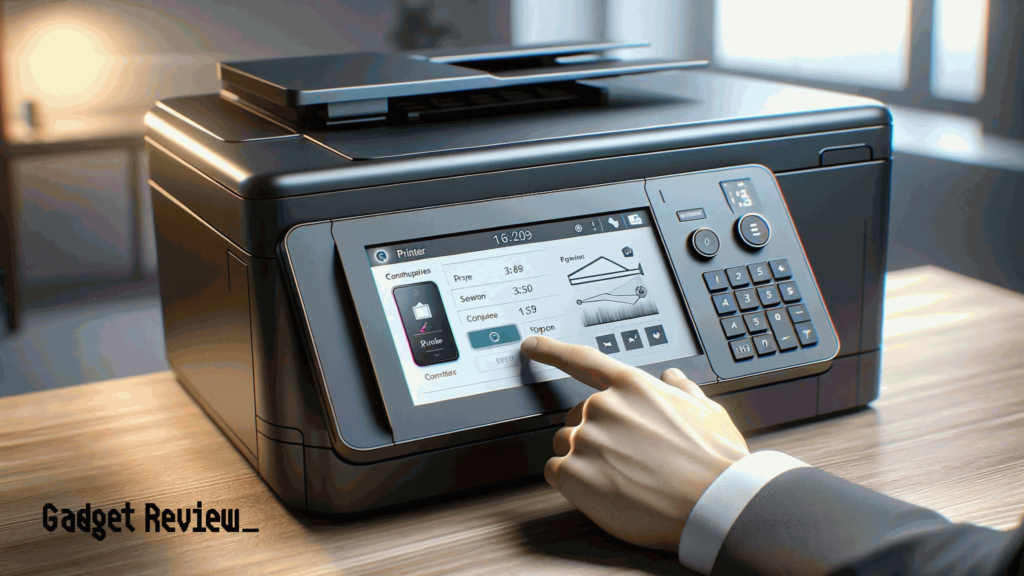
STEP 1 Connect Printer to Wi-Fi Network
Using your printer’s touchscreen or button-powered navigational system, go into the device menu and access the wireless settings. If you need help, consult your user manual. Once you reach the wireless settings, enter the Wi-Fi network and password to connect.
STEP 2 Connect Computer to Wi-Fi Network
Enter the same wireless network information into your computer.
STEP 3 Enter Your Device Settings
On your computer, open the control panel, then press settings. On the sidebar, select “Bluetooth & Devices.” Then select “Printers & Scanners.”
STEP 4 Add the Wireless Printer
Press the option to “Add device.” When your model appears on the printer list, press “Add device” again. If the printer in question doesn’t appear, select the option that says, “The printer that I want isn’t listed.” Next, you can plug in the printer’s IP address to connect it to your computer.
STEP 5 Run a Print Job Test
After the printer has successfully been added, select “Print a test page” to ensure it works properly.
Connect Your Printer to a MacBook
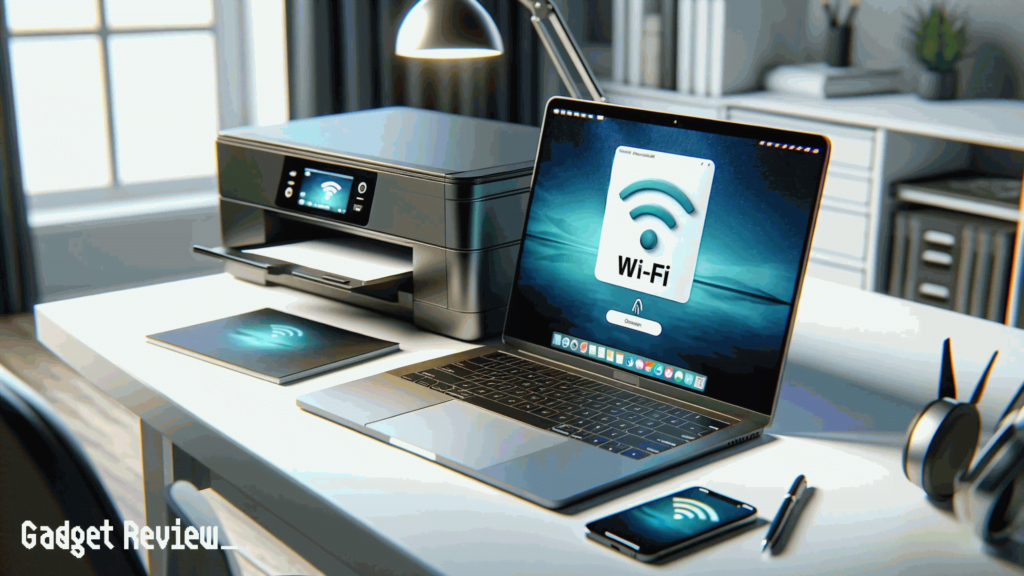
STEP 1 Connect Printer to Wi-Fi
Consult your printer manufacturer’s user manual to figure out how to navigate to the printer’s wireless network settings. After finding the connection settings, enter your Wi-Fi connection information.
STEP 2 Connect Computer to Wi-Fi
Press the Wi-Fi button on your computer and ensure it’s connected to your printer’s Wi-Fi router.
STEP 3 Enter Printer Settings
Go into your Apple menu. On the dropdown, select “System Preferences.” Then press the printer icon that says “Printers & Scanners.”
STEP 4 Connect the Printer to Your MacBook
Press the “+” button on the bottom left-hand corner of the printer list and let the computer scan for any available printers. Once your printer model appears, select it and press “Add” in the bottom right-hand corner.
STEP 5 Run a Test Print Job
Press “File” at the top of your computer menu bar and then press “Print.” Run a print test to make sure the connection process went through successfully.
STAT: Office employees print an average of 34 pages per day. (source)
It should be noted that you don’t need a computer or laptop to print wirelessly either; if you prefer the convenience of your phone, we have a great guide on how to print from your phone.

