If you’ve played games or listened to music through a wired or wireless pair of headphones, you may have wondered how to control pops on a gaming headset. Unfortunately, a popping, crackling, or static sound could signify something wrong with even the best gaming headset.
Key Takeaways_
- Check your EQ settings and auxiliary cable port to reduce pops and increase the quality of the game sounds in your gaming headset.
- If you are using a Windows PC, you may need to update your headset’s audio driver to eliminate crackling and other quality problems.
- Reduce your microphone sensitivity to avoid extra background sound from your environment, and keep the microphone slightly away from your face.
You may have a loose or broken cable, problems with your audio port, an outdated driver, or an overly sensitive microphone. To reduce these issues, follow the troubleshooting steps below. Also, if you have a new gaming headset and an older console, learn how to connect a gaming headset to a PS4. Additionally, read our guide on connecting a gaming headset to an audio interface for an alternate option.
How to Fix Popping on Your Headset
If you have a wired headset, it plugs directly into the USB port on your device. The first troubleshooting step you should try is making sure your headphones’ cable is fully plugged into the audio jack on your controller, laptop, or computer to reduce sound from the cable moving.
Enhancing Your Gaming Headset Experience
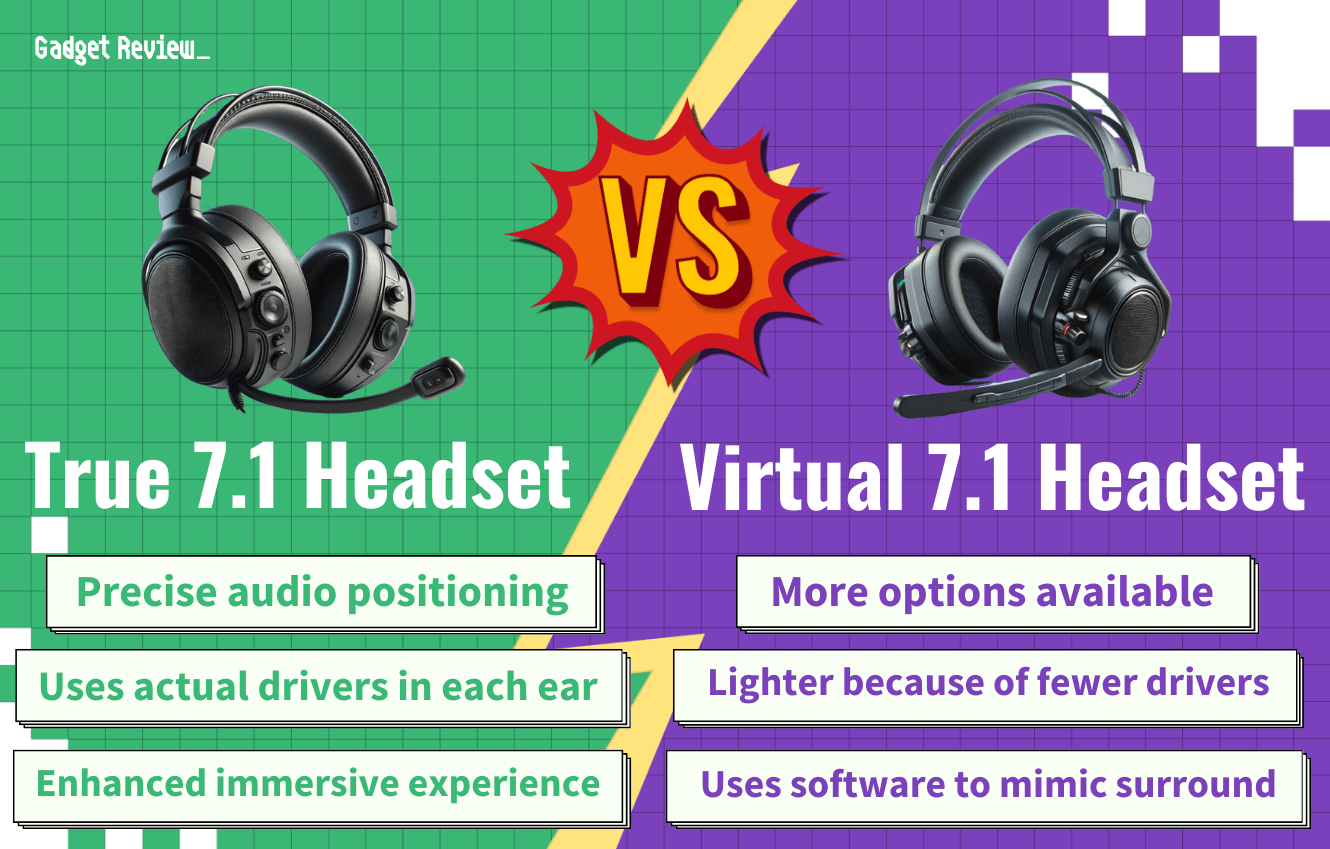
To get the best audio experience from your gaming headset, it’s essential to understand the difference between audiophile headphones vs gaming headset and gaming headphones vs normal headphones. For those who want to elevate their setup, learn how to set up your gaming headset for OBS to improve your streaming experience. Configuring your headset correctly is key, so check out our guide on how to configure a 7.1 headset for gaming. If you need to get rid of unwanted noise, follow these tips on how to get rid of background noise on a gaming headset. Additionally, if your headset uses a combo jack, understanding how to use a combo jack with a gaming headset can enhance your connectivity.
If that step doesn’t eliminate the problem or you don’t have a wired gaming headset, there are a couple of steps to try, including adjusting your equalizer (EQ) settings and updating your driver.
STAT: If the headset fails on one device but works properly on another, the issue could be due to a defective computer or device audio port. (source)
If your gaming teammates are commenting on a popping sound coming from your audio, you may need to reduce the sensitivity of your microphone or pull it away from your face. The directions for this adjustment can be found in the second section below. And if it’s an echoing sound you’re hearing, check out how to disable the echo on a gaming headset.
warning
Be careful to prevent common issues with your gaming headset. If your headset disconnects frequently, understanding why does my gaming headset disconnect while gaming can help you troubleshoot and fix the problem. To enhance your overall gaming experience, consider how to make any gaming headset surround sound PC. When setting up your headset on communication platforms, knowing how to set up a gaming headset on Discord ensures clear and uninterrupted communication. If you have long hair, it’s important to know how to wear headphones with long hair to avoid discomfort during extended gaming sessions.
We also have other great guides you can read, like how to make a gaming headset if you like DIY projects. Additionally, regardless if you made it or not, we also have more articles to help you with issues that may pop up. If your wireless headsets cord is not working like it’s supposed to, check out our guide on how to fix the cord on a gaming headset. Additionally, we have a guide on what you can do if your gaming headset speaker and microphone don’t work at the same time.
Method 1: How to Update a Driver on a PC
STEP 1 Navigate to Device Manager
- Open the “Start” menu. This menu now features a Windows symbol instead of the word start.
- Type “Device Manager.”
- Double-click on “Audio Inputs and Outputs.”
STEP 2 Update the drivers
- Right-click on your headset’s option.
- Open the “Update Drivers” window and choose “Browse my computer for drivers.”
- If your driver software is on your hard drive, it will find the most applicable one. You may need to download a headphone-specific driver, which will be on the manufacturer’s website.
- Choose the newest on the list, click “Next,” and follow the on-screen prompts.
STEP 3 Restart the computer
- Go into your “Control Panel” and find the power settings.
- You could also check your equalizer settings for issues in the sound settings.
- Switch to “Highest Performance” before restarting.
Method 2: How to Change the Xbox Settings For Crackling
STEP 1 Adjust audio settings
- Open the Xbox menu by pressing the Xbox button on the Xbox One controller.
- Go to Settings, select General, then Volume & Audio Output, and finally, Advanced.
- Select the Audio setup option.
STEP 2 Run the diagnostic test
- Select the audio setup option you want to use and then press the A button.
Maintaining and Troubleshooting Your Gaming Headset
Proper maintenance is crucial for the longevity of your gaming headset. Learn how to take good care of a gaming headset to keep it in top condition. If your headset is wireless, it’s important to know how to change batteries in a gaming headset to avoid interruptions during gameplay. If your headset has a wired connection, knowing how to repair a short in a wired gaming headset can save you from buying a new one. For those dealing with volume issues, find out how do I make my gaming headset microphone louder. Regular cleaning is also vital, so follow these steps on how to clean a gaming headset to maintain hygiene and performance.
Method 3: How to Control Pops on a Microphone for a Gaming Headset
STEP 1 Go to sound settings
- Enter your sound settings from the settings menu or your headset’s software.
STEP 2 Adjust microphone sensitivity
- Find the bar representing the microphone sensitivity and slide it to the left.
STEP 3 Test the microphone
- Check your audio using the microphone test option and adjust accordingly to eliminate issues.
- Save your changes

