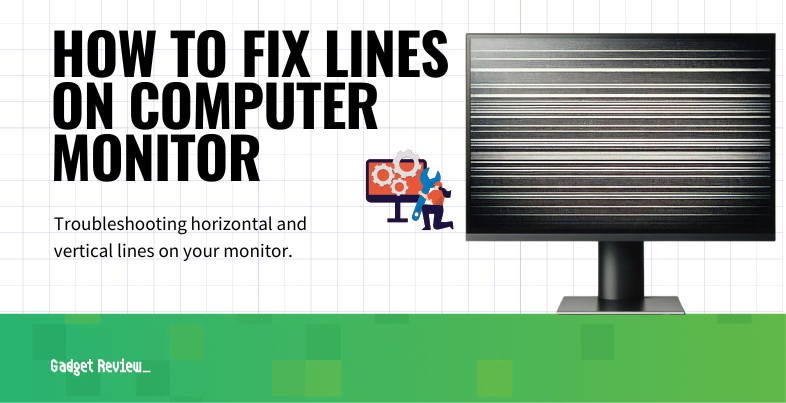
Vertical and horizontal lines on the best desktop monitors can ruin the immersive effect of your display, which is especially frustrating if you’ve invested in your monitor, like one of the best curved gaming monitors. To find out how to fix annoying vertical lines or horizontal lines on an external monitor, you’ll first want to test the picture to find out what causes these lines on the computer monitor, whether the problem is from the PC, cable box, or another input source, or if the fault is with the monitor, its LCD panel or internal hardware itself.
Troubleshooting Lines On your Monitor
Before attempting any other troubleshooting, the first step toward finding solutions for this desktop monitor problem is to isolate the source of the issue.
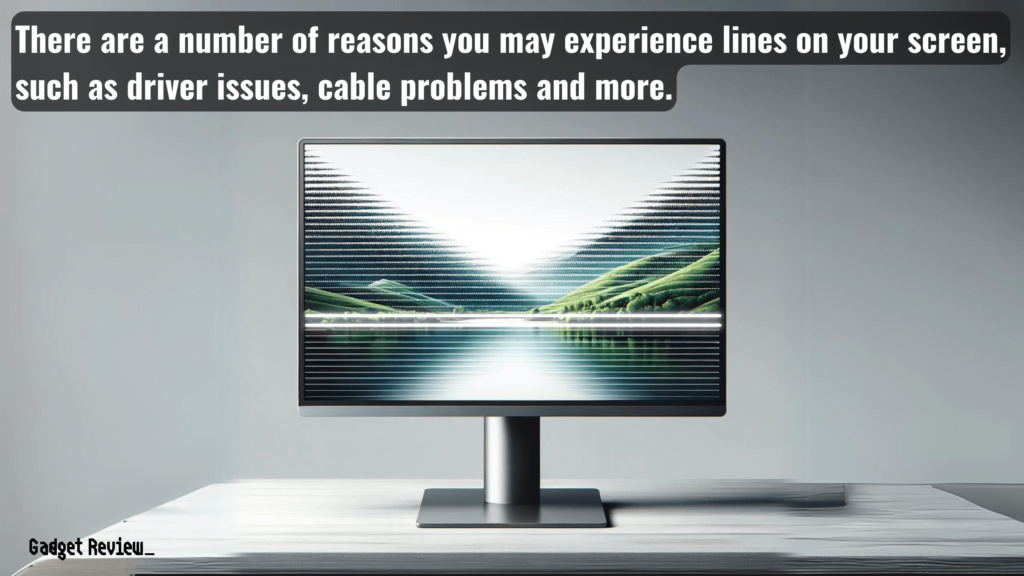
If you’re dealing with a laptop, check for lines on the laptop screen specifically, as the issue might be different from a desktop screen.
If you see light leaking on the edges of your monitor screen, you may have blacklight bleed.
Physical damage to the screen can also cause screen lines, so inspect your monitor for any signs of damage.
Restart Your Computer
Sometimes, simply rebooting your computer can fix the issue of lines on the monitor. This step can potentially resolve temporary glitches that might be causing the problem.
Press the power button to perform a cold restart, which can also help clear any residual power that might be causing screen glitches.
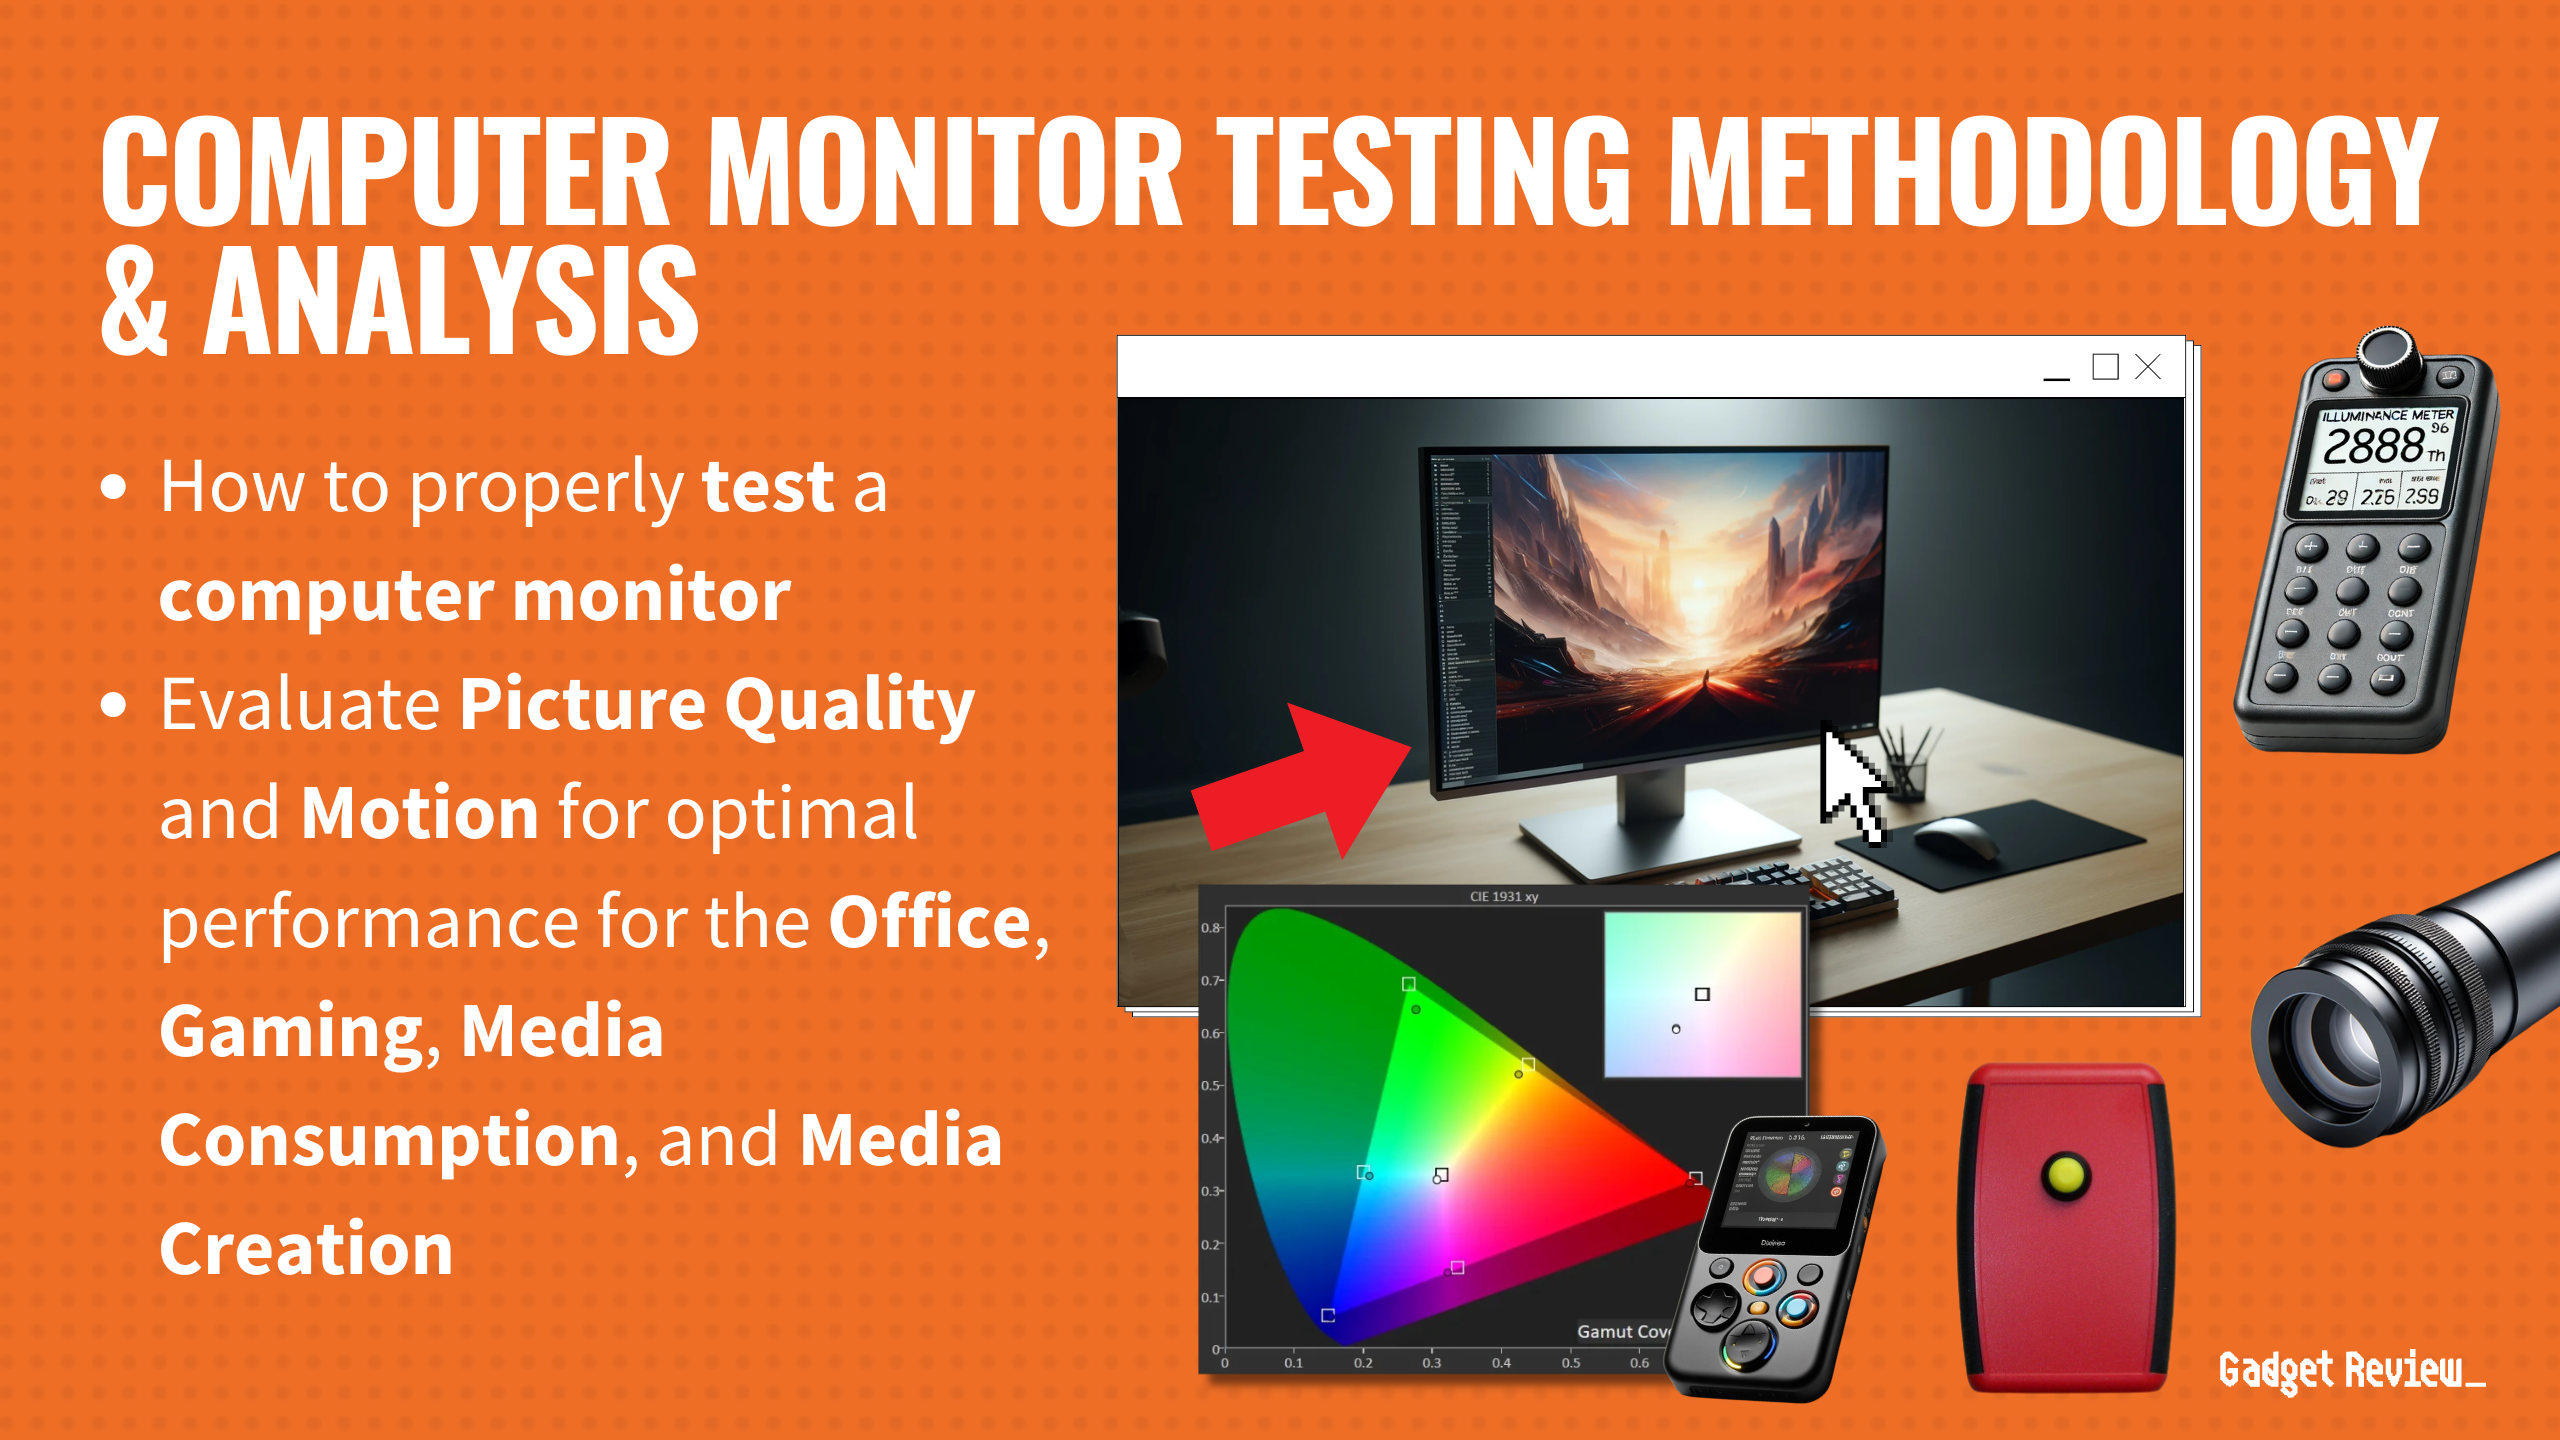
Perform a Picture Test
Another option is to test out the image on your favorite computer screen without any peripherals connected. Incorrect video cable connection can often lead to screen issues, so ensure that your monitor cables are properly connected.
To do this, disconnect all cable connections and use the remote control or the control panel to disconnect Bluetooth and Wi-Fi if your external monitor is so equipped.
If there are no vertical or horizontal lines on the default picture or menu screen, then the problem is likely due to your PC or input device or to your cable connections.
If the lines still appear, then the issue is likely to be with the external monitor itself.
Display Device Issues
If the monitor shows lines when not connected to any cables or input method, the problem is likely with the monitor itself.
STAT: The typical lifespan of an external monitor or any backlit LCD screen is around 30,000 to 50,000 hours.
Image issues such as lines can be caused by defective ribbon cables or the LCD panel itself. If this is the case, the repair process will depend on what the hardware problem is. In such cases, visiting a repair shop might be necessary.
Input Method Issues
If the lines go away when your external monitor has no input, then you’ll want to look for a connection issue or an issue with your PC or laptop’s graphics drivers, driver settings, or picture settings.
Ensure that the input signal from your PC or laptop is consistent and not causing the issue.
Additionally, you may want to check for any input lag issues with your monitor at this time.
Check all Cables
Make sure all cables are connected securely. A loose connector can cause various picture issues, including gray lines, pink lines, or green lines.
Unplug your monitor from the input device and check the condition of the ports.
You may be able to see if there are any bent or broken pins in the connectors of these input terminals. Double-check the cables if you have two monitors.
warning
Don’t use a paperclip or other metal object to try and clear out a port.
If you need more organization in your space, consider the best dual monitor mount.
If you have a spare cable that you know works, you can try connecting the external monitor with it and see if the problem goes away.
Try a Different HDMI or DisplayPort Cable
If the problem persists, try using a different HDMI or DisplayPort cable. Faulty cables can often be the cause of lines appearing on the screen.
Repair or Replace Damaged Cables and Input Terminals
If you find a damaged part, you can either consult a repair service or professional repair technician, or you might want to fix it yourself using an electronics repair kit.
Use caution when removing ports, and always unplug a monitor before working on a repair. You may need to consult the owner’s manuals to see what types of repair tools will be needed.
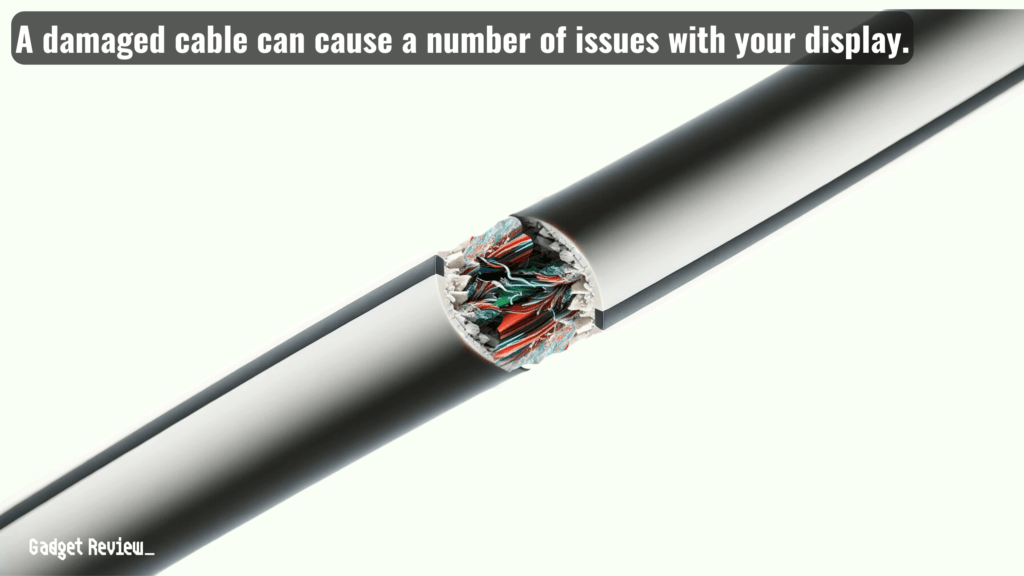
If the cable is faulty, the solution may be just to buy a replacement cable.
That may be the best path if you need to immediately fix your monitor and can’t spend time researching and repairing the damaged part on your own, like if you use your monitor for work.
Check Graphics or Video Card
Look for any video or graphics card driver with a yellow exclamation mark or question mark. These common error notifications may mean your laptop or PC graphics drivers are out of date.
STAT: As of Q1 2021, the highest-resolution mass-production monitors on sale have a resolution of 7680×4320 pixels.
Run a System Scan
Alternatively, you can run a system scan to discover errors and graphics driver software issues.
If there is a problem with your graphics card driver, it may show up on a system scan.
Try booting up in safe mode or BIOS, if available; this will often show whether the display issue is a software problem or a hardware problem.
Also, check your display settings in your operating system to ensure they are correctly configured.
Try changing the screen resolution
A screen resolution adjustment may also help. If the device picture settings are not compatible with the monitor’s native resolution, you may see errors such as lines on the screen.
Incorrect screen resolution settings in your operating system’s display settings can also cause these issues.
STAT: The average power consumption of a 19” CRT monitor is around 100 W, while that of an equivalent LCD or OLED screen can be as little as 10-20 W.
On a Windows PC, setting a display resolution or refresh rate that is not supported can damage a monitor. This is more often a risk with older CRT monitors.

