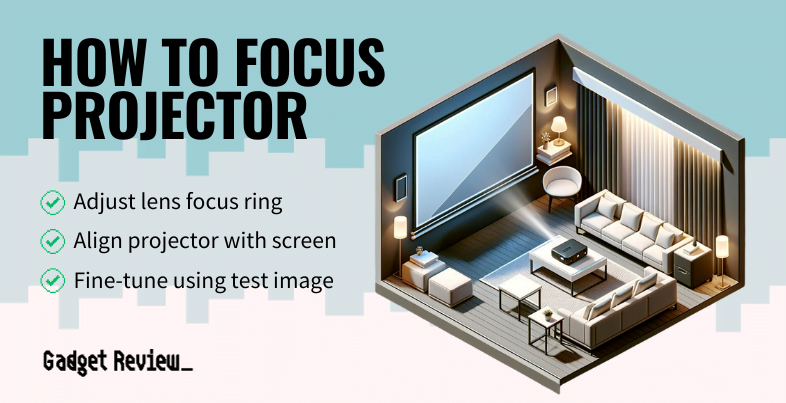
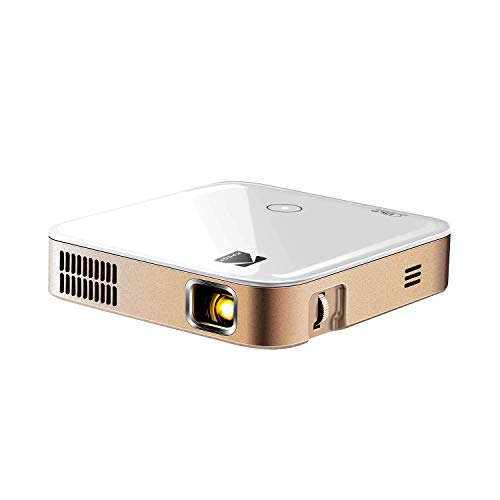
Even if you have the best projector money can buy, you won’t get the ultimate image clarity without focusing the projector lens. In most cases, you need to make manual adjustments to get the best image quality. Luckily, countless projectors allow you to fix lens shifts and keep the image sharp only using your control panel or remote control.
This is ideal, as there’s a higher chance of injury or damaging the projector when you open it. That’s why it’s important to know the watts of the projector, so you don’t get zapped. Read on to learn how to focus a projector lens.
Key Takeaways_
- Check your projector lens for dust or smudges and clean it with a lens cloth.
- Adjust your projector’s throw distance and check the keystone correction.
- Lastly, use your focus knob or use the focus menu to make your projector picture sharper.
How to Focus a Blurry Projector
STEP 1 Dust the Lens
Check your lens for dust and smudges and wipe them away with lens wipes. In addition, if your projector sits in a cold environment, let it warm up for a few minutes to avoid a fuzzy image from condensation. Then, if needed, see our guide to cleaning a projector inside the lens.
insider tip
Many tools in the projector menu will help make your projector picture sharper.
STEP 2 Check the Throw Distance
Before using the focus correct option in the menu, make sure your projector is at an acceptable projection distance from the screen. Keep in mind your projector screen should be set up correctly, as well as the mounting height of your projector, so the projected image is clear. If your projector is set up outside, then be sure to test it at the right time of day.
The display device will produce dull color quality and blurry images if your throw ratio is off. Make sure you know how your projector works, as you may need to troubleshoot some elements. While you’re moving your projector around, consider your sound options. If necessary, learn how to connect a soundbar for the most immersion.
STAT: Theater projectors use an average of 20,000 to 30,000 lumens for a highly bright image. (source)
STEP 3 Use the Built-In Focus Knob
Even entry-level projectors offer a focus button or an adjustment tool called a focus knob. Rotate the knob to dial in the perfect image. Then, access the projector focus menu to make more detailed tweaks.
STEP 4 Adjust the Keystone Correction
Some projectors have a built-in keystone adjustment menu to help find the dead center of your screen. Keystone correction slightly adjusts the image to adjust the image to an acceptable seating distance.
warning
Do not use abrasive cleaning solutions or course pads to remove the dust particles from the lens.
STEP 5 Adjust Image Resolution
Remember to run all your movies and TV shows at their native resolution. Lower resolutions result in blocky digital images.

