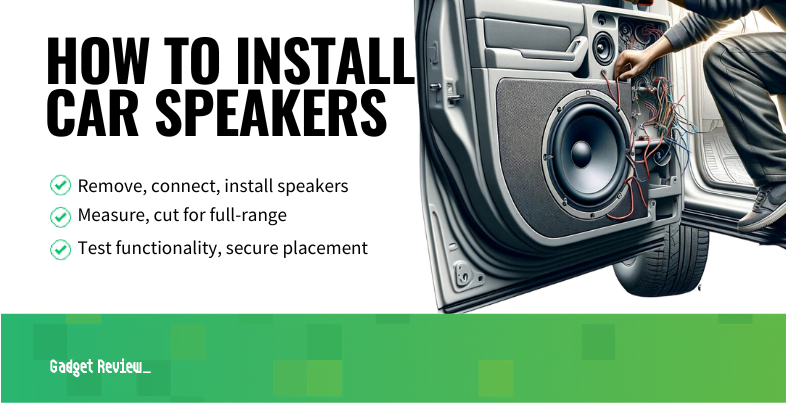
The installation process of car speakers can be a bit tricky, and it’s dependent on your vehicle’s make and body style, as well as the top-rated speakers you’ve purchased. You’ll need some basic tools handy to connect your new speakers to your system.
STEP 1 The Tools You’ll Need
Before you start, be sure to gather all the necessary tools and materials (listed above). Moreover, you’ll require new speakers and additional speaker wire, possibly including a crossover for component speaker systems.
As you assemble your toolkit, consider if your needs suit either coaxial speakers (with a tweeter and woofer combined) or component speakers (separate tweeters and woofers). Both offer unique benefits and significantly impact the sound quality in your vehicle.
STEP 2 Prepare Your New Speakers and Vehicle
Ensure your vehicle is on even ground with the parking brake engaged. Disconnect the negative terminal of your car battery to prevent short circuits and preserve battery life.
STAT: A mid-level replacement car sound system will cost you around $500. (source)
If you’re shopping for new car speakers, the first thing to know is what size speakers your car holds. Understand the ideal power output needed for your stereo, and then look into the cost.
STEP 3 Types of Installations
There are several different types of speaker installations dependent on your vehicle’s make and model. The most typical locations for speakers are the dashboard and doors, though it’s not unheard of for speakers to hide under seats or in other quirks of your car’s interior.
The typical locations for speakers are dashboards and doors, and sometimes under seats or in other interior quirks.
Replacing Dash Speakers
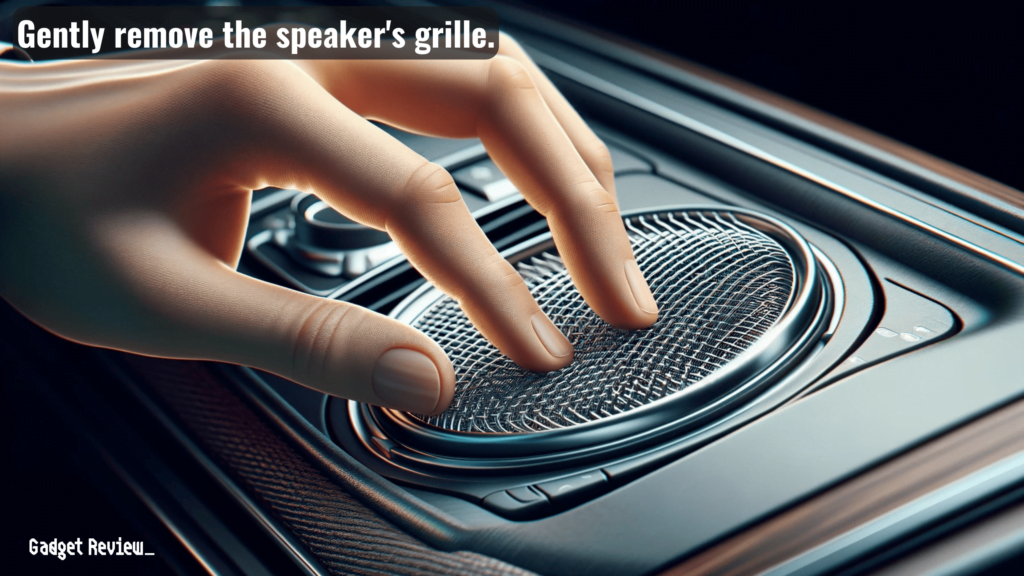
Dash speakers offer excellent opportunities to enhance your audio experience on a budget.
- Locate Speaker Grilles: Identify where the speaker grilles are on your dashboard.
- Remove Grilles/Covers: Use a flathead screwdriver or a panel popping tool to gently remove the grilles or covers.
- Unscrew and Disconnect Speaker: Unscrew the dash speaker and carefully disconnect any wiring attached to it.
- Install New Speaker: Place the new speaker in the same position, connect the wiring, and secure it with screws.
- Reattach Grilles/Covers: Once the new speaker is in place, reattach the grilles or covers.
warning
When screwing in a new speaker, ensure that each screw is tight. If you don’t do this, it can cause an annoying rattling sound or eventually lead to speaker damage.
Dash speakers, including dash tweeters, are budget-friendly options for enhancing audio.
Replacing Door Speakers
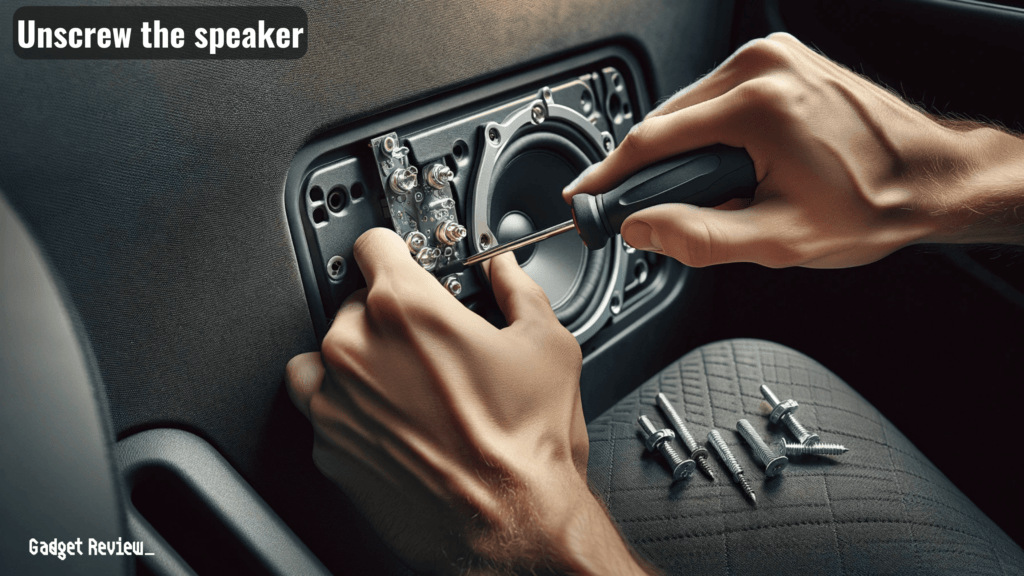
Door speakers arguably have the most significant impact on your vehicle’s sound profile. Remember patience pays off: doors can house a lot of wiring and you must ensure to map all connections and keep track of screws.
- Remove Door Panel: Carefully remove the door panel, paying attention to how it is attached (screws, clips, etc.).
- Disconnect Old Speaker: Locate the speaker, unscrew it, and disconnect the wiring.
- Install New Speaker: Align the new speaker, connect the wires, and screw it into place.
- Reattach Door Panel: Ensure all wiring is safely tucked away, and reattach the door panel.
Door speakers greatly impact sound quality. Be mindful of the wiring connections, using a crimping tool and crimp connectors for secure installation.
Modifying Your Door to Custom Full-Range Speakers
A custom installation offers the opportunity to maximize your sound experience. Be prepared to cut holes using a drill with large bits. And remember, measure twice, cut once!
- Measure the speaker hole carefully and cut using appropriate tools.
- Test the speaker’s power output before final installation.
- Before you fully install the speaker, reconnect the battery and test the sound.
- Doing so saves you the trouble of having to remove it should there be any issues.
- If you’re confident with the connections, go ahead and fully install your new speaker.
Installing Rear Speakers
Tailored to amplify bass tones, these resourceful additions give your audio experience an extra kick. Similarly to door speakers, remember to chart wiring connections and note each screw’s location for a smooth installation. Rear speakers, often requiring a separate amplifier, enhance bass tones.
- Access Rear Speaker Location: Depending on the vehicle, this may involve removing parts of the rear seating or trim.
- Remove Existing Speakers: Unscrew and disconnect the old rear speakers.
- Place New Speakers: Fit the new speakers into the existing openings or the modified location.
- Connect Wires: Attach the speaker wires, ensuring positive and negative terminals match.
- Secure and Test: Screw the speakers into place and test their functionality before reassembling any removed parts.
insider tip
While you don’t have to install all speakers at once, installing both dash speakers and rear speakers as matching sets is recommended.
Remember, speaker installation varies by vehicle. Consult your owner’s manual or a professional for specific instructions. Test your speakers before finalizing the installation to ensure high-quality audio.
When To Bring In A Mechanic
Installing car speakers might seem daunting, but with the right tools and a little patience, you’ve seen that it’s quite achievable. You’ve learned how to replace dash, door, and rear speakers and got a glimpse into custom mounting full-range speakers.
But remember, it’s okay to seek professional help if you’re stuck or unsure. Some tasks are best left to the pros. Above all, don’t forget to test the sound before you button everything up. With your new knowledge and a little practice, you’ll be on your way to enjoying a more immersive driving experience. So go ahead, give it a shot. Your car’s audio system is waiting for a revamp.
And if you think you’re listening habits have already damaged your car’s sound system, we have another article that explains how to repair blown speakers. Moreover, our other content can show you how to tap into the rear speakers for subs and how to make speaker boxes, saving you some cash.

