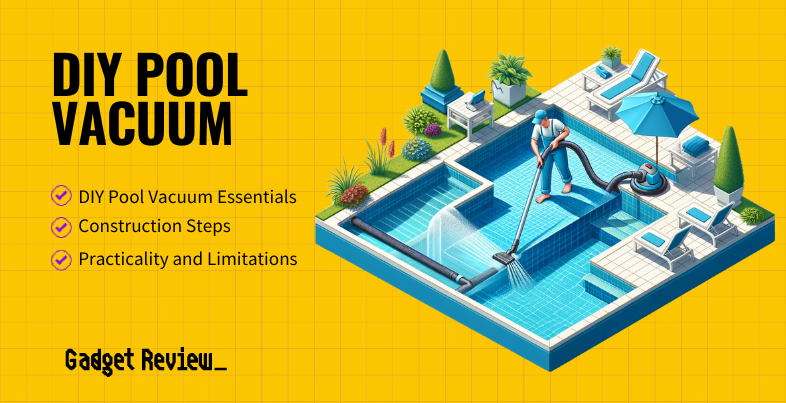
Maintaining a clean pool is essential for any owner, but commercial pool vacuums that are strong can be expensive. In fact, a pool vacuum can be built with a sump pump or filter. A shop vac can even be used (to some extent) to clean out pool algae.
The good news is, with a few common household items and a bit of ingenuity, you can create an effective DIY pool vacuum.
This guide will walk you through the process, ensuring you have a functional tool when a quick pool cleanup is needed.
What is a DIY Pool Vacuum?
A DIY pool vacuum is a homemade device that uses suction to remove debris from your pool.
It’s a straightforward solution to keep your pool clean, especially in between professional cleanings.
For a look at a DIY pool vacuum in action, check out the video below.
Building a DIY Pool Vacuum
While building your DIY pool vacuum, always wear gloves and safety goggles. Be cautious with the vacuum head on the pool liner to avoid any damage.
The steps below will help you get started building your DIY pool vacuum.
insider tip
DIY pool vacuums are cost-effective, and a quick solution compared to buying a dedicated pool vacuum.
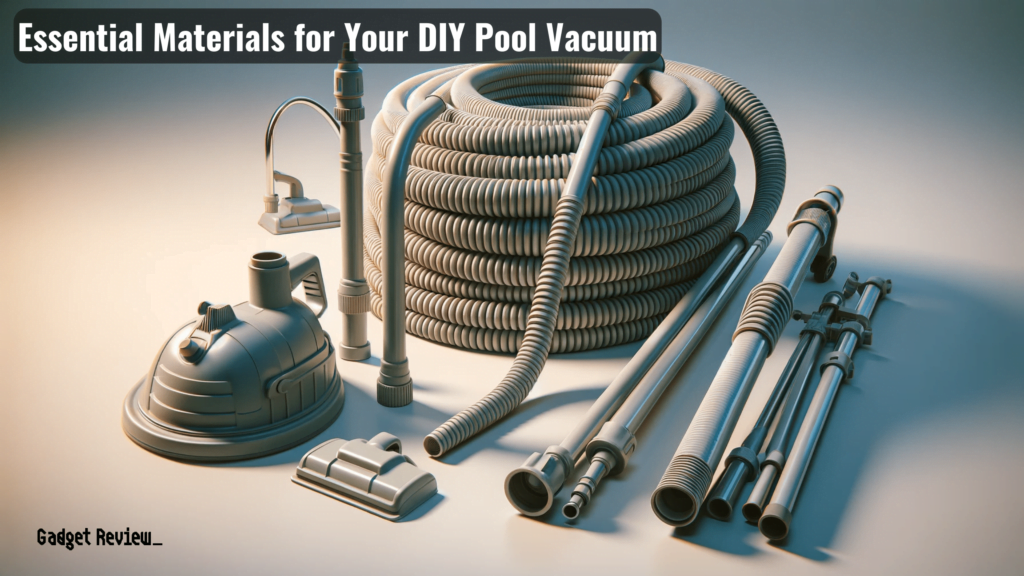
STEP 1 Gather the Necessary Materials
To get started, gather the following items:
- Plastic tubing or garden hose (1″ diameter or similar)
- Plastic funnel
- Pantyhose or knee-high stockings
- Rubber bands
- Duct tape
- Hot glue gun
- Hose clamps and hose adapter (for secure connections)
- Broomstick (for easier handling)
STEP 2 Funnel and Hose Connection
Use the hot glue gun to attach the hose to the funnel’s narrow end. Ensure the seal is airtight to prevent leaks. This step is crucial for maintaining strong suction.
STEP 3 Filter Setup
Stretch the pantyhose over the funnel’s wide end. Secure it tightly with rubber bands. This makeshift filter will trap debris, preventing it from re-entering your pool.
STAT: Robotic pool cleaners are the fastest-growing segment, driven by technological advancements and increasing affordability.
STEP 4 Skimmer Attachment
For enhanced suction, either place the funnel over the skimmer mouth or attach it directly to the pool’s suction filter. This setup utilizes the pool’s existing suction mechanism.
STEP 5 Adding a Broomstick
Tape a broomstick to the vacuum head. This makeshift pole allows for easier control and movement of the vacuum across the pool floor.
STEP 6 Priming the Vacuum
Before use, fill the hose with water to activate suction. Start by submerging the hose from the vacuum head end, ensuring no air remains in the hose.
STEP 7 Operational Check
Test the vacuum in your pool. Check for adequate suction and ease of movement. Make any necessary adjustments for optimal performance.
insider tip
Online search trends for “DIY pool vacuum” and similar terms indicate a steady interest in this topic.
Empowering Pool Owners
Building your own pool vacum enables you to take control of your pool maintenance without having to spend a lot for a pool vacuum.
It also adds a sense of accomplishment in solving a common household problem.
Remember, while a homemade pool vacuum is effective for temporary use, it’s not a replacement for professional pool cleaning equipment.
But, it’s to have on hand for quick cleanups and emergency situations.

