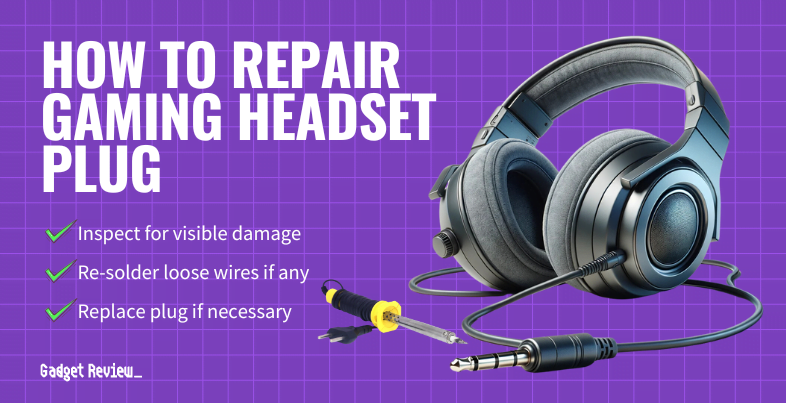
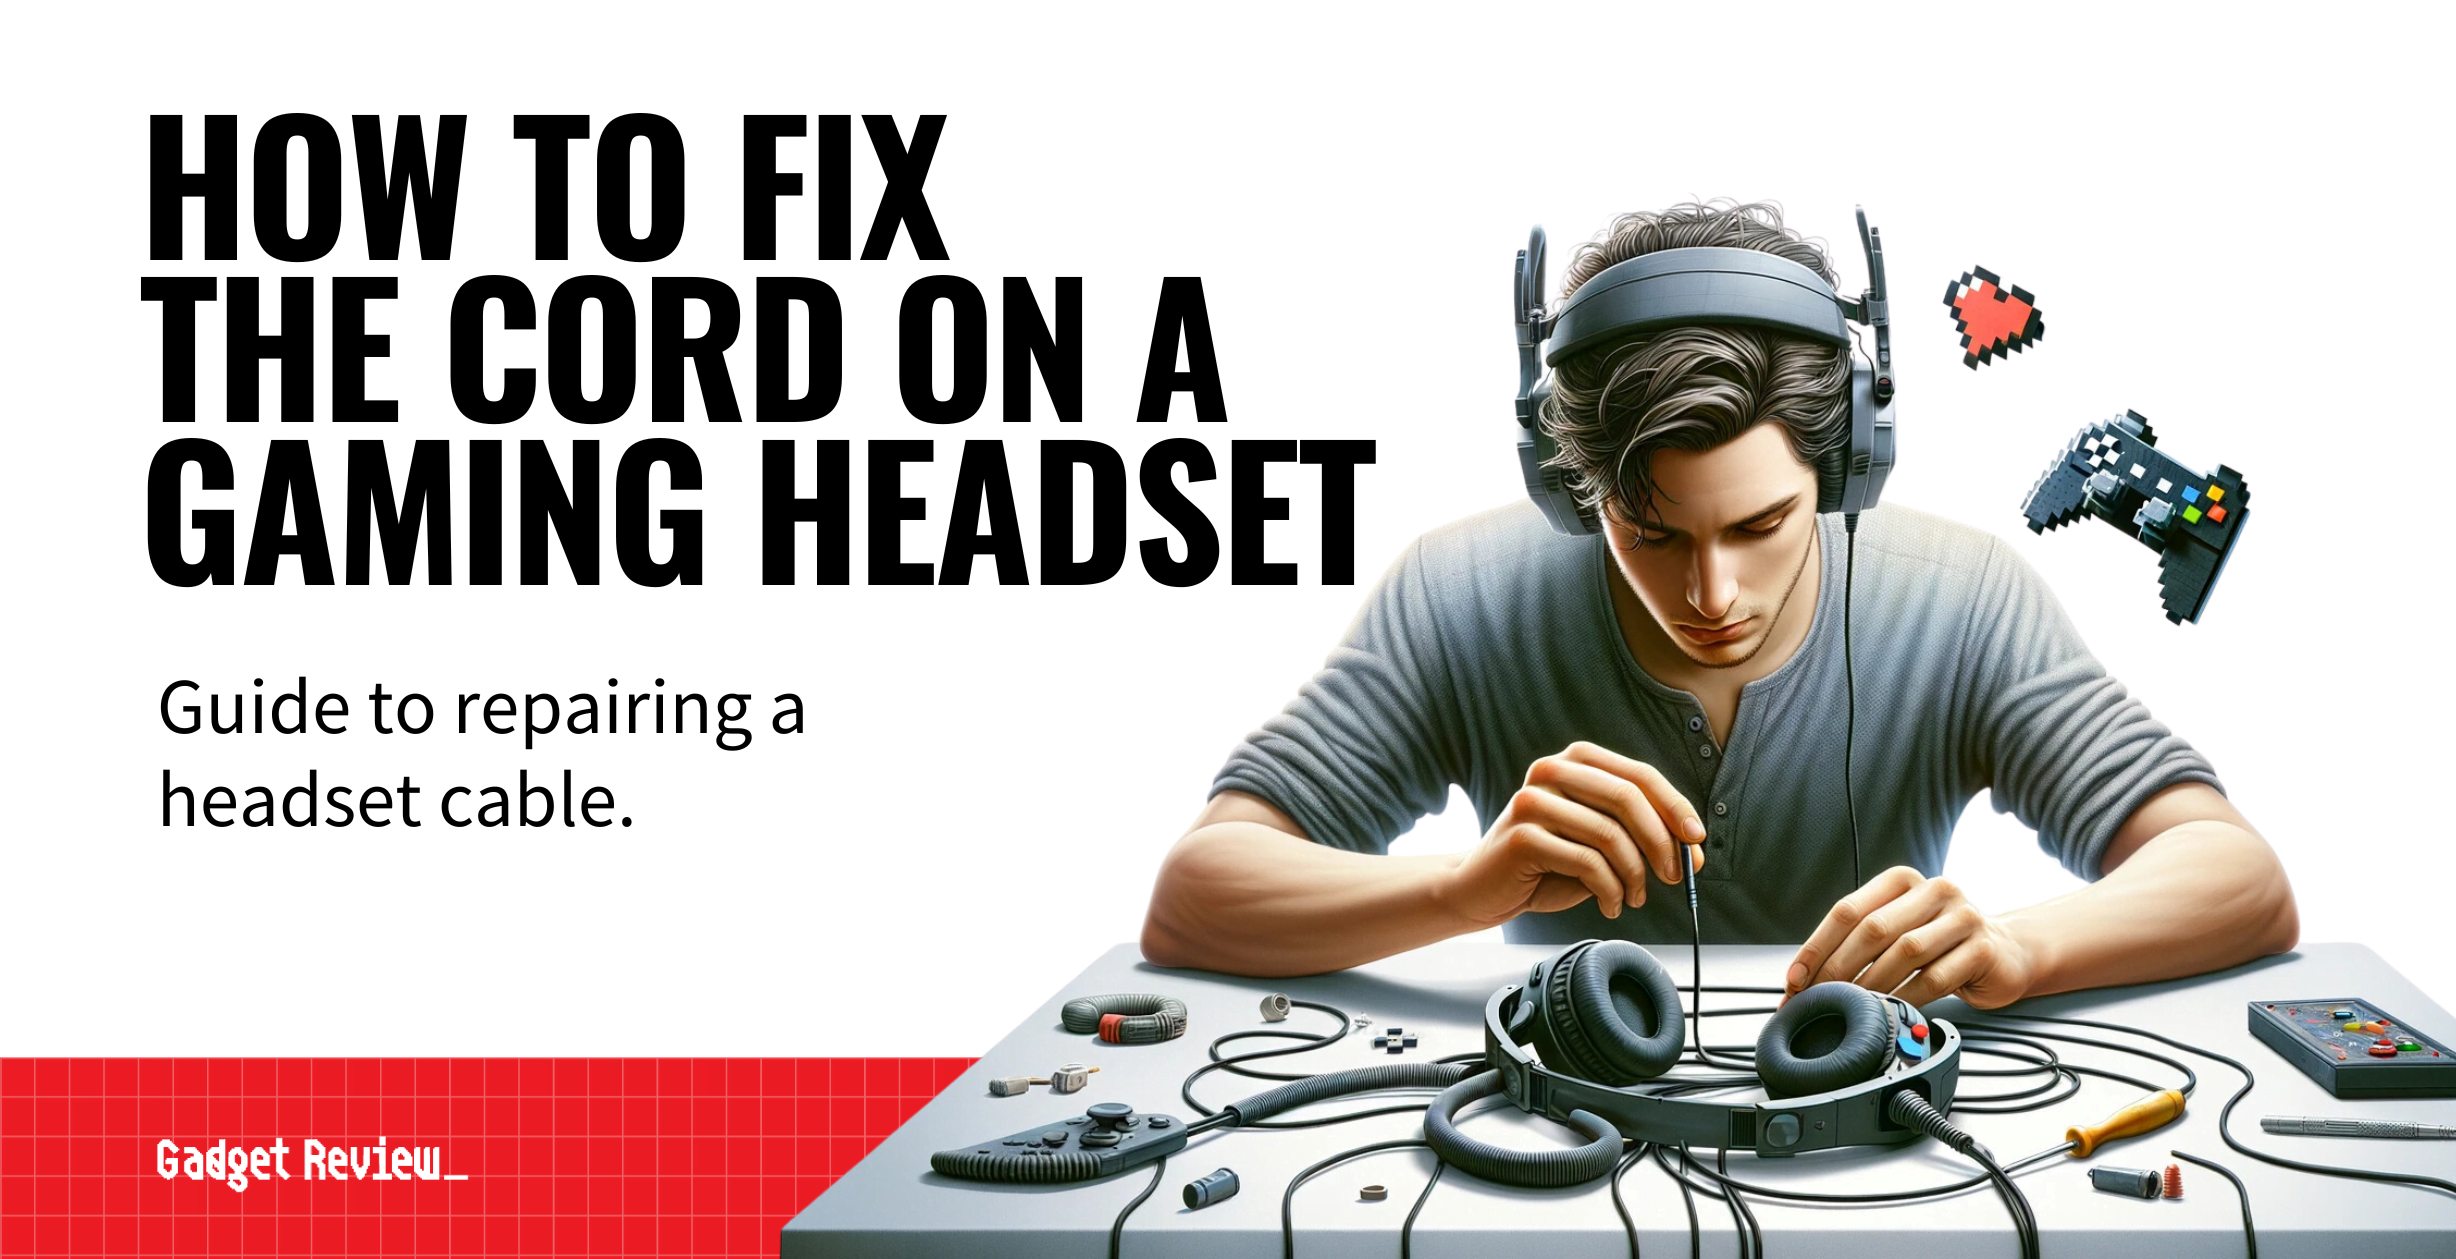
Knowing how to repair a gaming headset plug takes a selection of precision tools, a little knowledge, and a pair of headphone jacks. You don’t need a repair shop because the article below is your destination for tech repair news.
Key Takeaways_
- First, cut off the original jack plug. You can throw this jack plug away. Use a wire stripper to remove some of the cable jackets on the headset cable.
- Finally, solder the white wire, green wire, and other additional wires with a drop of solder on each one. Plug into your default device for audio to see if it worked.
- Basic cable repair is easy, and carrying out cable repairs is better for your wallet and the environment.
The best gaming headset should come with a lifetime guarantee, or at least a quality guarantee. If not, the step-by-step guide below will help you repair any headphone jack in trouble.
insider tip
Always use a sharp knife when cutting signal wires to avoid fraying.
Should You Just Replace Your Gaming Headphones?
Anytime you can fix an adapter cable, you should. This is an economical friendly solution, and it’s also better for the environment, whether it’s an issue with the volume button or just about anything else. Also, learn how to keep a gaming headset cord out of the way so that you won’t have to fix the cord on your gaming headset so much. Additionally, for other repair tips, read our guide on how to repair a gaming headset.
How to Fix a Gaming Headset Jack
The repair guide below is easy if you use the proper tools for these fixable products. If you’re having issues with volume control, learning how to reduce gaming headset sensitivity is a better option.
STEP 1 Cut Off the Broken Jack
Use your utility knife to cut off the broken headphone jack from the original cable. Cut a couple of centimeters above the headphone plug.
STEP 2 Strip the Wires
Next, the actual wire stripper will remove the outer jacket from the headphone wires. Take a lighter to burn away the excess internal wires sticking out. Use sandpaper to smooth the broken wires down.
STEP 3 Prepare for Soldering
Now, it’s time to use your soldering iron. Make sure to match up the colored wires. If you don’t connect like-colored wires, this won’t work.
STEP 4 Match and Connect Wires
There should be a green wire, a red wire, and a blue wire. Sometimes you’ll find a black wire. Match up the like-colored wires with the new headphone jack. Be careful of the copper wire since these act as the ground wires for your adapter cable.
STEP 5 Solder the Wires
Use the soldering iron to connect the broken wire from your original cable. Once you finish up, plug into one of your audio devices to see if the new audio jack works.
STEP 6 Secure and Test
If the volume levels sound good, use a piece of shrink tubing and a heat gun to finish up. You might need to check some audio settings if you can’t hear anything. Learning how to set up a gaming headset on Discord might help.

