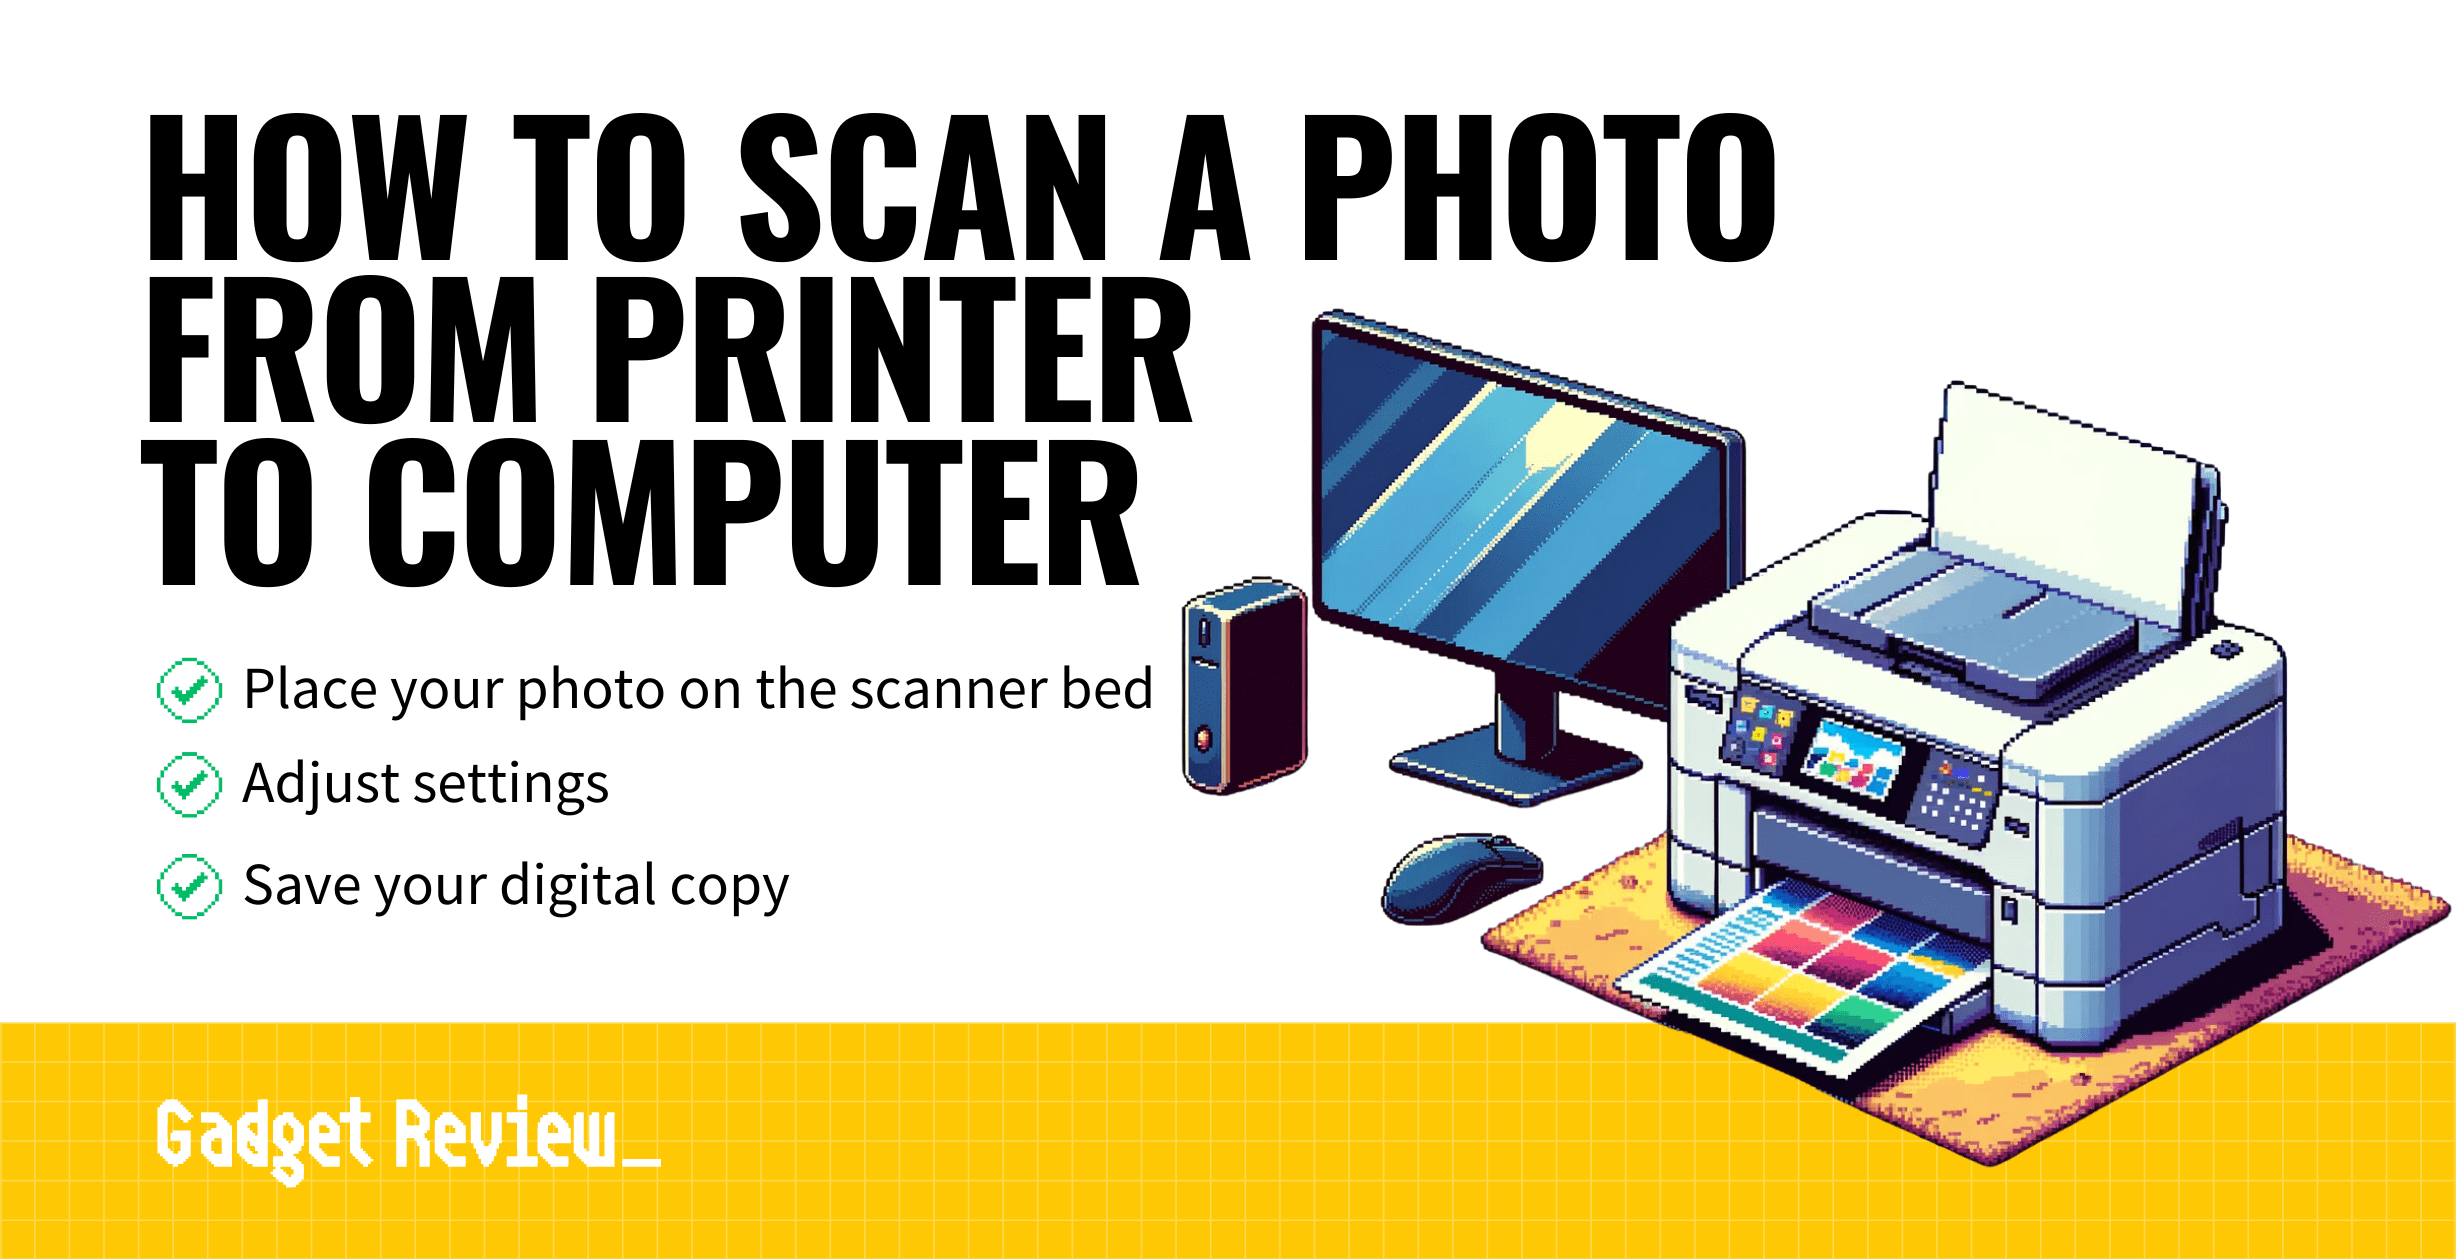
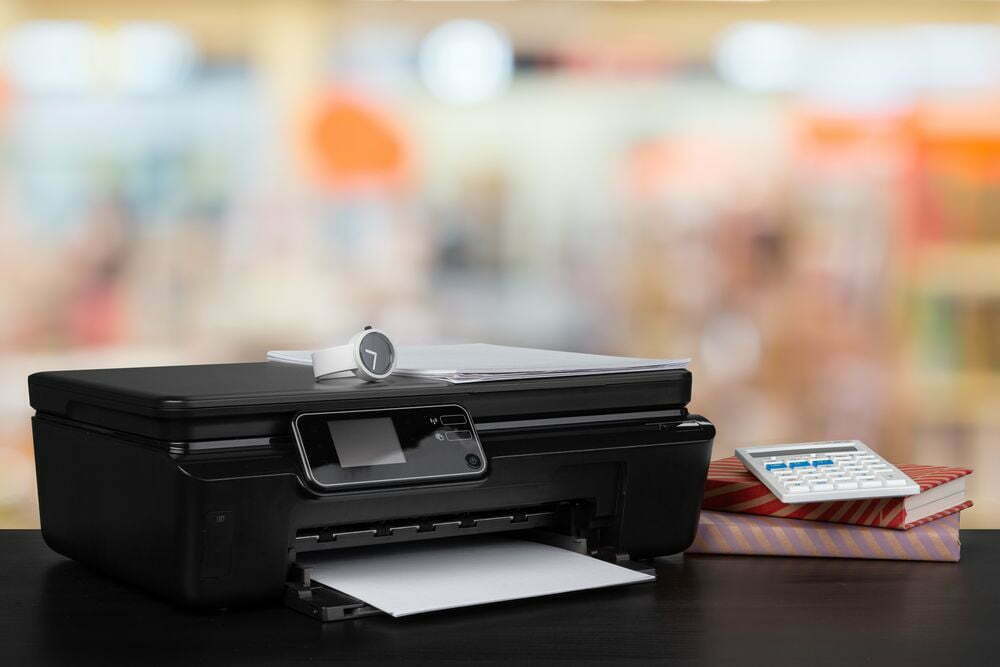
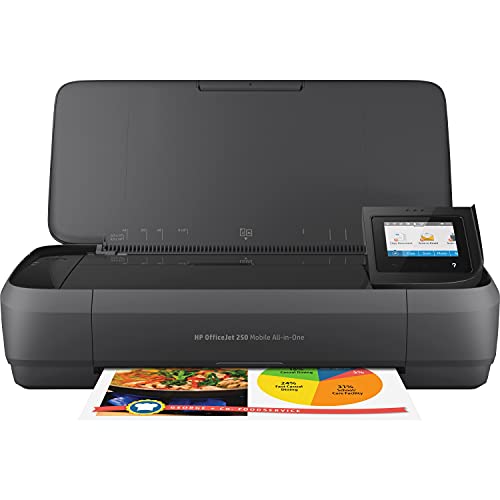
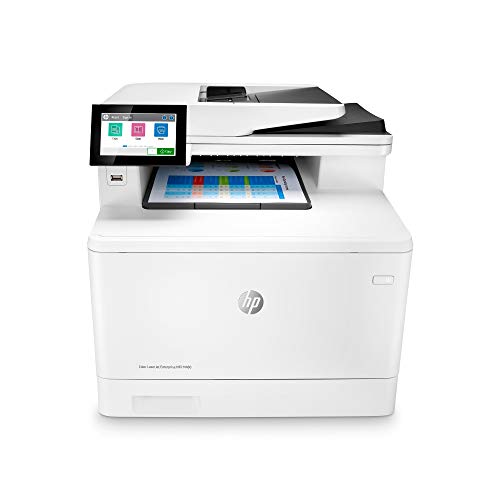
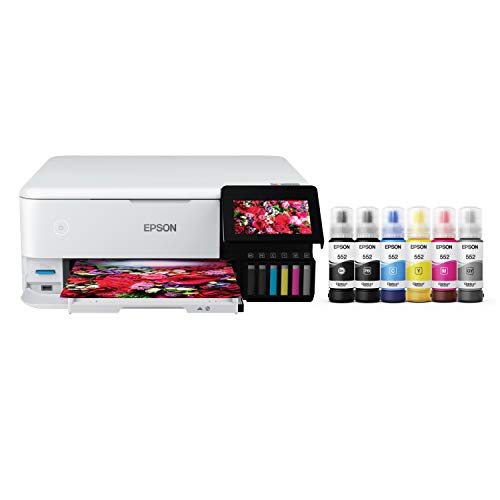
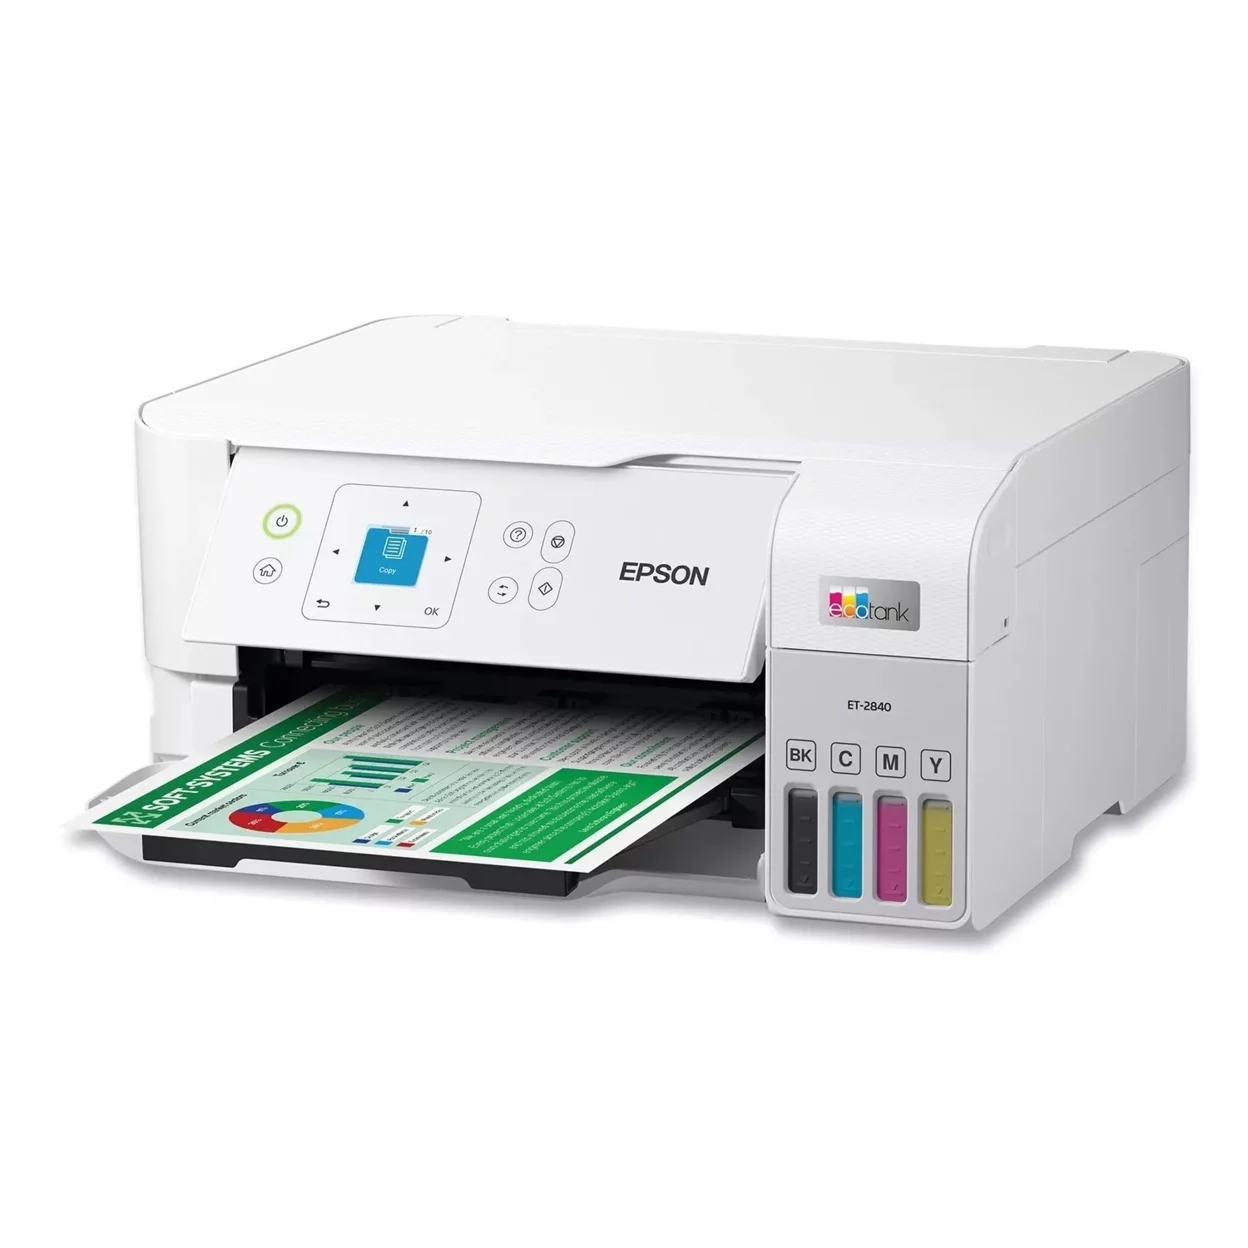
Many modern top-performing printers can perform various tasks that go above and beyond simple print jobs. This includes the scanning of documents. Scanning photos and documents with an all-in-one printer is a simple task. You will need to select “Scan” or “Copy” depending on how your printer labels it, place your item to be scanned, and choose how you want the scan saved.
Even if you’re using the best printer for photographers, some photos may need to be scanned and then digitally enhanced for specific cases.
The opposite of this is printing on photo paper for quality prints.

Key Takeaways_
- Modern printers, such as multifunction printers, tend to include the ability to scan documents and transfer them to a computer or related device.
- Find your printer’s scanning interface, which may require a bit of menu diving in order to locate.
- Place the document on the printer’s platen, close the lid, set the file type you are converting to, and press start.
What is Scanning?
Scanning is a process by which a physical document, such as paper, is transferred into the digital realm. This can be highly useful for saving photos, important documents, emailing resumes, and the like. To enjoy faster scanning, read our comparison of a stand-alone scanner vs an all-in-one printer.
Scanning a Photograph From Your Printer to Your Computer
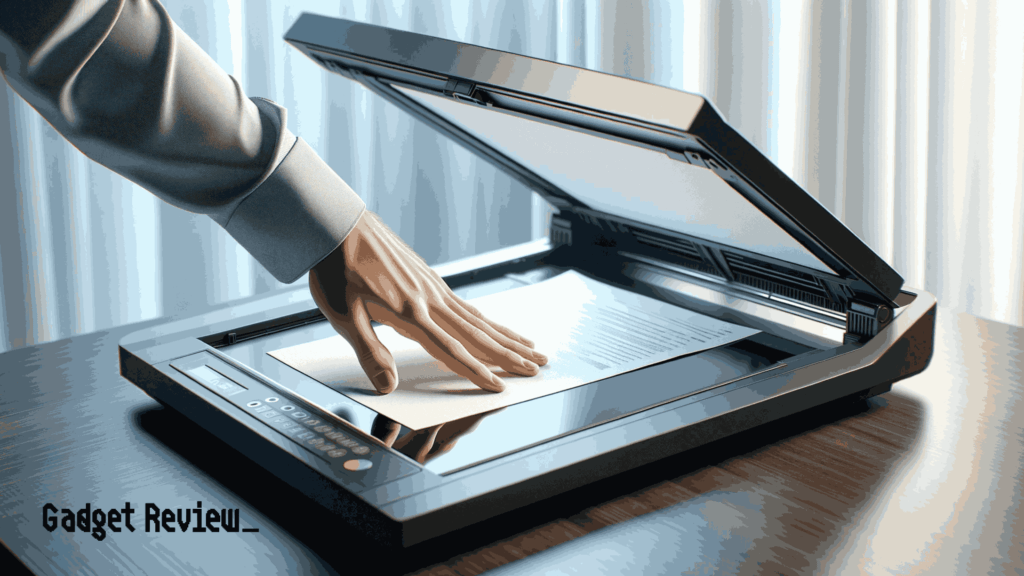
If you’ve recently asked yourself, “Why won’t my printer scan,” there’s a chance that the device is faulty or the software isn’t properly set up. Each printer will differ in how one scans a document to a computer or related device. However, we have assembled some universal tips and guidelines to follow.
Check Your Printer
Not all printers can scan documents. Generally speaking, multifunction or all-in-one printers tend to include a scanner. If you are unsure if your printer can scan documents, find the instruction manual and look it over for a section on scanning. You can also Google your particular make and model to see if a scanning option is available.
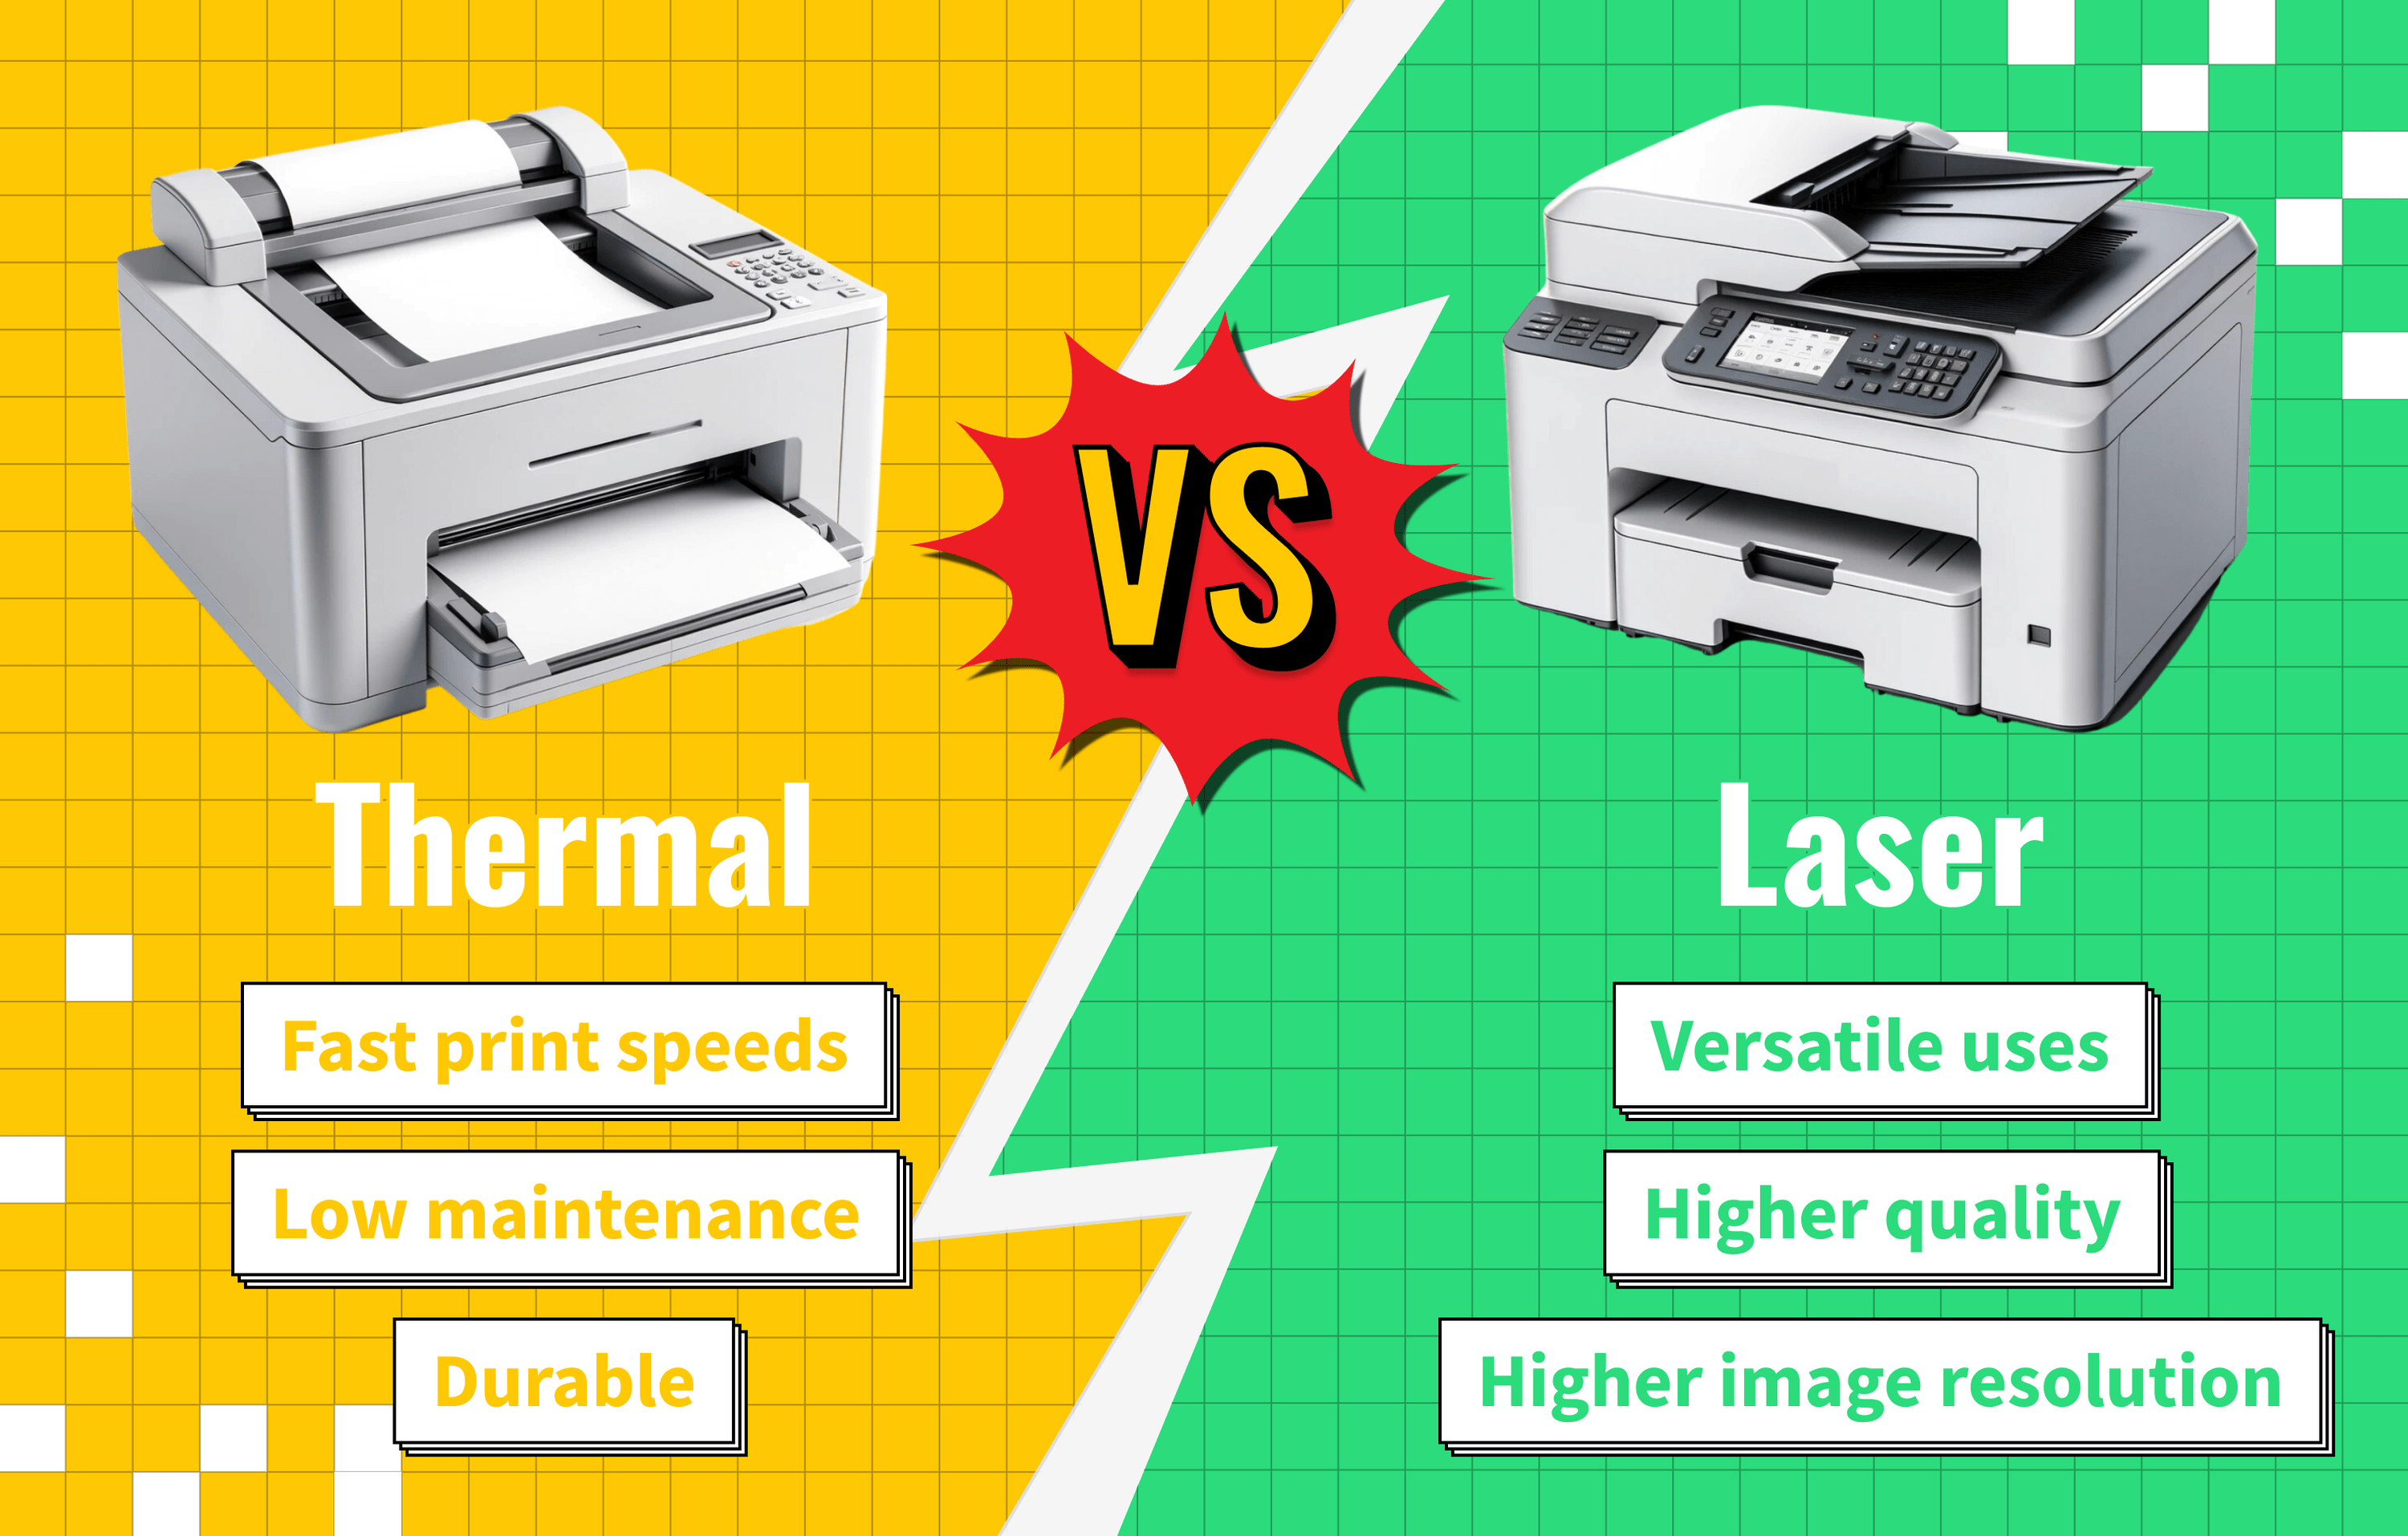
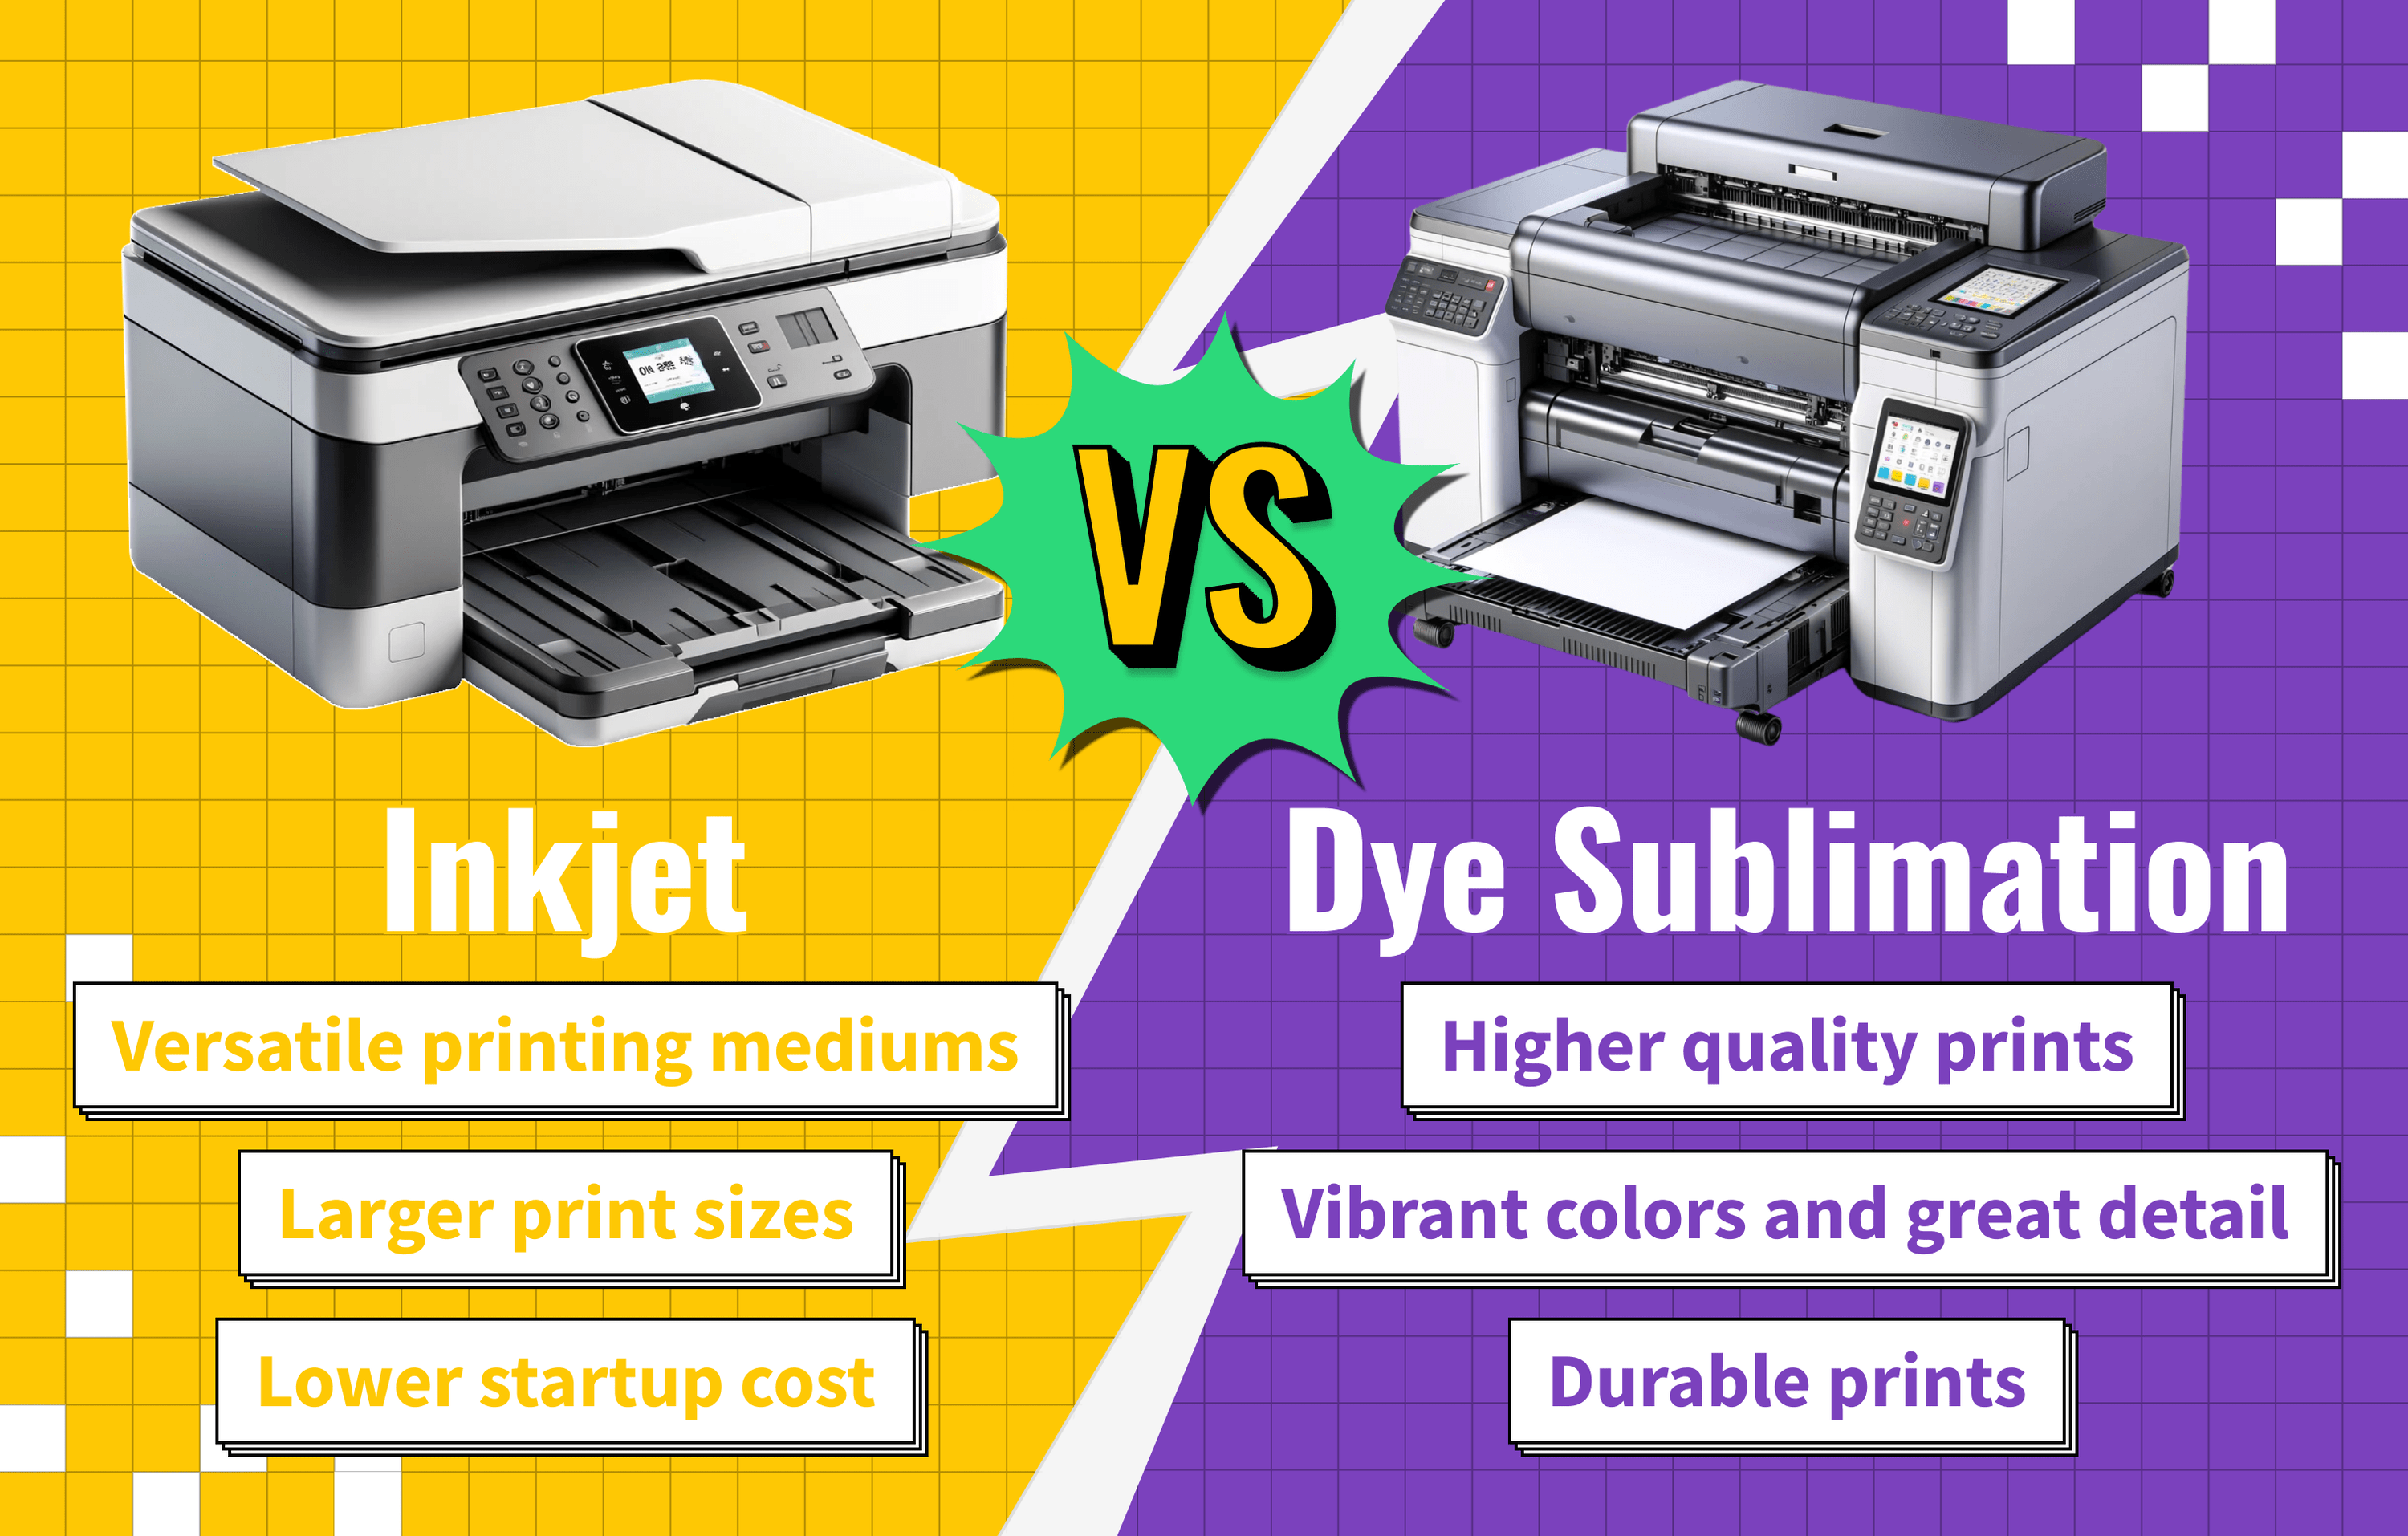
As previously stated, multifunction printers usually have scanners, but some modern standard inkjet or laser printers can also have a scanning function.
Find the Scanning Interface
If your printer can indeed scan documents, you will need to manually begin the process by finding the scanning interface. This interface will differ depending on the make and model of your printer. We recommend going through the instructions and finding the pages on scanning, or you can always YouTube a video tutorial of your individual printer model.
In rare instances, there could simply be a “scan” button right on the exterior of the printer itself. Try to familiarize yourself with the entire scanning process before you begin.
Complete the Scanning Process
Once you have the instructions sorted out, it is time to begin the scanning process.
Each printer will differ as to actual instructions, but you will typically begin by placing a document on the printer’s platen. A platen is the glass surface accompanying the printer in which there is enough room for standard-sized documents. The platen will also be used to make photocopies of your printer boasts that feature.
STAT: JPEG is not a good format for scanning because it is a lossy compression format, and you will always lose some data when saving to a JPEG, even if you save it at 100% quality. (source)
Below is a general step-by-step guide:
STEP 1 Place the Photo on the Scanner Bed
- Lift the scanner lid on your printer.
- Place the photo face down on the glass, making sure it is aligned according to the markings on the scanner bed.
STEP 2 Turn on the Scanner
- Ensure your printer is turned on and connected to your computer.
STEP 3 Open Your Printer Software
- Open the printer software. If your printer doesn’t come with software, you usually can use the built-in features of your operating system (e.g., Windows Fax and Scan or Preview on macOS).
STEP 4 Select Scan Type
- Choose the type of scan. For photos, you might select “Photo” or “Color Photo” as the scan type.
- Preview the Scan (Optional)
- Some software allows you to preview the scan. You can use this to see if the photo is properly positioned.
- Preview the Scan (Optional)
STEP 5 Adjust Scan Settings
- Configure the scan settings
- Resolution (dpi or dots per inch)
- Color mode (color, grayscale, or black and white)
- File format (JPEG, PNG, PDF, etc.). Do note that higher resolution settings will mean larger file sizes.
STEP 6 Start the Scan
- Click on the “Scan” button to start the scanning process. The scanner will capture the image and prompt you to either save or discard it.
STEP 7 Save the Scan
- Once complete, the software should prompt you to save the image. Choose where you want to save the file and give it a name.

