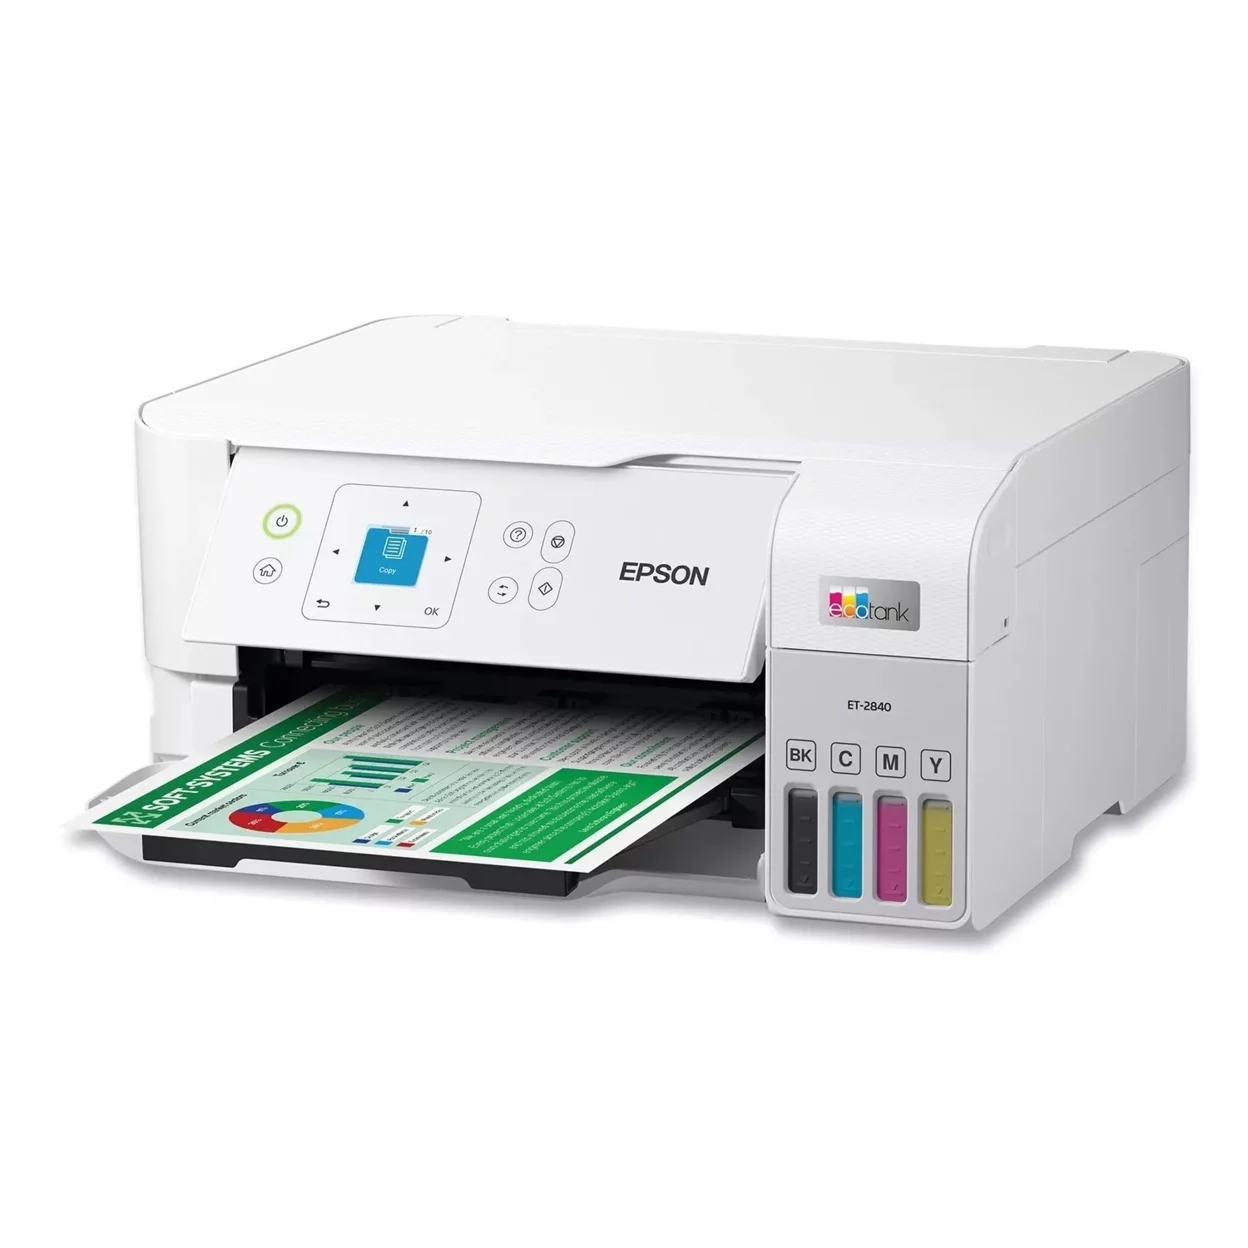
Finding the best printer entirely depends on your needs. Many of the best all-in-one printers allow users to scan documents directly to mobile devices like an iPhone. To help you understand the process, we’ll explain how to scan from a printer to an iPhone below using the Notes app as well as third-party apps.
All-in-one printers handle a wide range of tasks, as it provides the option to print, scan, copy, and more.
For more info on general use, check out our article explaining how to connect a printer with an ethernet cable.
insider tip
iPhones can scan documents directly into the Notes app with the phone camera.
Scanning a Document on Your iPhone
You can easily scan a document using the Notes app that comes pre-installed on your iPhone. Please note that the exact steps may be different for different versions of iOS.
Below is a quick video guide on how to scan a document, or if you prefer, we have a step-by-step guide below the video that you can follow as well.
- Open the Notes App.
- Select a note or create a new one.
- Tap the Camera button.
- Select “Scan Documents“
- Position the document to have a clear view.
- Tap the Shutter button.
- You can also select “Auto” in the top right corner, and the phone will automatically take a photo when the document is in clear view.
- Drag the corners to adjust the scan to fit your needs.
- Select “Keep Scan” if you are happy with the scan.
- If you don’t like how the scan turned out, you can select “Retake“
- Select “Save” to add it to your notes, or tap the Shutter button again to take more.
You can also sign a document in the Notes app if the document needs a signature.
- Open the Notes app.
- Select the document you need to sign.
- Tap the Share button
- Select “Markup“
- On the Markup menu, tap the Add button (Will look like +)
- Select “Add Signature“
- Write your name with your finger in the space provided, or use your Apple Pencil.
- Adjust the size of the signature by dragging the corners to the appropriate size.
- Tap Done.
How to Scan on an All-In-One Printer with Your iPhone
If you would prefer a normal scanned image, you can still use your iPhone with your all-in-one printer to scan documents.
The only requirement needed to print from your iPhone is that you download a brand-specific app to create a connection between the phone and the computer.
The following steps explain how to print from a Wi-Fi- network connection.
But if you want to learn more about connecting your phone to your printer, we have another article that shows you how to print from a mobile device without Wi-Fi.
STEP 1 Download a Compatible Print App for Your iPhone
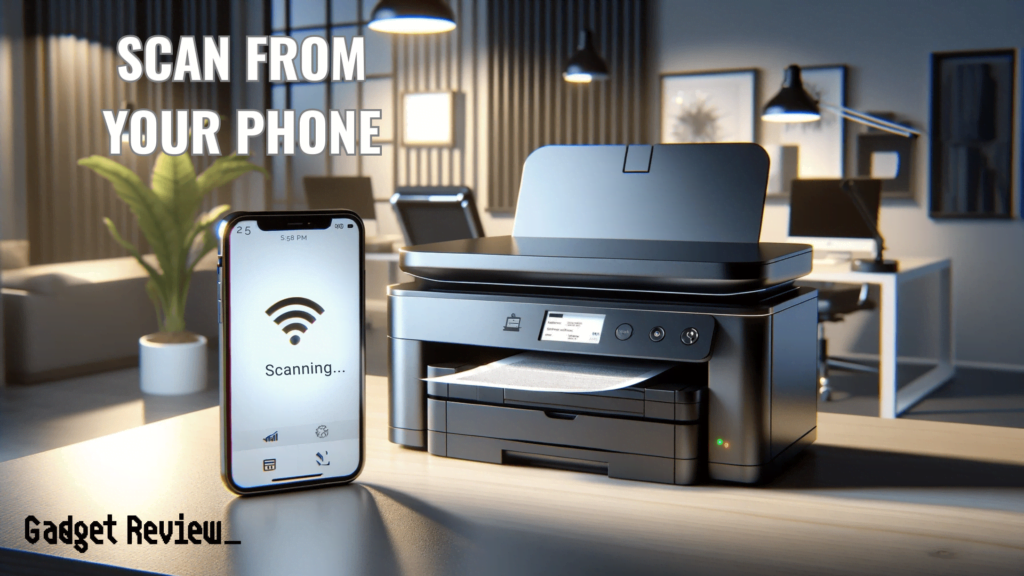
Research which print app is needed to work for your printer brand. For example, a Brother machine will require a different app than a Canon or HP printer.
STEP 2 Connect Printer and Phone
Open up the brand-specific mobile app and see that your printer model appears. You may have to click an “Add Device/Machine” button to open the list of available printers.
warning
You may need to update your phone’s OS software before using printer scan apps.
STEP 3 Scan the Document

Place the pages in question into your printer’s document scanner.
Then, in the phone app, press the scan icon. The scan will arrive as a separate file on your phone screen; from there, you can save it to the files app.
You can also press the share button to share it to an email.

