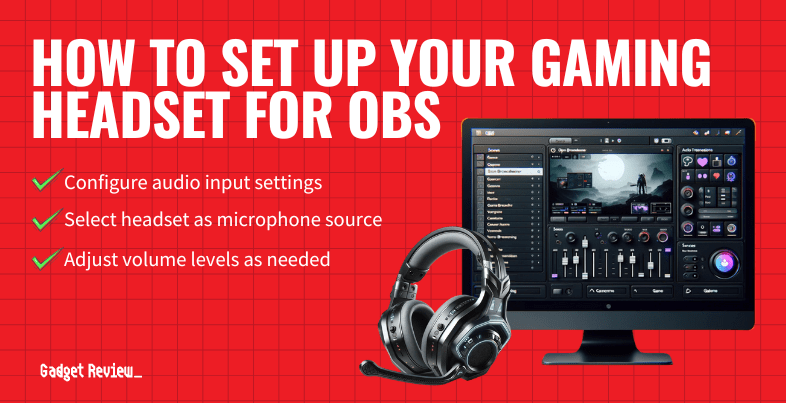
Knowing how to set up your gaming headset for OBS software is crucial for those using a gaming capture device of any kind. Gameplay audio will sound far better, which will help you take the Twitch app by storm.
Key Takeaways_
- Make sure you have a strong internet connection. Then, download the OBS setup software from their website.
- Follow the instructions for the OBS setup that pops up on your screen. After this, set your default device for audio input so you can successfully stream audio.
- If you’re using this streaming software to stream audio for video games, change the broadcast settings to match your preferences.
Using the best gaming headset only goes so far for audio quality. Even if you have fantastic mic audio, you need excellent streaming software to match it.
Moreover, you’ll need to know how to set up your gaming headset on Discord, that way, it’ll make it easier to record using OBS.
Keep reading to learn how to use OBS streaming software with your headset during broadcasts.
What is the Streamlabs OBS Studio?
Streamlab OBS software is an open-source program allowing anybody to use streaming software for free. Many people use it for game audio while streaming games. Streaming with Twitch is far easier when using Streamlabs OBS.
Setting Up a Gaming Headset for OBS
Of course, you’ll need to learn how to set up your headset for gaming if you’re using Streamlabs OBS with your gaming capture device. This simple process uses the recording tab in the sound control panel.
A general rule of thumb is to make sure all audio and USB ports in use are in reasonable condition before settings everything up. Once that’s done, you can move on to learning how to record game audio with OBS.
insider tip
Using a Nintendo Switch as your stream machine provides an edge since it’s not often used as a game capture device.
STEP 1 Ensure a Stable Internet Connection
Make sure you have a strong internet connection, and that your audio sources are working correctly. This streaming setup only works if all the essential parts of your streaming software are set up for success.
STEP 2 Download Streamlabs OBS
Download the software from the Streamlabs OBS website. Then, follow the instructions for the setup process.
STEP 3 Set Up Audio Options
Once you’re down to set everything up, it’s time to set your audio options. Navigate to the “Audio Mixer” panel to do this. Then, click the audio gear on the bottom center of the black screen.
STEP 4 Switch Mic Inputs
Click on the speaker icon to switch your mic inputs. Otherwise, it’ll default to sending audio through speakers instead of using your headset during broadcasts.
STEP 5 Customize Sound Settings
You can change each sound setting to match your preferences for capturing desktop audio. Do this, and look into advanced audio properties.
STEP 6 Check Playback Devices
Check the playback devices to ensure everything connects to your headset mic. Do a final check on your built-in microphone so that you know the system is working.
STEP 7 Finalize Setup
You should have your Streamlabs OBS Studio completely set up. If your wired headset gives you grief while using your streaming software, learn how to stop gaming headset cords from tugging.
warning
Be careful when playing with settings in the sound control panel if you aren’t familiar with setting up virtual audio.
For more great tips, check out these other guides: how to set up a gaming headset and test your gaming headset microphone.

