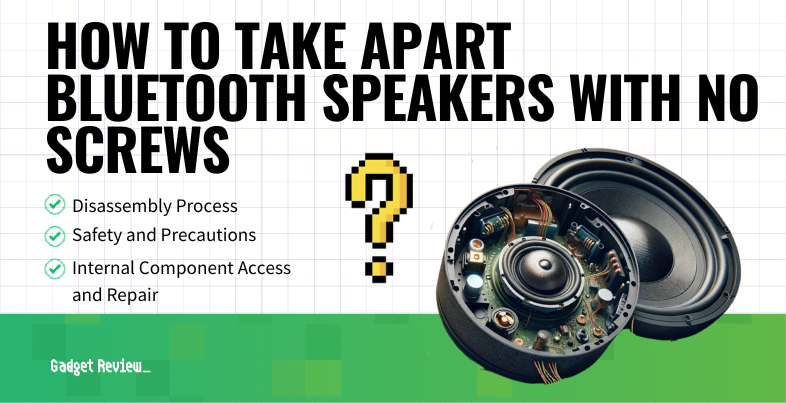
Even if you have a premium speaker, you should understand how to open Bluetooth speakers in case of issues. Bluetooth speakers often feature sleek designs where there are no visible flathead screwdriver spots. Luckily, you can still access your no-screw speaker to fix charging issues, dead speakers, and other problems. Stick around to learn how to take apart Bluetooth speakers with no screws.
Key Takeaways_
- Look for a gap in your speaker case, and use a flat-head screwdriver to pry the case open.
- Use a heat gun to loosen any glue that’s holding your speaker case together.
- Remove hidden screws underneath the enclosure to access the speaker’s electrical components.
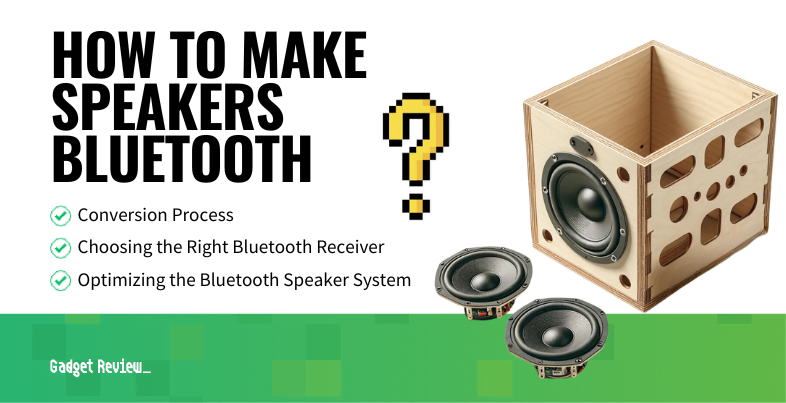
Before joining the repair revolution and diving into the disassembly process, consider learning how to make Bluetooth speakers at home. You can avoid broken solder joints, speaker wires, and other damage by understanding the electronic components that make wireless speakers work.
insider tip
Take pictures of your speaker when you open it, giving you a rough blueprint for the assembly process.
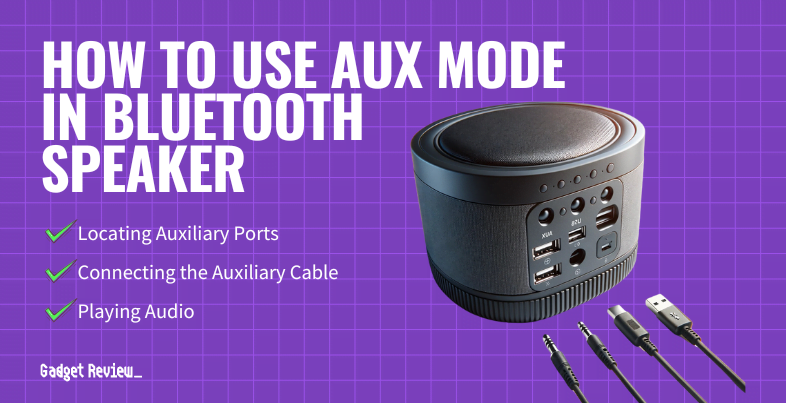
Even cheap Bluetooth speakers allow for multiple connection methods other than wireless. You can learn how to play a USB drive on Bluetooth speakers if your unit has a USB charging socket. Additionally, understanding how to use AUX mode in Bluetooth speakers can help you out when electronic devices do not support wireless connectivity.
How to Open Bluetooth Speakers with No Screws
Most no-screw speakers are still fixable products, even if their design might discourage users from replacing broken components.
Once users interested in repairability learn how to access their speaker’s electrical components, they can install replacement batteries or repair bad solder joints. So, before jumping into a repair guide, learn how to open a no-screw speaker system.
However, for small wireless devices, you probably don’t want to open them unless you’re skilled in electronics repair.
STEP 1 Look for a Gap in the Case

Disconnect the Bluetooth speaker from power, and look on the outside for gaps in the case. If your case is made from plastic or wood, you can create a small gap with a metal cutting blade.
STEP 2 Loosen the Glue
Most screwless speakers hold their case together with glue. Use a heat gun or hair dryer to loosen the glue, making it more pliable for the next step. You may repeat this step as you pry the case open.
warning
Do not attempt to open your speaker without turning off the power button and disconnecting the power cord.
STEP 3 Pry the Case Open

Once you’ve found or made a gap in the speaker enclosure and softened the glue, use a flat-head screwdriver to pry the case open. Keep a firm grip on the screwdriver handle, and slowly loosen the case.
Reheat the glue as needed, and do not try to force the case open. Speakers with a brittle wood-composite speaker cabinet or a plastic shell might break if you forcefully pry them open.
STEP 4 Check for Hinges or Hidden Screws
Once you remove the outside of the enclosure, you may see an internal case with hidden screws or plastic clips. If your speaker doesn’t feature an internal case, you now have access to the major components.
STEP 5 Remove Hidden Screws and Clips
Remove the hidden screws, and pry the internal cover away with a metal blade or screwdriver. If you see plastic clips or hinges, carefully pop them loose because they are near-impossible to repair.

