If you have been issued a replacement phone by mobile carrier Verizon and its insurance partner Asurion, you may be wondering about the activation process. Thankfully, activating a replacement phone is just as easy as activating a new phone. Put simply, follow the prompts after you receive your phone, although we will expand on this below.
Although Asurion provides some great cell phone insurance plans, it’s imperative to activate the replacement phone and get you moving as quickly as possible.
Key Takeaways_
- Verizon and its insurance partner, Asurion, will issue a replacement smartphone in the event of theft, loss, or damage beyond repair.
- Start the activation process by backing up your old phone if you have access to it.
- Follow the on-screen instructions after you have powered on the new phone, and be sure to retrieve your data.
Verizon Insurance Replacement Phone Activation
Verizon Protect insurance plans tend to issue replacement phones when the original device has been lost, stolen, or damaged beyond repair. The turnaround time for receiving a replacement phone is quick, at just a few days, but consumers will still have to activate the new insurance replacement phone.
Additionally, if you want a specific guide for your service provider, we have an AT&T-specific guide on how to activate a Metro PCS replacement phone.
STAT: Research has shown that people are 10 times more likely to have their phone break due to malfunctions or accidents like drops and spills than lose it or have it stolen. (source)
Setting up a New Device
Once you have received your replacement phone, it is time to undergo the activation process. According to Asurion claims, you should back up the contents on your old device to ensure the safe retrieval of any data.
Here are some steps to keep in mind as you go about completing this task.
STEP 1 Backup Your Data
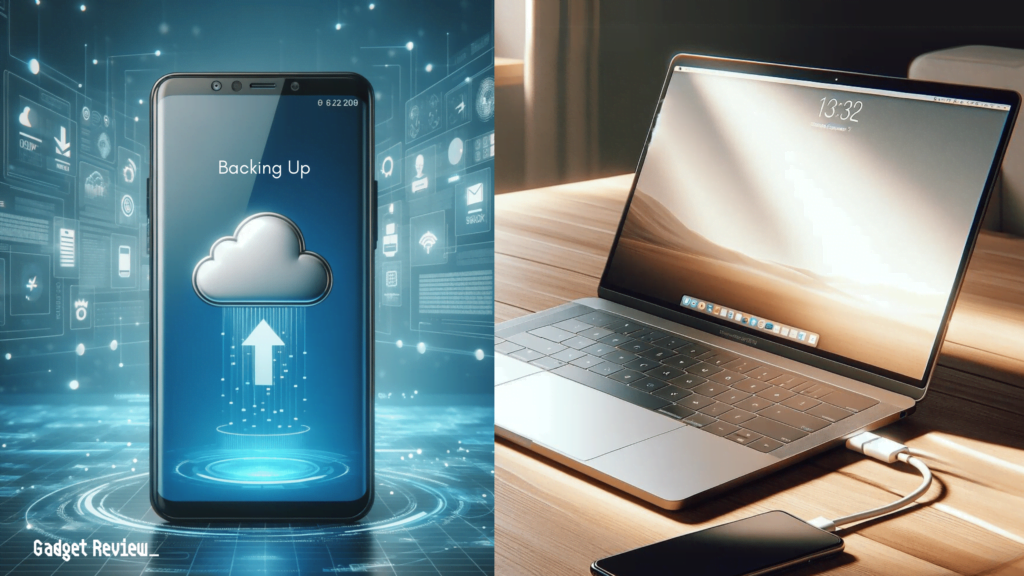
If you still have access to your original device, or if you can access data via the cloud, you should take great care to perform a backup procedure. This includes backing up all of the data on your phone, including apps and games, but also your contacts, the details of your text messages, and more.
Be sure to be extremely thorough as you go about backing up this data. Verizon offers a service called its “Content Transfer Center” to help with this, and we recommend that you take advantage of this service if you are worried about losing data.
insider tip
Verizon offers a service called its “Content Transfer Center” to help this process go as smoothly as possible.
If you are using an iPhone, backing up using iTunes or iCloud would most likely be your best bet.
If your phone has a SIM card, remove it from the old phone and place it in the new one.
STEP 2 Power on the New Phone
Once your data has been backed up, it is time to power on the new phone and begin the activation process.
This procedure is not dissimilar to activating a brand-new phone and will involve following the prompts that the phone provides. In other words, you will be asked to set up a Wi-Fi connection, enter personal information, and otherwise adjust the phone to your liking.
Keep a close eye on the status connection bar on your phone, as it will let you know when the device has begun accepting and transmitting wireless data.
STEP 3 Retrieve Your Data and Contacts
If you have previously backed up your data from the original device, it is time to retrieve it and store it on your newly issued smartphone.
This process will likely entail plugging the phone into a computer or into the device you backed up your data on.
If your data is in the cloud, you will have to log in to your cloud account and retrieve it. **Just as with backing the data up, Verizon has created a web portal to assist with data retrieval called the Content Transfer Center. **
You are now ready to use your replacement phone.

