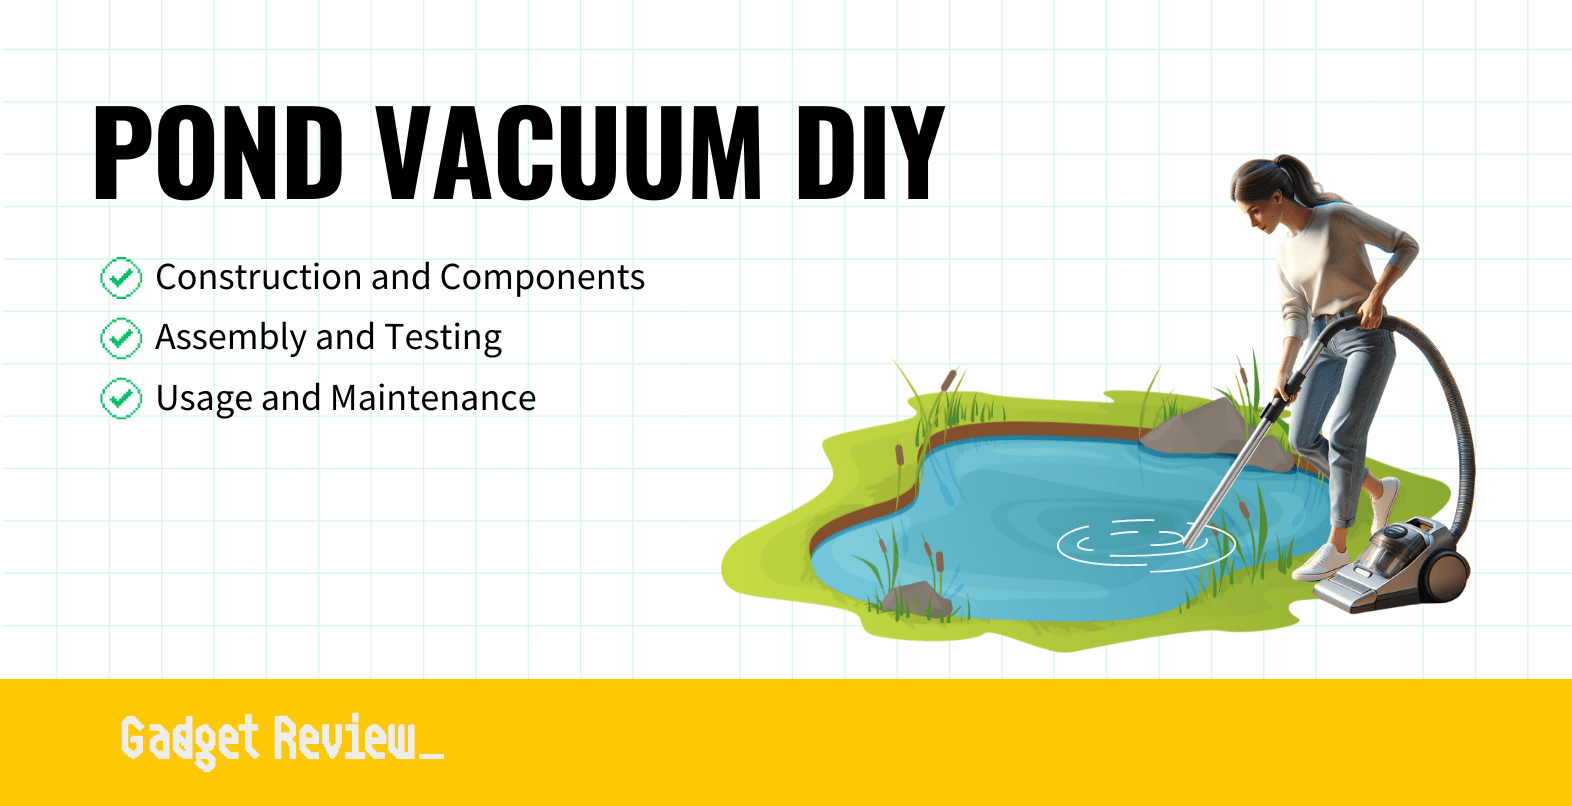
Maintaining a clean and healthy pond, whether it’s small or large, is crucial for any homeowner. Over time, ponds can accumulate debris, algae, and sediment, making them unsightly and potentially harmful to aquatic life.
While you can use a shop vac to clean a pond, it’s simpler to build one that you can use instead of buying another vacuum cleaner.
This is where a DIY pond vacuum becomes an invaluable tool. It’s a practical solution that lets you keep your pond in top condition.
This guide will walk you through the steps to build an effective pond vacuum system that suits various pond conditions.
insider tip
The cost of a homemade pond vacuum will depend on the materials used. However, it’s generally much cheaper than purchasing a commercial vacuum, which can range from around $50 to $500 or more.
Building Your Own Pond Vacuum
Creating a pond vacuum yourself is a straightforward process that requires some basic components and a bit of DIY spirit.
Watch the video below for visual instructions on how to create a pond vacuum.
Essential Components of a Pond Vacuum
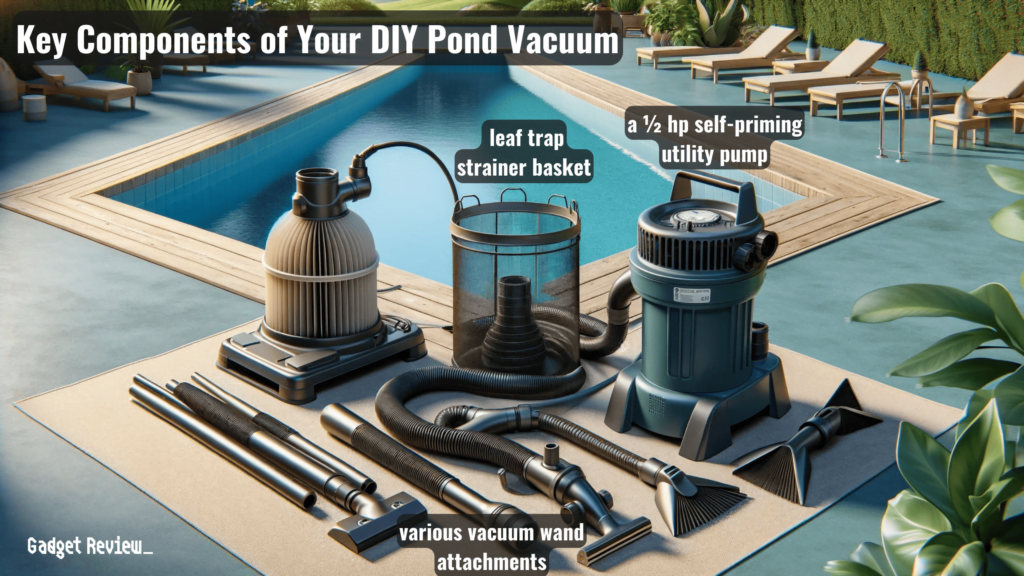
You’ll want to gather the components you’ll need to build the pond vacuum.
1 Utility Pump
The heart of your pond vacuum is a ½ hp self-priming utility pump.
This pump is necessary for strong suction power to clean your pond effectively.
2 Leaf Trap Strainer Basket
This component catches larger debris like leaves and twigs, preventing them from clogging the system.
3 Vacuum Wand Attachments
Depending on your pond’s condition, you can choose from different attachments like brushes or crevice tools to customize your cleaning.
insider tip
Some people use shop vacuums with pool hose attachments, while others build their own vacuums from scratch using PVC pipes, pumps, and other materials.
Designing Your Pond Vacuum
Creating the design of your vacuum is important. Ensure you create a design that matches your pond’s size.
STEP 1 Suction Line Size
Select a 1-inch diameter line for general muck, but opt for a larger size if your pond has heavier debris like rocks or thick plant material.
STEP 2 Discharge/Waste Line
You have flexibility here. A garden hose or PVC pipes works.
Just remember that less restriction means better water flow.
Enhancing Your Cleaning Tools
Maintaining your pond vacuum is essential for optimal performance. Similarly, you can extend the life of your other household cleaning devices with these tips. Learn how to fix a Roomba to keep it running smoothly. Enhance your cleaning power by understanding how to increase vacuum suction for better results. Additionally, discover if a robot vacuum can clean multiple rooms to make your cleaning routine more efficient.
Step-by-Step Construction
Once you’ve gathered your materials and have your design, you can start putting everything together.
STEP 1 Assemble the Pump and Leaf Trap
Connect your utility pump to the leaf trap.
Ensure this connection is tight and secure to prevent any leaks.
STEP 2 Prepare the Vacuum Wand
Attach your chosen wand attachment to the pump.
This could be a brush for loose debris or a crevice tool for more stubborn muck.
STEP 3 Construct the Suction Line
Cut your PVC pipe to the desired length for your pond’s depth. Attach one end to the pump and the other to the vacuum wand.
Ensure all joints are sealed and secure.
warning
Homemade vacuums should be carefully designed and constructed to avoid electrical hazards. It’s important to use GFCI outlets and ensure all connections are waterproof.
STEP 4 Attach the Discharge Line
Connect your chosen discharge line to the other end of the leaf trap.
Make sure it’s long enough to reach your desired waste disposal area.
STEP 5 Test the System
Before using it in your pond, test the vacuum for any leaks or malfunctions.
Make sure the pump is generating enough suction.
warning
Be careful when maintaining your pond vacuum to avoid malfunctions. If your vacuum’s performance drops, explore the best vacuum accessories to boost its efficiency. For a thorough clean beyond your pond vacuum, consider investing in the best steam cleaner for versatile cleaning applications. Also, it’s crucial to know when to use a broom vs vacuum to avoid damaging your floors and maximize cleaning effectiveness.
Using and Maintaining Your Pond Vacuum
- To use the vacuum, move it slowly across the pond bottom, allowing it to suck up debris and muck.
- Regularly check and clean the leaf trap strainer basket to maintain optimal performance.
- Always ensure that your DIY pond vacuum is connected to a ground fault circuit interrupter (GFCI) for safety.
Enhancing Pond Health
After cleaning, consider setting up a bio-filtration system to keep your pond clear and healthy.
This system will help maintain the ecological balance, making future cleanings easier and more effective.
A Sustainable Approach to Pond Care
By creating your own DIY pon vacuum, you’re establishing a key maintenance solution and taking an active role in preserving your pond’s natural health.

