Color management on Mac and Windows is a unique challenge for most printer users, both at home and commercially. A little research on the internet reveals a lot of confusion about achieving reproducible results and using color management settings on your top-rated printer altogether. And if your printer is only printing in monochrome, you should check your printer color settings to ensure you can take full advantage of your printer’s capabilities.
Key Takeaways_
- The colors projected on your monitor are not necessarily equal to the colors on your printout.
- The objective of color management is to match your color appearance on the screen as closely as possible to the result printed out on your device.
- Each printer model uses a different color management option. It is, therefore, essential to review the preferences and specifications of your printer.
If it’s your first time using the color management setting, it is essential to note that you cannot turn it off without a Photoshop or photo-editing application on Mac. Turning off the color management option is only possible with an image editing application.
What is Color Management for Print?
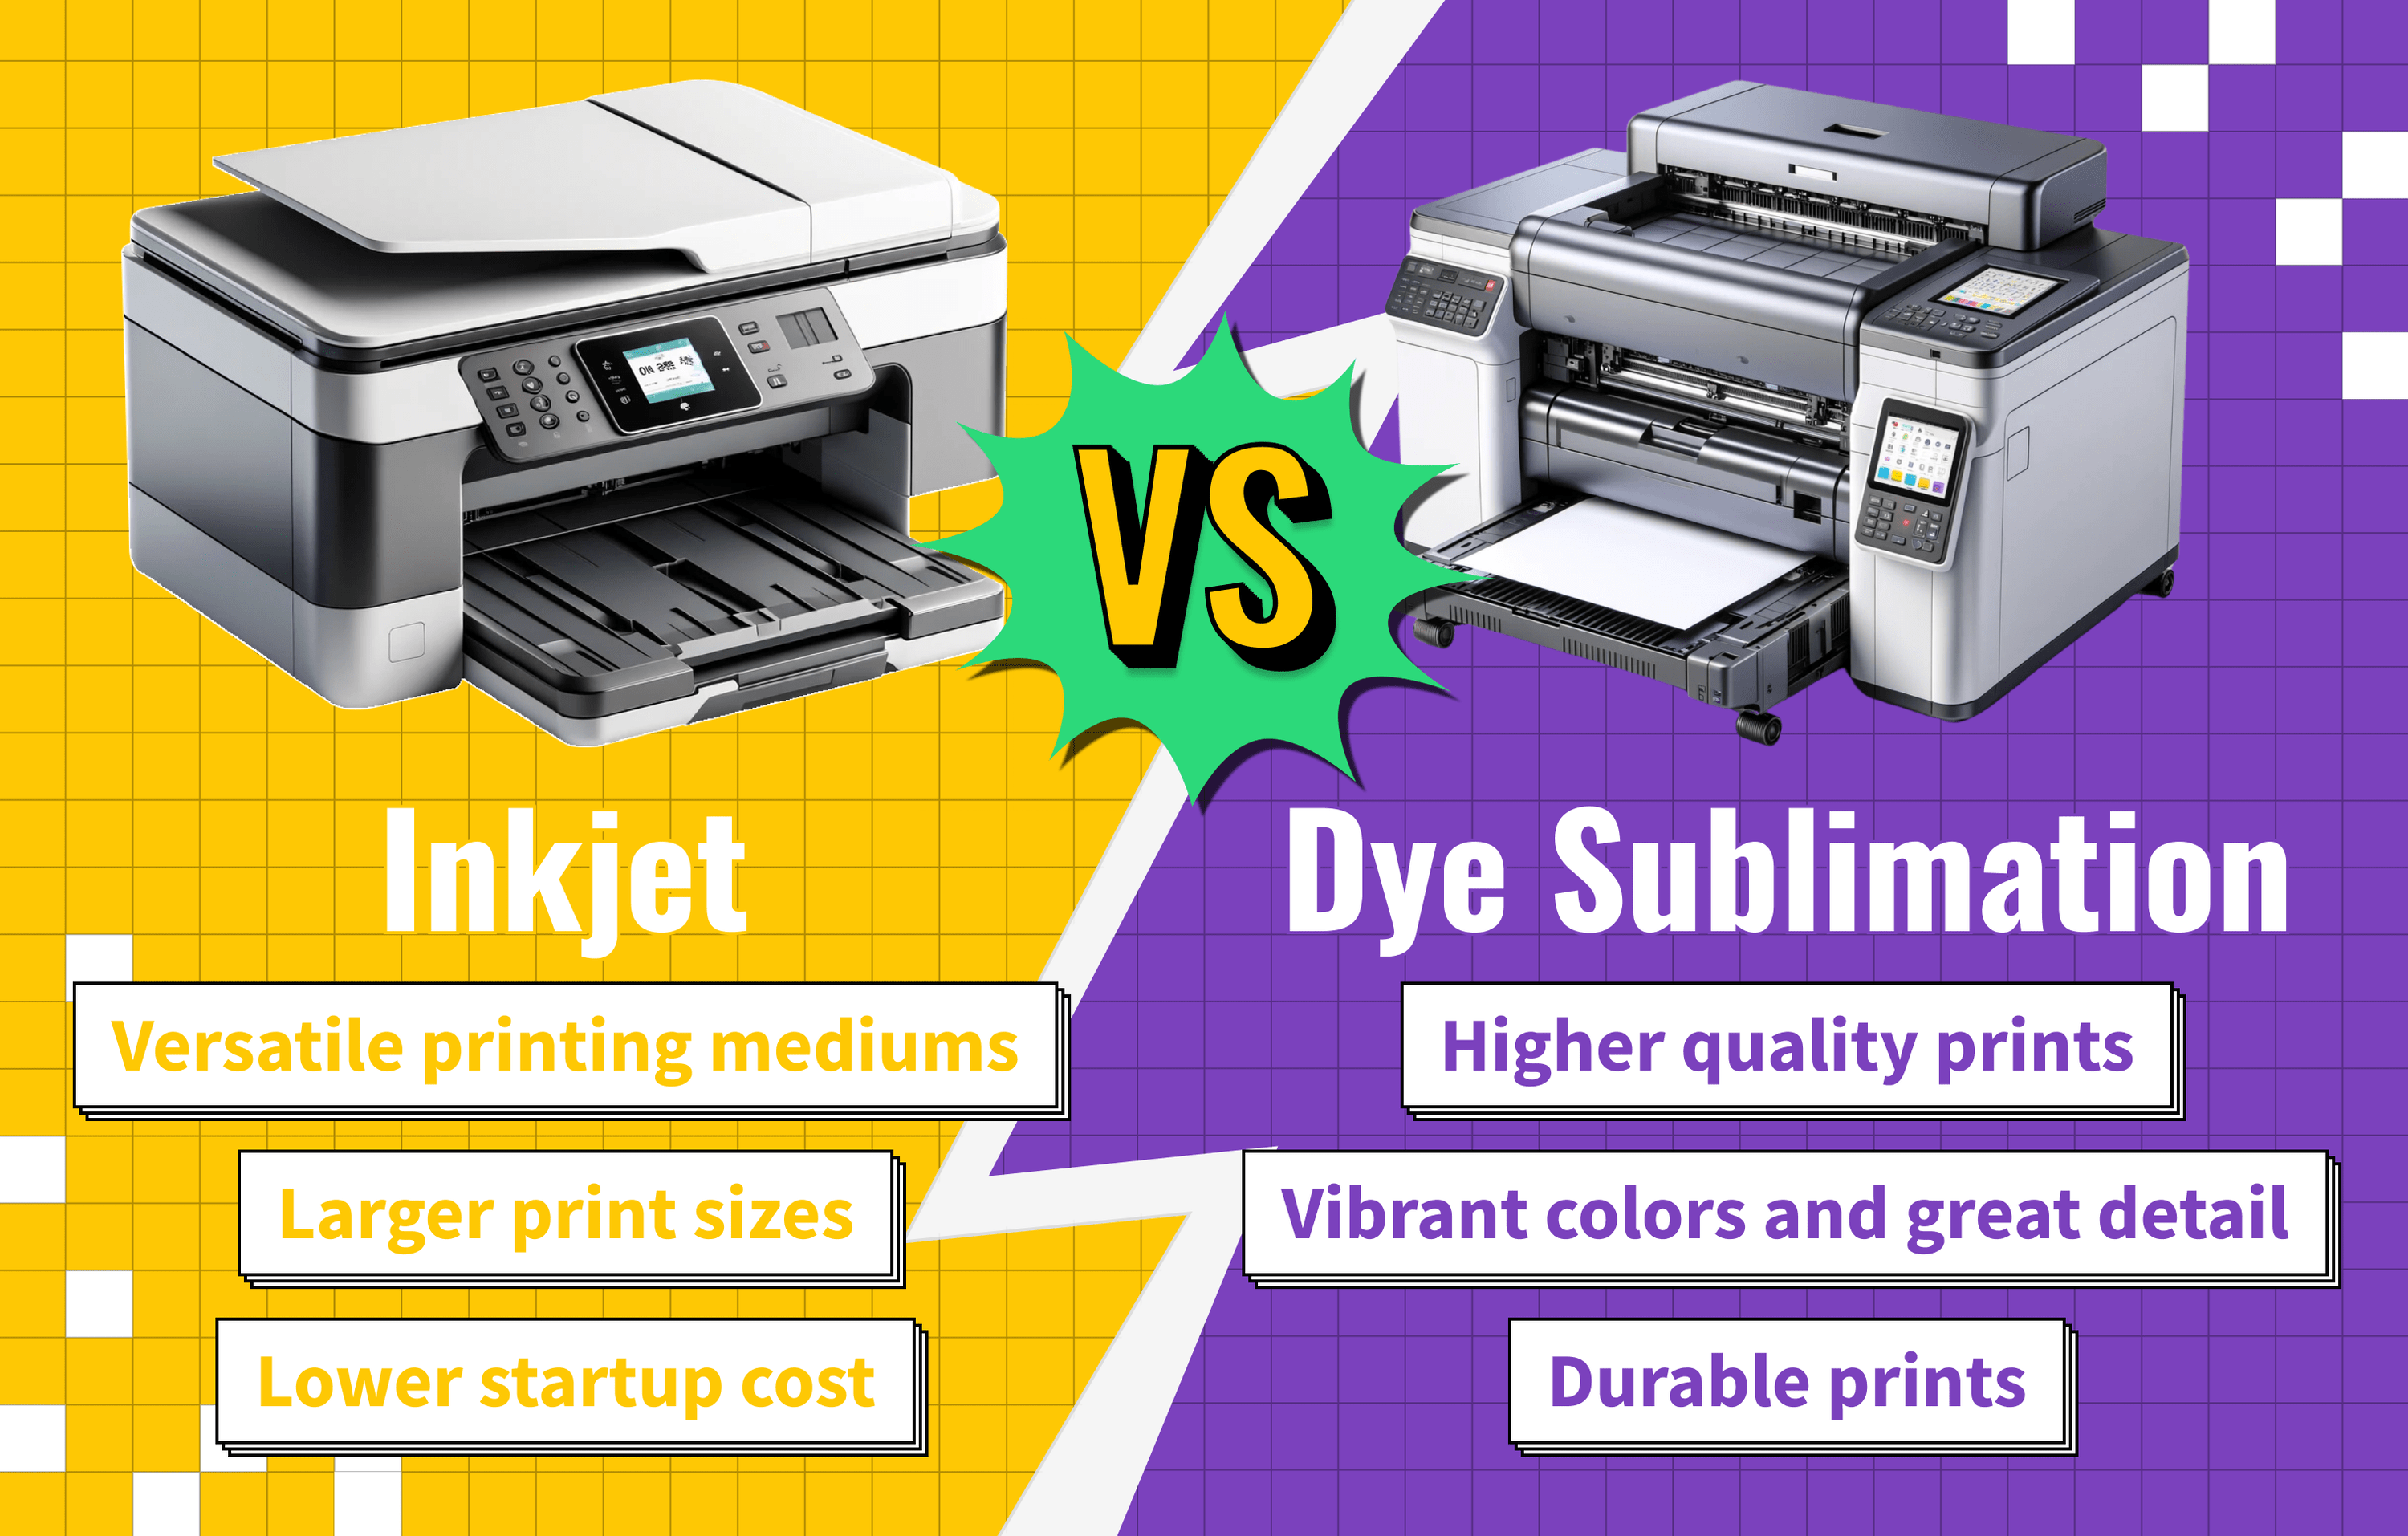
The objective of color management is to match your color appearance on the screen as closely as possible to the result printed out on your device. For example, if you disable it for a top sublimation printer, chances are it’ll produce terrible colors and ruin your material product. So, it’s key to know when you need to enable or disable the print color management system.
STAT: In the U.S, the average volume per person in the printers and copiers segment is estimated at 0.04 pieces per person. Compared to total population figures per individual in revenues, $4.39 was generated in 2021 (source)
It’s important to note that the colors projected on your monitor aren’t necessarily the same as your printout. But, to print high-quality, reproducible results, professional and first-time printer users must have the right ICC Printer profile.
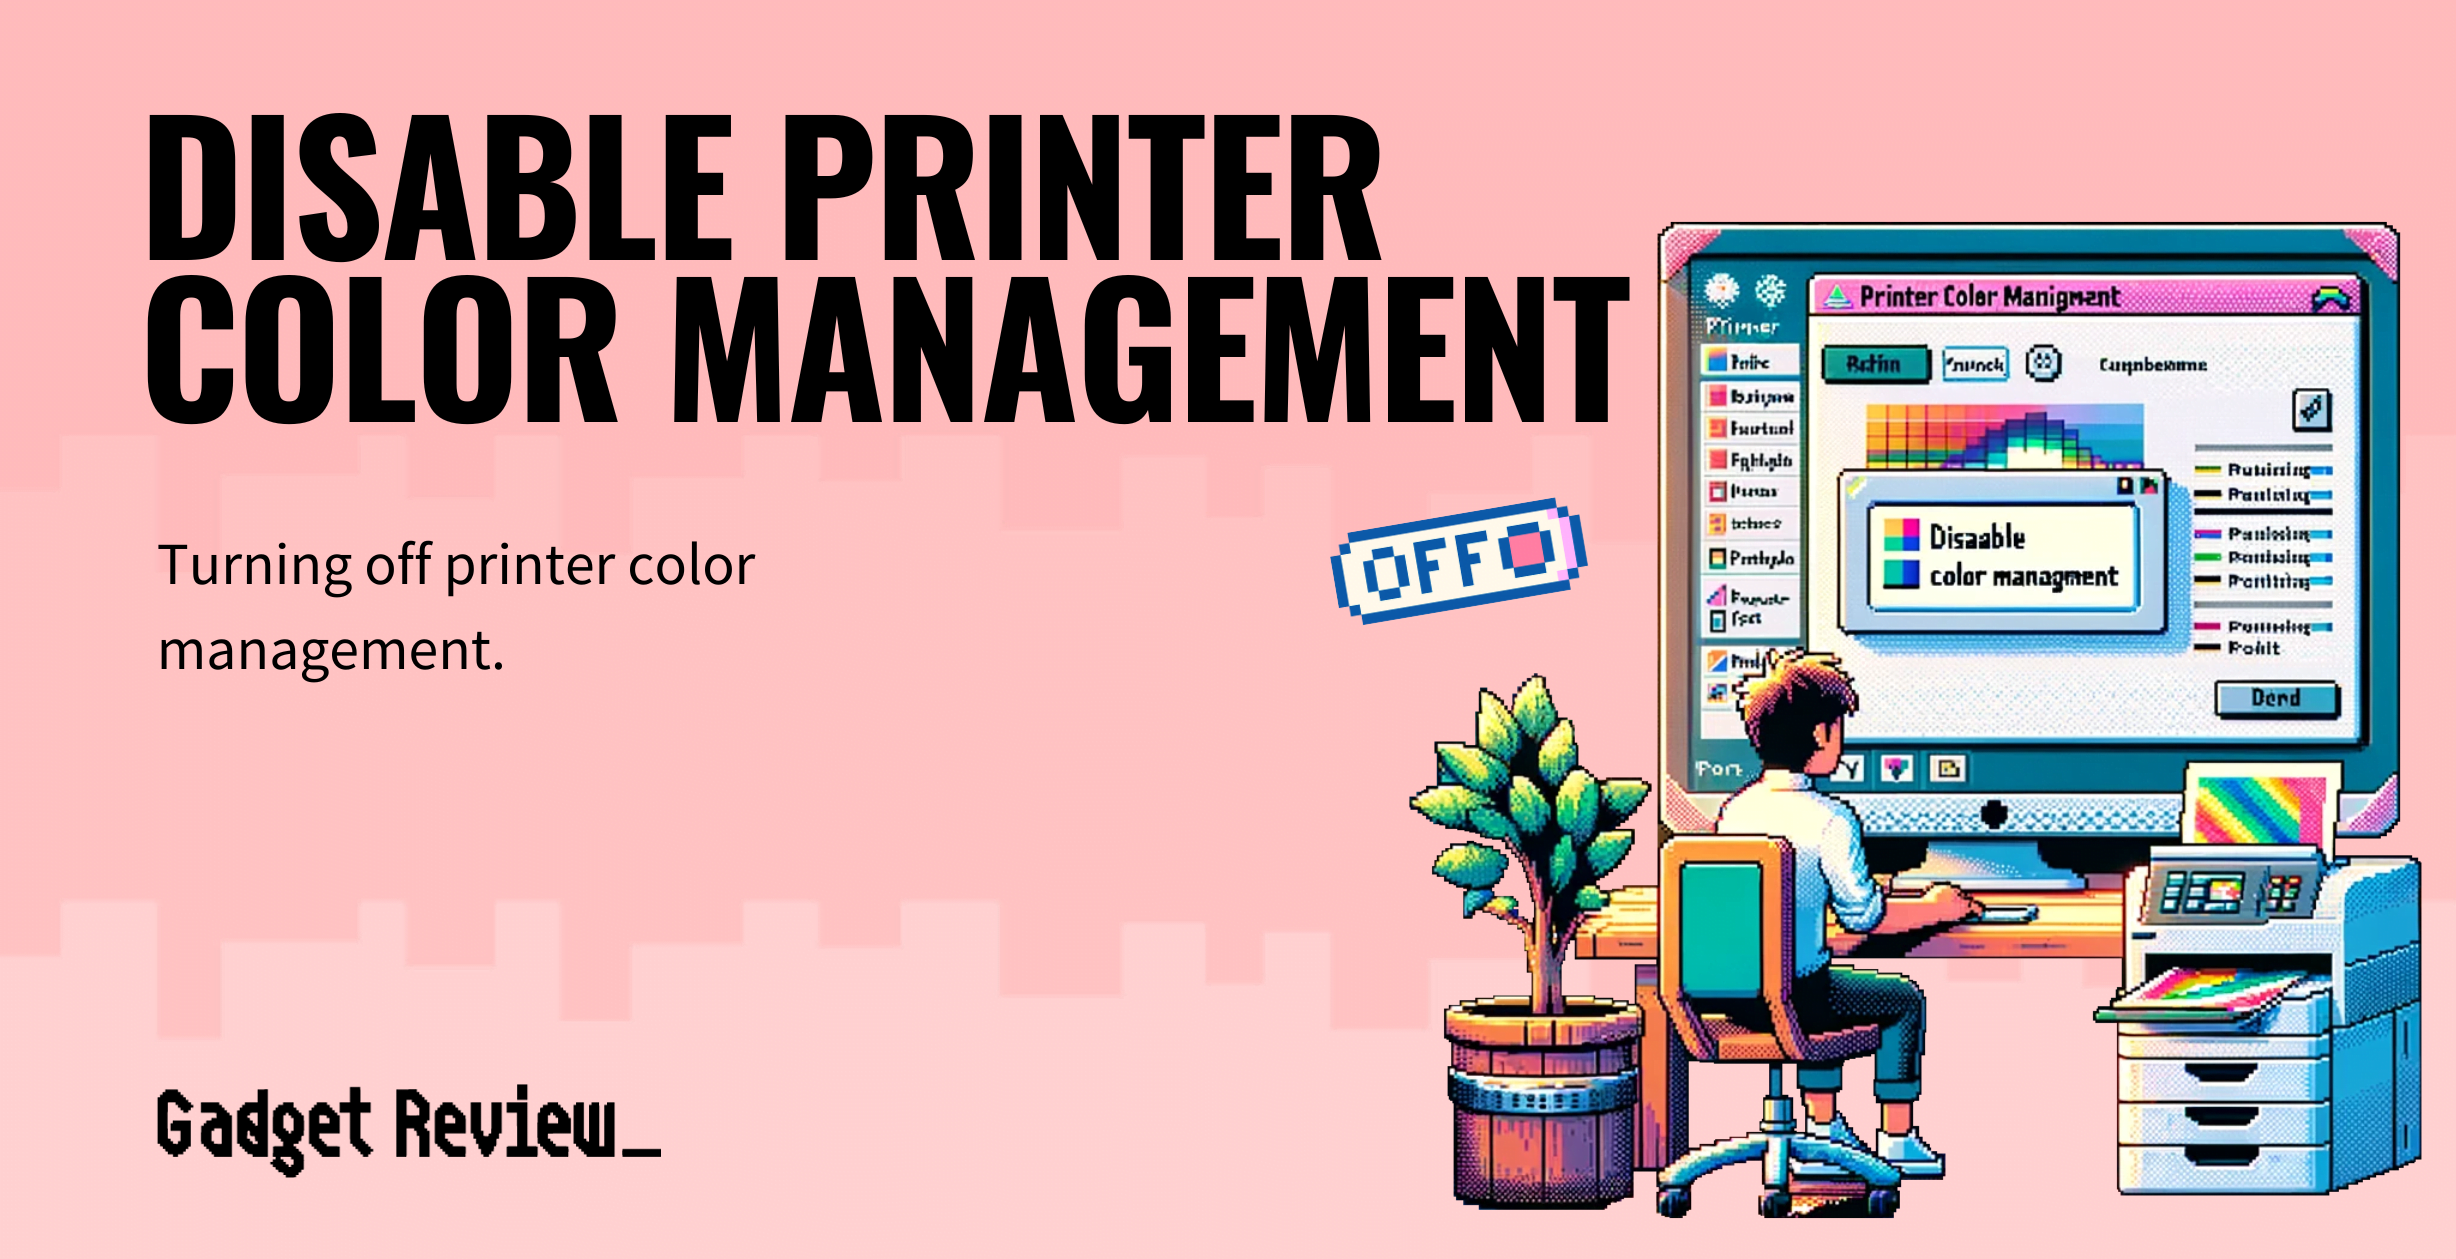
How to Disable Printer Color Management
Turning off printer management can be confusing. However, the process is short and relatively easy to understand.
If you are using Photoshop or any other image editor, do the following:
- You’ll need toggle color management. To do this, open your image editor application, click “File,” and select “Print.” You can also use the Command/Ctrl + P shortcut.
- Select your desired printer and click on “More Options.” Click on “Color Management,” visible in the left column. Here you will find three options: “Printer Profiles,” “Color Handling,” and “Rendering Intent.”
Select color handling, and choose whether to enable or disable color management.
Turn off Color Management on Windows
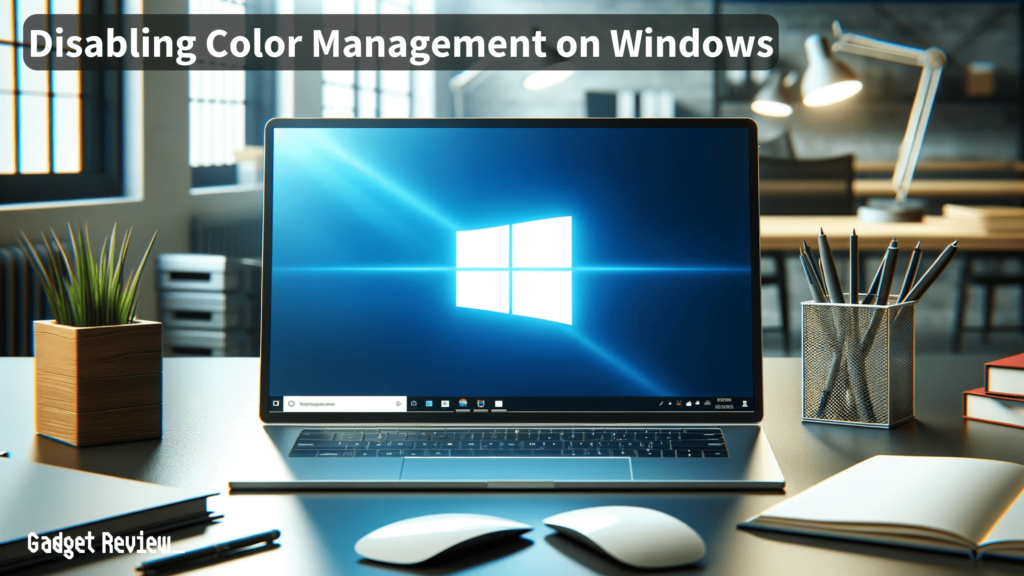
To disable color management on your Windows PC, do the following:
- Select the “More Options dialog and choose “Printer Preference.” The “Preferences” dialog box will pop up.
- The “Printer Preference” dialog box allows you to alter your printer’s settings. It is essential to note that the disable color management option will be available on different tabs on the Preference dialog box, depending on your printer. Each printer model uses a different color management option.
- In the Print dialog box, select “More options” and choose “Color Management.” You will have the choice to enable or disable the color management feature.
Turn off Color Management on Mac

Turning off the color management feature on your Mac computer is pretty straightforward.
- All you need to do is toggle the Print dialog box on Photoshop or an image editing application. Now, click on the “Show Details” option.
- Pick the color-matching option you desire.
- Depending on the printer you are using, select the “ColorSync” option. ColorSync Utility is a free application installed in OSX. This utility will allow you to either enable or disable the color management feature on your computer.

