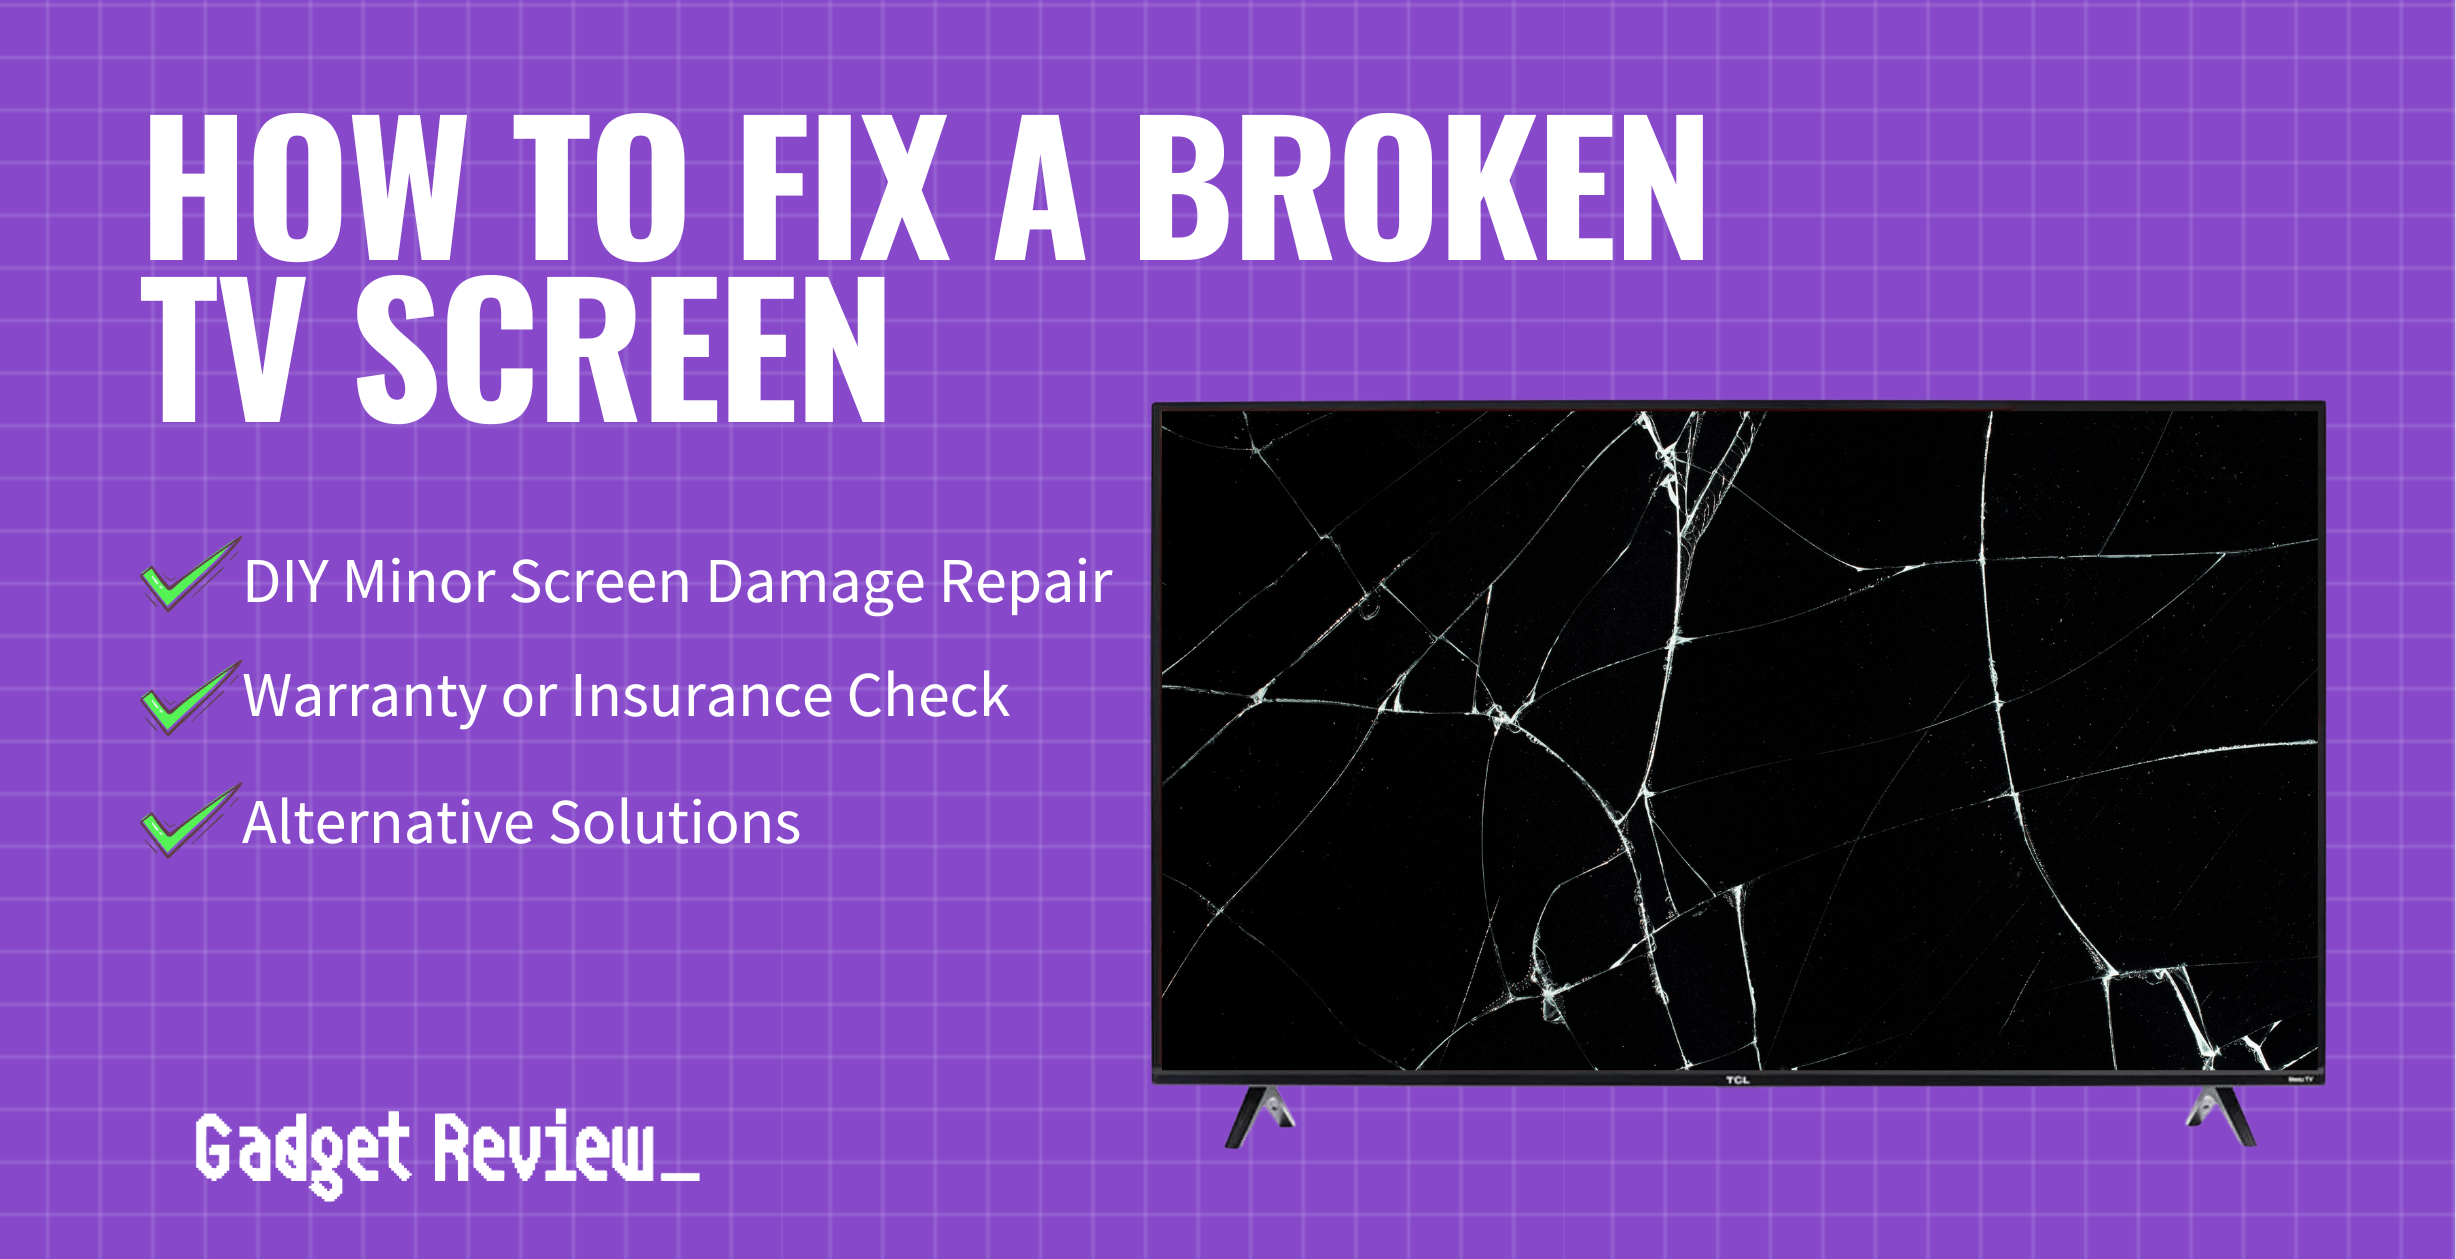
Scratches or cracks on your top-rated TV screen, whether it’s LED, LCD, or Plasma, can mean expensive repairs or replacement. No matter what type of TV you own, whether it’s a Samsung, Roku, or Vizio, the process is the same.
Before buying a new TV due to a damaged screen, check your warranty to avoid voiding it during DIY repair. If your warranty stays valid, follow the steps below. You can also consider AKKO insurance as an alternative for screen repairs.
Repairing a Damaged Television Screen
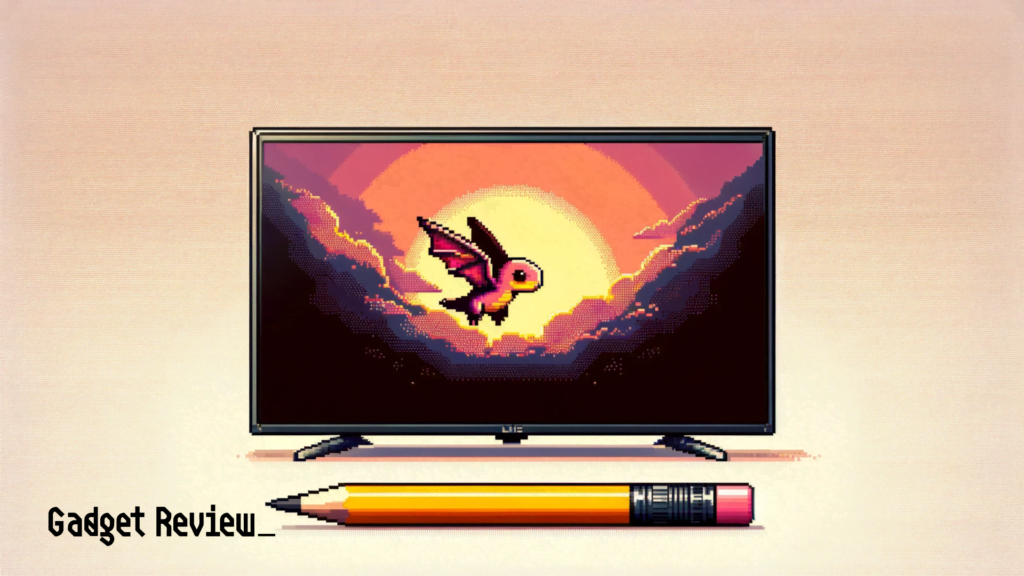
If you’re curious about repairing a broken TV screen without replacing it completely, this DIY flat-screen TV repair trick works well and generally won’t cost you much (or anything at all):
STEP 1 Assess the Damage
Inspect the TV screen damage first. Deep cracks or a shattered screen require a full replacement. Minor cracks or superficial scratches on a flat screen may be repairable yourself using a pencil eraser.
STEP 2 Check your Warranty For Coverage
Most TV warranties don’t cover accidental damage, such as a cracked or scratched screen. However, it’s still worth checking your warranty to see if there’s any chance it’s covered.
If it is, you may be able to get your TV repaired or replaced for free. If you find it doesn’t cover screen damage, proceed to the next step.
STEP 3 Turn the TV off and Unplug It From the Wall
This is an important safety precaution to avoid any electrical hazards.
STAT: The average cost to repair a TV is $200, with some repairs ranging between $60 to $350. (source)
STEP 4 Use a Soft Cloth to Clean the Area Around the Broken Screen
Remove any dirt or debris that could scratch the screen further.
STEP 5 Use a New Pencil Eraser
Always use a new pencil eraser, and make sure it’s a white eraser. Avoid using colored erasers, as these can leave additional residue on the screen.
STEP 6 Gently Rub the Eraser Over the Entire Crack Until Faded
Rub the eraser over the crack carefully, and don’t press down too hard. This can lead to further screen damage. Continue rubbing it over the crack until it’s no longer visible.
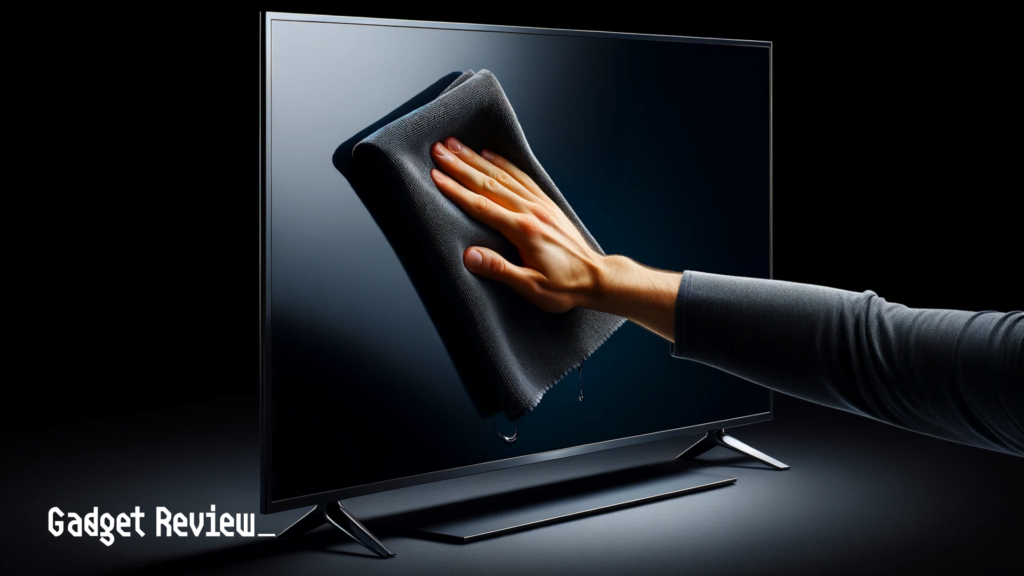
STEP 7 Wipe the Screen
Wipe the screen down with a clean, soft cloth to remove any eraser shavings.
STEP 8 Plug In the TV and Turn It On
If your TV works normally, then you have successfully repaired the broken screen. But, if your TV screen doesn’t work after using this method, visit an authorized repair center.
Repair centers can help with screen or board replacement, backlight repair, or even full TV replacement if it’s more cost-effective.
Mending a Cracked TV Screen
If you want to try and repair your TV with lines from the inside using a new screen replacement, check out the video below.
Additional Solutions for a Busted Television Screen
However, if the above fix doesn’t work or isn’t as effective as desired, you can purchase an LCD scratch repair kit as a backup method. These can be found in-store or online with a starting price of $20.
- For a TV with no picture but sound, check settings and cables first. Reset settings to factory default if needed.
- If you have a TV with a black screen, ensure the source input is set correctly, and the cables are secure.
- For pixelation problems, check the signal source and cables. A low signal quality can cause pixelation.
- If your TV turns off randomly, overheating could be the issue. Check vents and fans and ensure they’re not being blocked.
- Major cracks, shattered screens, and vertical/horizontal lines will always need professional repair.
- Alternatively, if your TV isn’t broken but you need help with learning how can I get internet on my TV, we have a guide to help you.
In summary, fixing a broken TV screen depends on the extent of the damage. For major issues, it’s advisable to consult a professional repair service, while minor problems might be fixable through DIY methods.
Ultimately, the decision may lead to either repair or replacement, so consider factors like TV screen size and weight and energy efficiency of new TVs before you buy a replacement unit.

